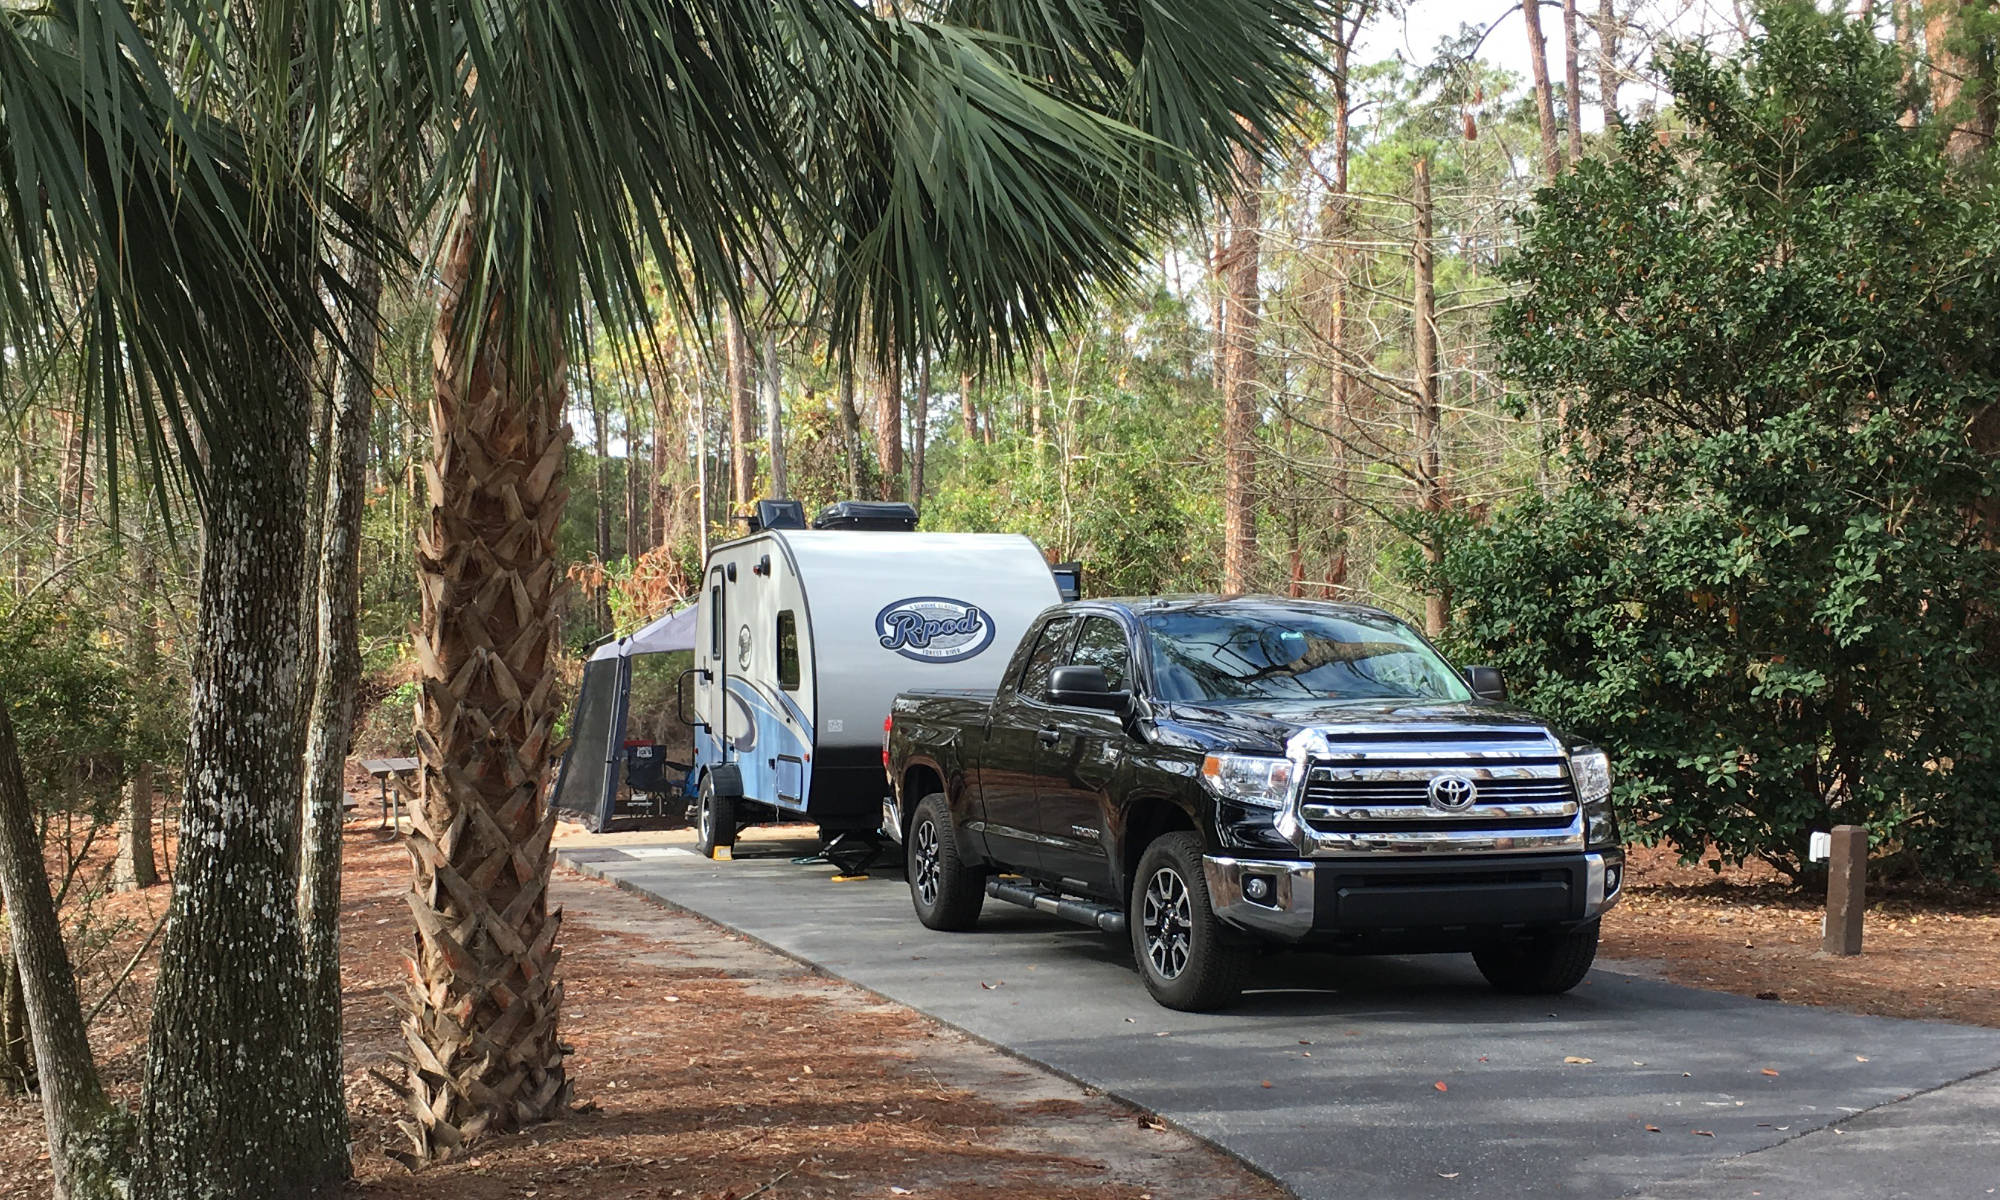
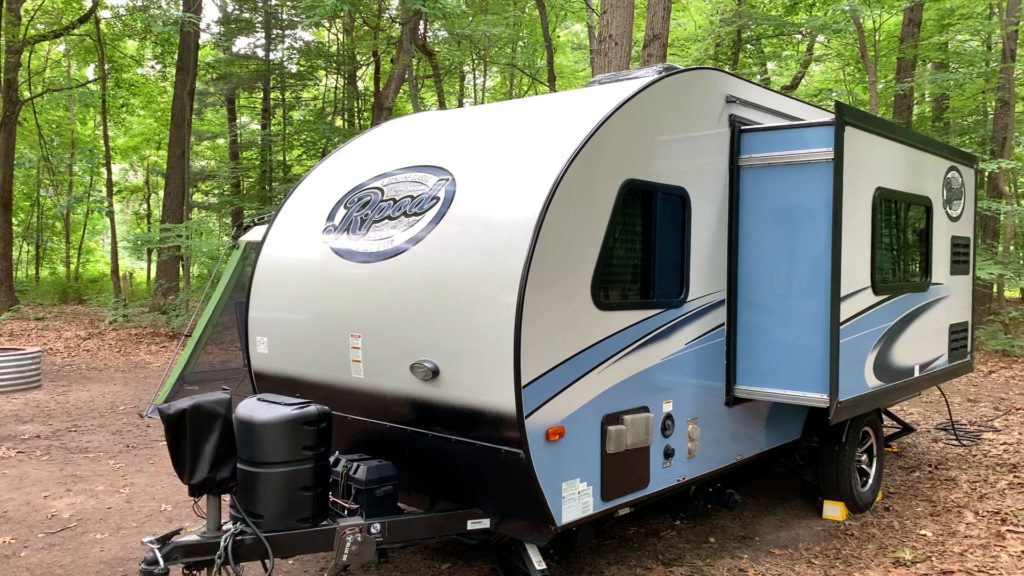
In this blog, we’ll discuss a structural problem that beset my 2017.5 R-Pod 179. Over the last five seasons I have dealt with several major issues on my R-Pod and the latest is especially troubling and potentially could affect most owners of R-Pods from my era. If you or someone you know owns an R-Pod travel trailer from the late 20-teens, you may want to pay close attention and pass this blog along.
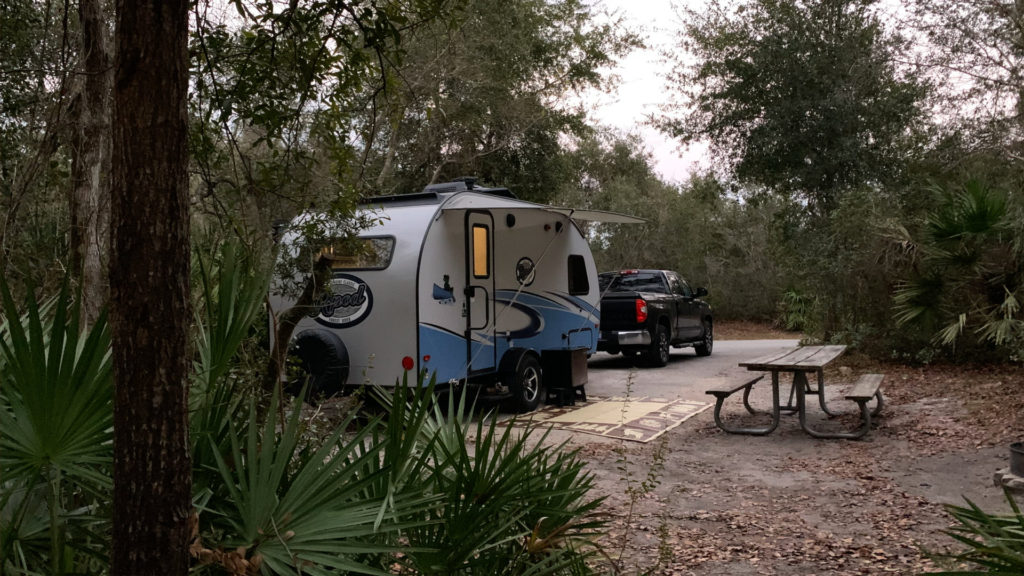
If you are not familiar with the R-Pod outrigger issue, you likely will be shortly. If your R-Pod is not new, you may already have this problem and are simply unaware of it. Here’s the short of it: Forest River didn’t include the needed floor supports that extend from the frame tube to the outer walls on the older late teen R-Pods. These supports are called outriggers. They added them on the newer models, but they are missing in key areas on older models. The problem shows up by the disturbing reality that your outer slide-out side wall starts to sag. This is pronounced on the slide-out side of the trailer and seems to be even more acute on the 179 models.
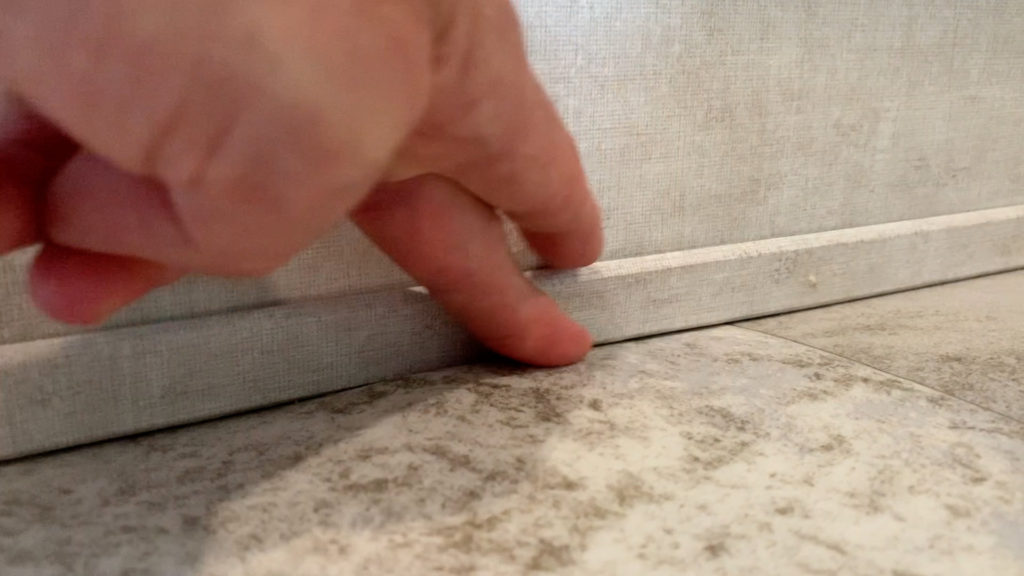
I noticed this on my 2017.5 R-Pod 179 after a recent camping trip. My slide was scuffing the fridge-side ottoman when pulling it in. The floor at the foot of the dinette had a strange bulge in it. It looked like there was a 2” square area popping up from the floor by the wall halfway from the front of the slide. What I didn’t realize was that the slide was fine and so was the weird bolt extrusion. It was the actual slide-side wall sagging. The entire wall was slowly lowering and causing these issues to become visible.
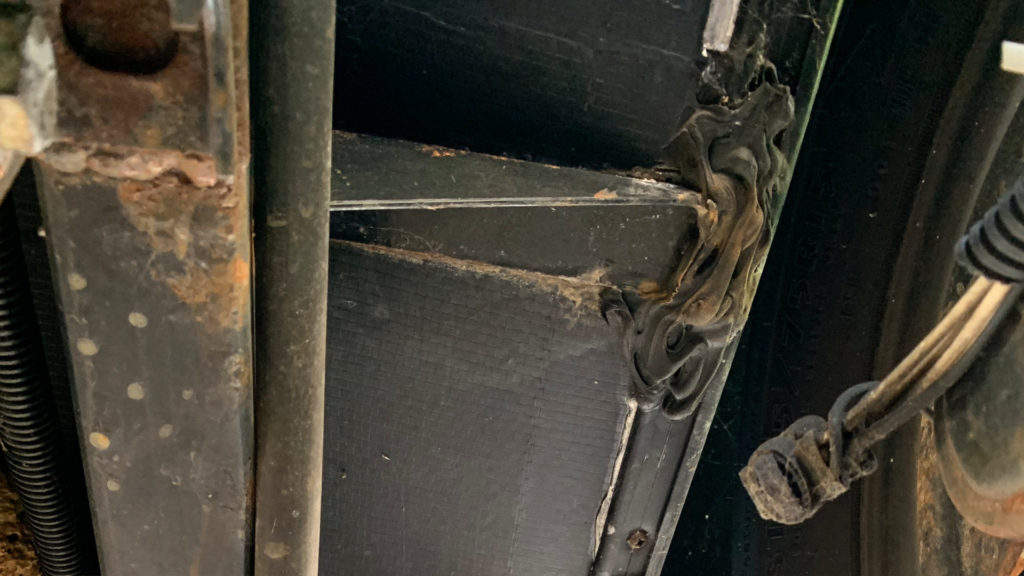
An inspection outside under the slide area confirmed the worst, the floor was no longer square to the frame tube. For about 4 feet the wall was sitting lower.
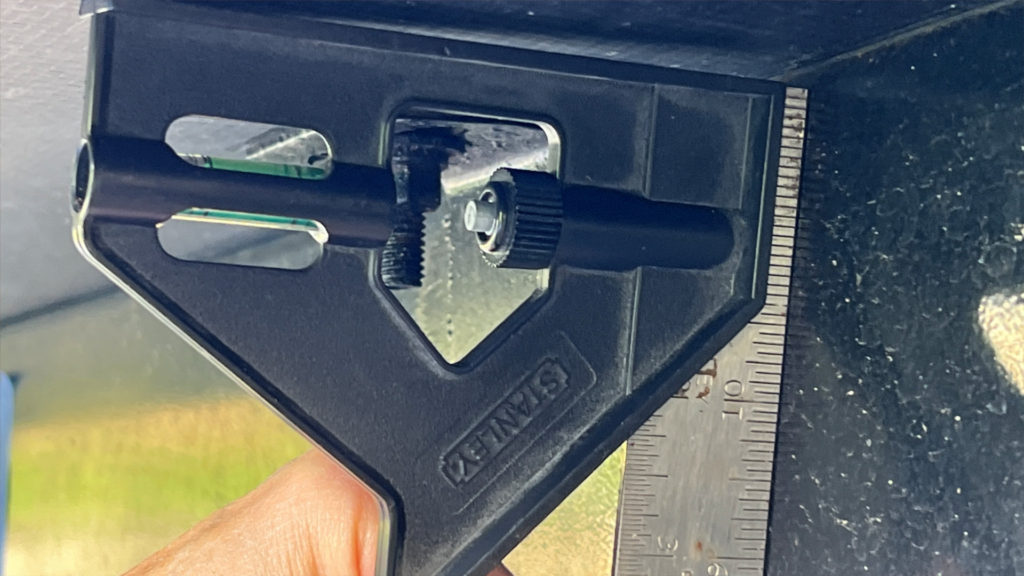
In alarm, I went to where I usually go with serious R-Pod issues – rpod-owners.com. This site has been invaluable to me over time given the experience, knowledge, and quality of the people who contribute to this long-standing old-school forum. What became apparent quickly was that this issue began to surface on older R-Pods (like mine) and that several owners were starting to tackle this serious structural defect. Model 179 owners seemed to be encountering the issue primarily, maybe due to the sheer number sold or maybe due to the larger slide areas that include the fridge and convection microwave (more weight) on these models.
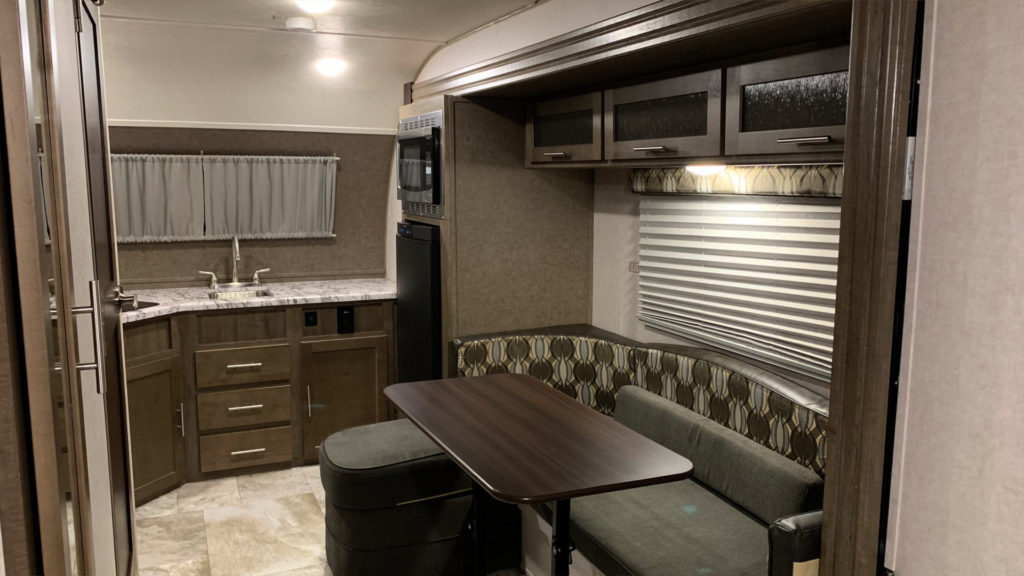
After reading through the several pages of posts on the issue, there was agreement that the problem needed to be addressed and a consensus approach was being formed on the best way to go about the fix.
To be very clear, the main structural problem with the R-Pods comes down to one word: Floors. To make the trailer as light as possible, the floors are Styrofoam sandwiched by a layer of lauan board on either side. The lauan layers are thin, lightweight, and NOT water-resistant. The outer walls sit on these floors and the floors sit on the frame. The floors also have some aluminum frame structure inside (not under) so that the floor is a set of floor panels set between these aluminum members. The floor is therefore not one piece, but multiple panels.
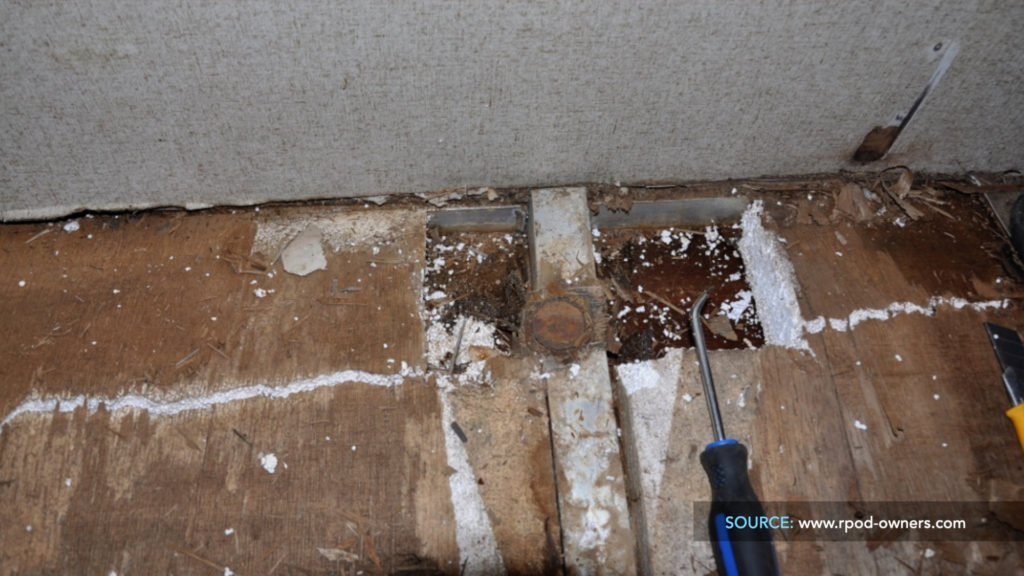
In a house, floors are supported by joists. In the R-Pod, the floors in many places are unsupported by either frame tubing or the aluminum inner frame supports. This has been a serious flaw for the 179 in the kitchen area and requires a support brace to be installed under that area to strengthen the floor. The other main unsupported area is the outer wall. That’s right – the area where the weight of the outer wall and slide sit have large sections with no support (outriggers). Over time, especially if the slide is used for normal things, like sitting on or sleeping on, the outer wall will eventually sag as the weight of the slide will overcome the strength of the unsupported flooring.
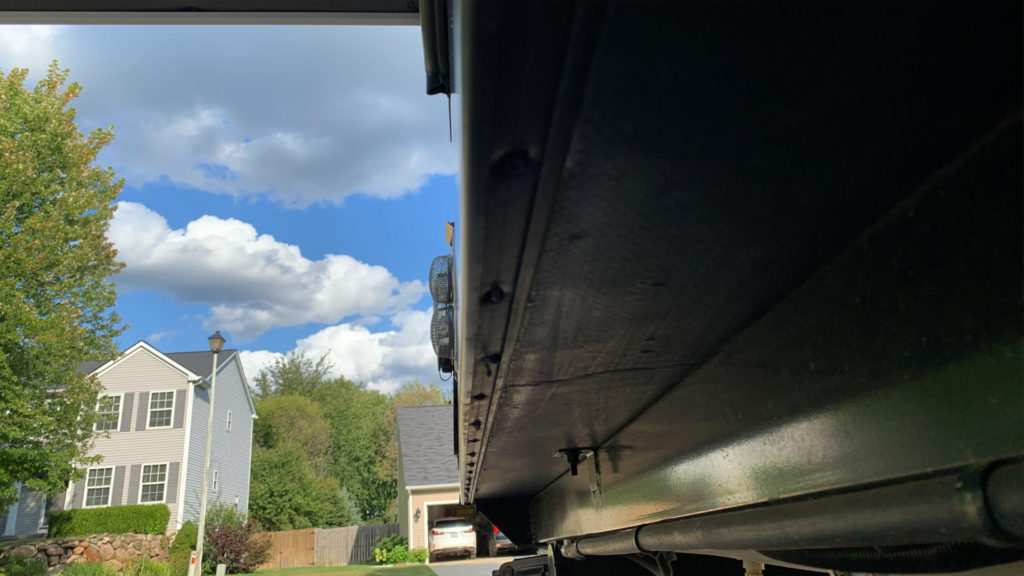
Frequency of use and time play into the issue as well. If for example, you live in your R-Pod full-time and the slide is used daily, likely this issue will surface more quickly. Even without heavy use, the issue will likely surface over time. What we are seeing now are issues from those of us who have either had these unsupported floor models for some time or those who have used their Pods extensively or some combination. Either way, if your Pod lacks outriggers and is lightly used, and shows no current signs of wall sag, it may just be a simple matter of time before the issue shows up. In this regard, the issue should be dealt with proactively.
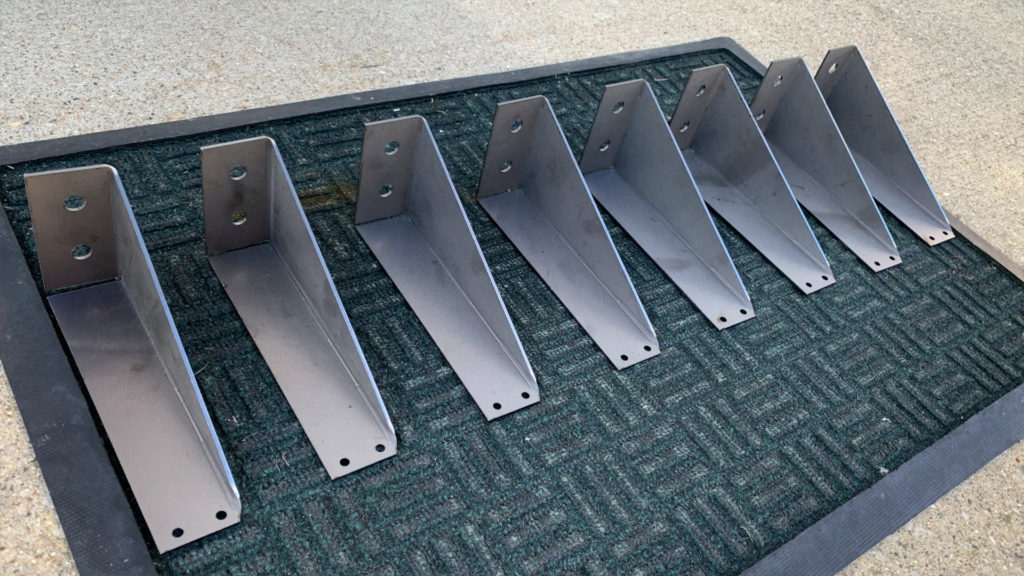
So, where I stand now is that I have ordered and received 8 metal outriggers from Forest River (at my own expense) and am working to create a fix – gleaned from the input of several owners who have had to tackle this issue in the past year. The issue should be fixable if detected early enough, and the adage that “an ounce of prevention is worth a pound of cure” comes to mind.
Unfortunately, the decision to go short on quality floors pushes ongoing cost, real emotional stress, and ongoing investment risk to the owner (not to mention the loss of use).
In my case, I will try to work the fix myself, as I have done with most other issues that were no longer covered under warranty. Many other owners will want to pass on this DIY project and have a professional do the work, again at their expense. Some unfortunately will sell their R-Pods and knowingly or unknowingly pass the problem on to a naïve buyer. In essence, when a manufacturer passes its quality problem on to the buyer, it usually gets passed on to another buyer who will lose most or all of their investment.
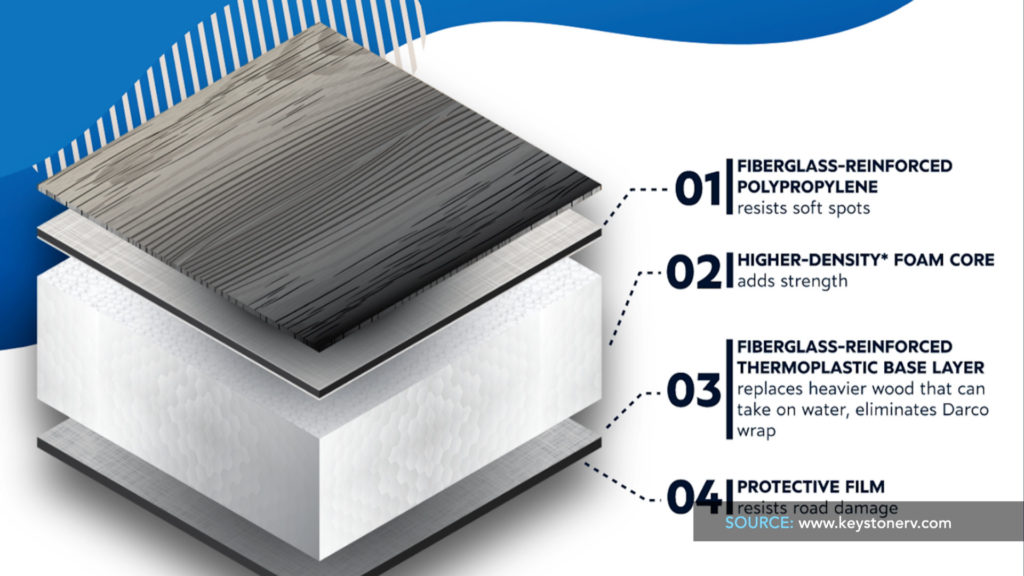
My take is that Forest River and their parent company Berkshire Hathaway are the reason for the downstream trouble loosed on a multitude of owners like me. They should step up and do a full structural recall, but likely never will. If they did, it would mean replacing a multitude of floors like Keystone has done on their Bullet line that had floor problems. In Keystone’s case, they completely replaced “soft” floors (similar to R-Pod materials) with composite flooring (Hyperdeck) now used in the Bullets. R-Pod doesn’t currently have such a composite floor to swap out.
Those of us who currently own R-Pods need to protect our investment and therefore will likely do the work ourselves to fix what should have never been sold – a unit with poor flooring and a lack of floor supports. This is yet another major issue I will be tackling shortly. I can’t sell my 179 in good conscience with a known defect like this, so I will fix it. After my poor experiences with trailer floors, I am hesitant to purchase another trailer with subpar flooring when composite floor options are available on the market.
Coming shortly, we will have a video of the full install of the outriggers, so stay tuned.
All the best in your camping endeavors!
We’d love for you to join the On The Road Team by subscribing to the YouTube channel. You can also follow John on Facebook @JohnMarucciOnTheRoad.
As always, thanks to our teammates who support the channel by starting their shopping from the On The Road Amazon Storefront. Your support is greatly appreciated!
