
In this blog, we’ll cover the step-by-step process of replacing my travel trailer’s hot water tank bypass valve. I’ve had a long-term issue with the original bypass valve, which would leak when I dewinterized and pressurized the plumbing system. The leak would occur for a short time, then stop. Yet, it happened many times when I dewinterized my RV.
Background
The hot water tank bypass valve is essential when winterizing your RV as it allows the cold-water line going to the hot water tank to bypass the tank so that you don’t accidentally fill the tank with RV antifreeze. In my case, I had minimal time to change out of the valve myself, and since I was having the wheel bearings repacked by my dealer as annual maintenance, I decided to have the dealer change out the valve at the same time.
Unfortunately, when I got the trailer back and started winterizing, the new 3-way valve installed didn’t work correctly. Since I needed to winterize immediately due to cold weather, and my time was limited to bring the trailer back to the dealer, I decided to tackle the job myself. As you will see, with the right tools and parts, the job isn’t too difficult.
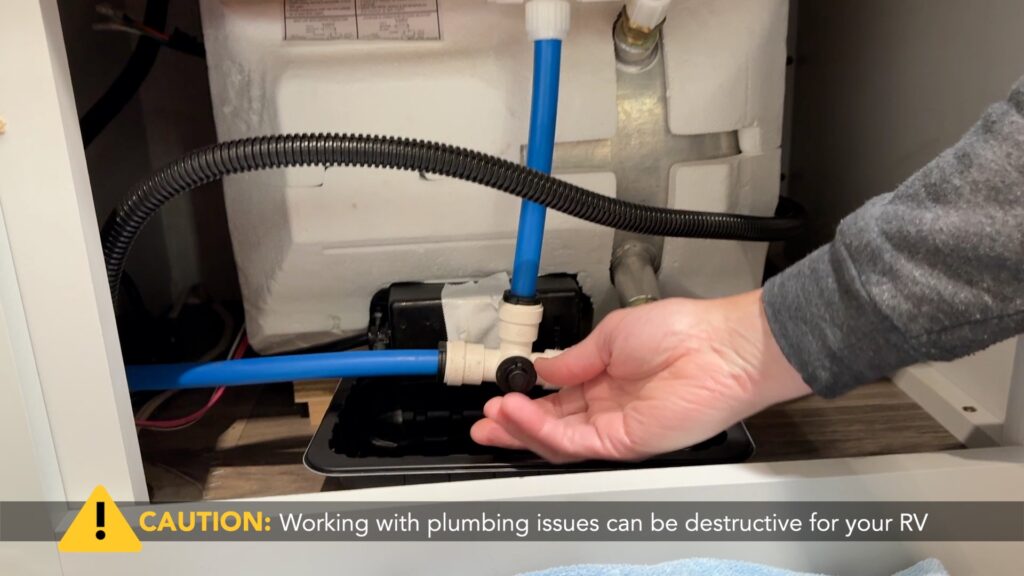
Before we get into the replacement process, please be aware that this process includes changing out plumbing fixtures. If, after watching this video, you are uncomfortable working with plumbing fixtures, please contact a mobile RV tech or your local RV dealer to do the work. Working with plumbing issues can be destructive for your RV if not done correctly, as leaks can destroy floors, walls, and cabinetry. You will need to decide in your case if my process is right for you.
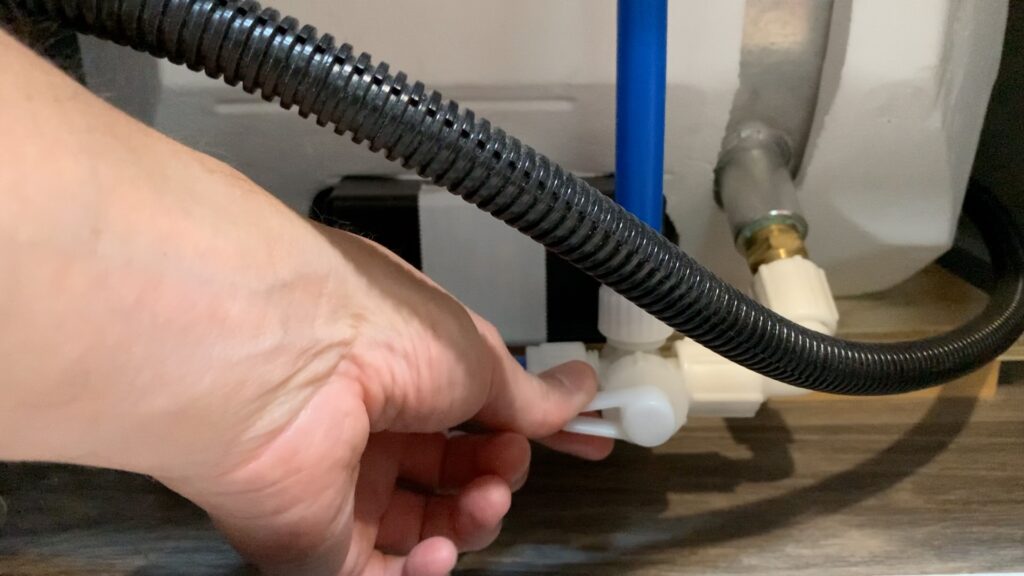
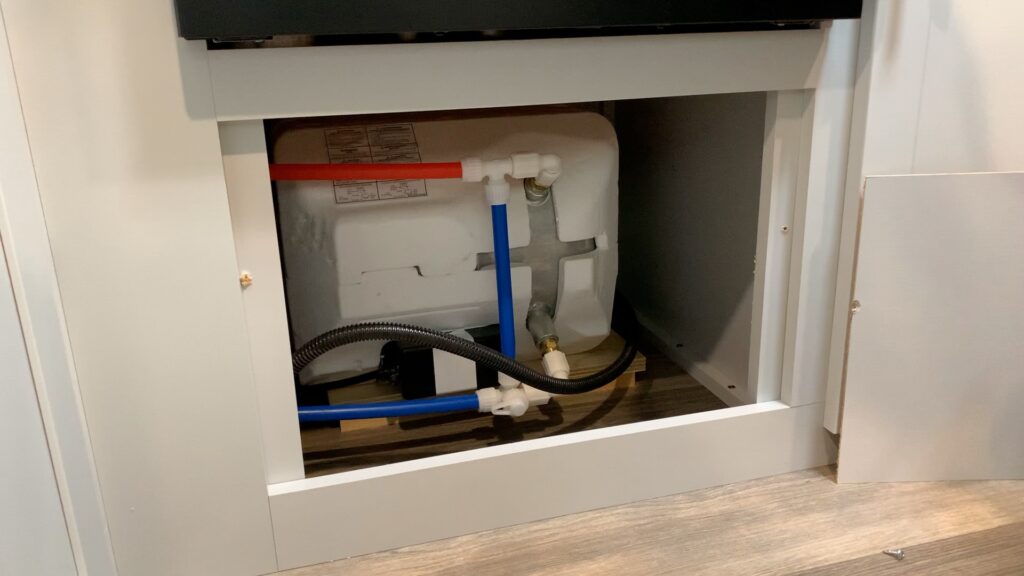
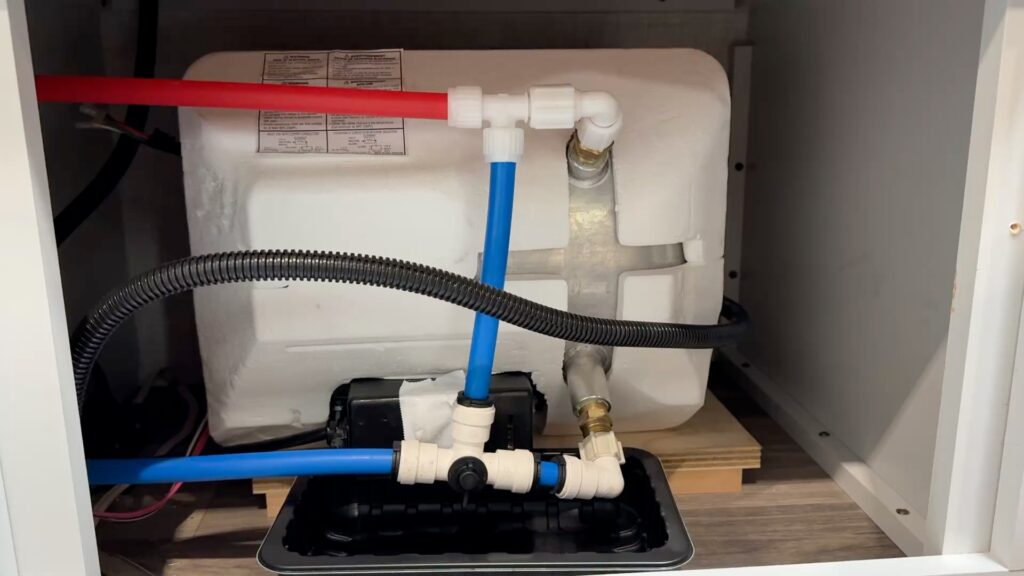
Let’s look at the pre-installation steps. The first step is to diagnose if your bypass valve is leaking. You can do this by finding the location of your hot water tank and valve and pressurizing your plumbing lines with water. Look closely at the bypass valve as the plumbing lines are pressurized.
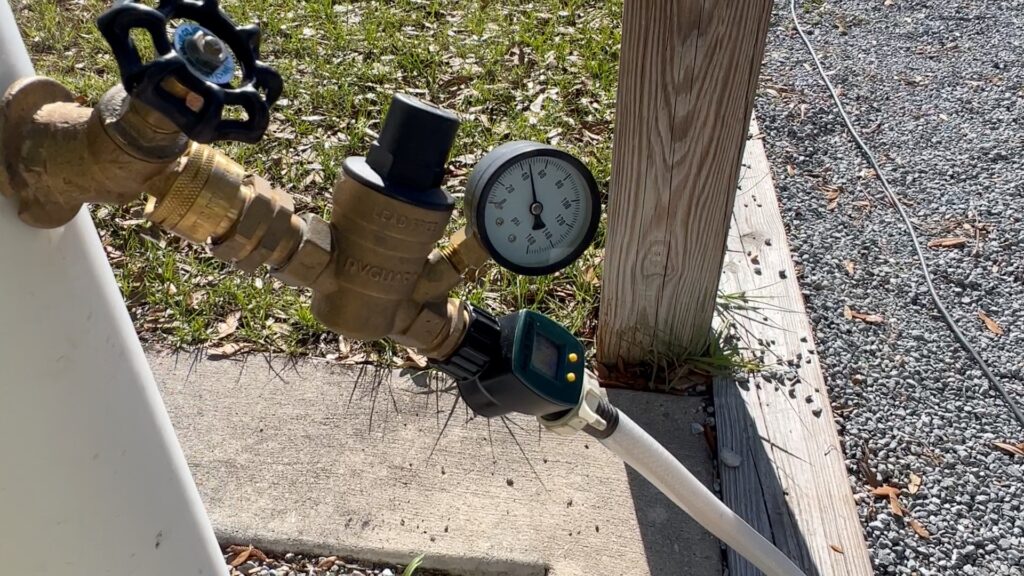
As an aside, I highly recommend a good water pressure regulator to put before any city water is connected, including for this process. I set my pressure to the factory 45 psi default for the product. I have been using this specific product with consistent results for years and highly recommend it. If needed, you can purchase one on my Amazon store, and we will put a link to the product in the description.
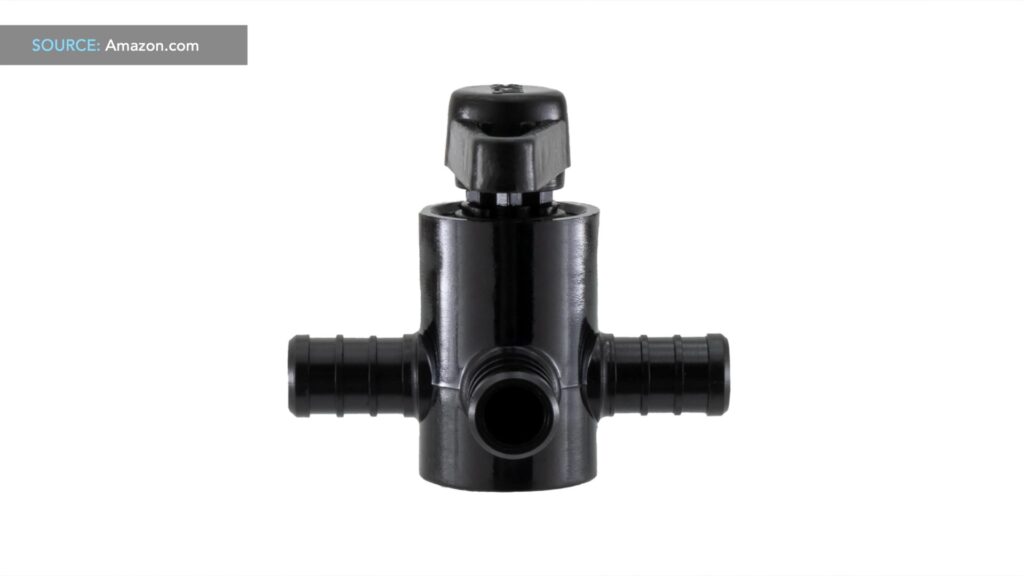
Next, you will need to decide on a new bypass valve. In my opinion, the plastic factory unit is cheap, so I went with a simple ½” PEX 3-way valve with good ratings. After researching, I settled on this small black hard plastic unit from Amazon. I will link to my Amazon storefront and the unit I installed; however, I can’t vouch for the product long-term since it was recently installed.
Next, I decided to do all PEX fittings and clamps since I was familiar with the process and already had the tools. I had used this process before when adding a new bathroom sink faucet and a cut-off valve to the water line at the toilet. These PEX connections have never leaked over several years. If you need to pick these tools and clamps up, a local hardware store will carry them, as will my Amazon storefront.
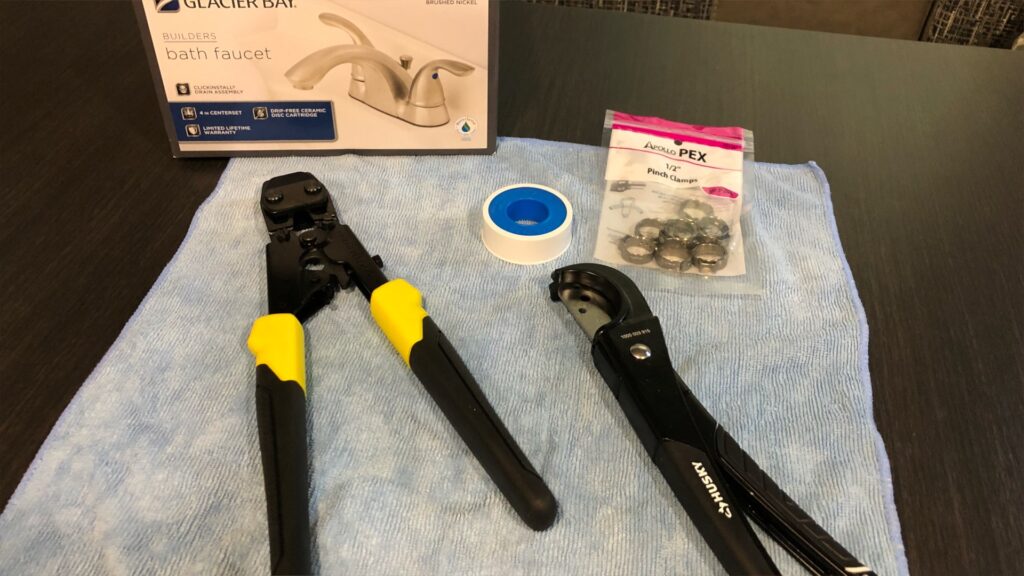


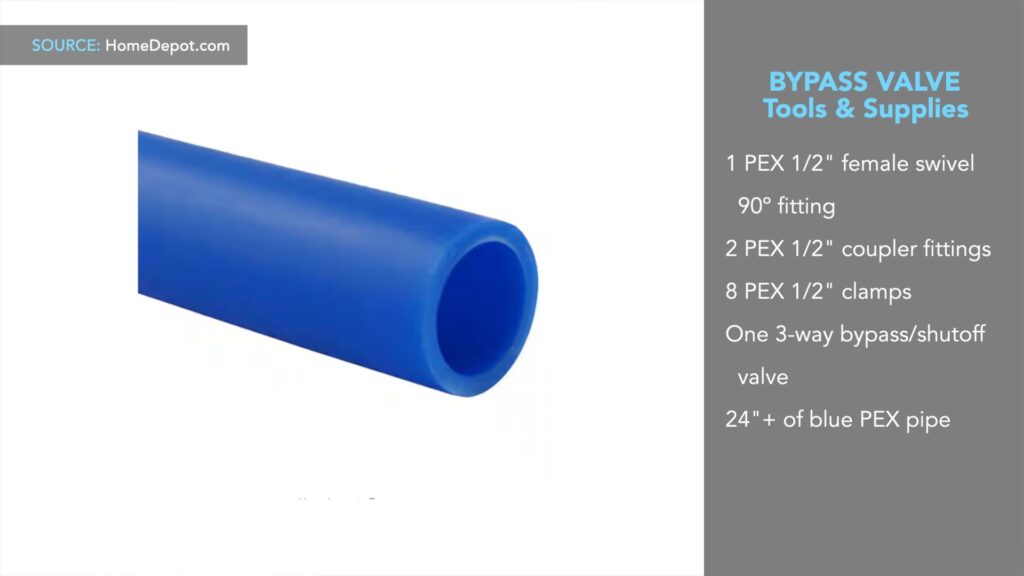

Having the right tools and supplies is essential. For this method, you will need the following tools and supplies:
- A PEX Cinch/Removal Tool
- A PEX Pipe Cutter Tool
- Medium-sized channel locks
- A Tape Measure
- A Headlight or Flashlight
- A Sharpie Marker
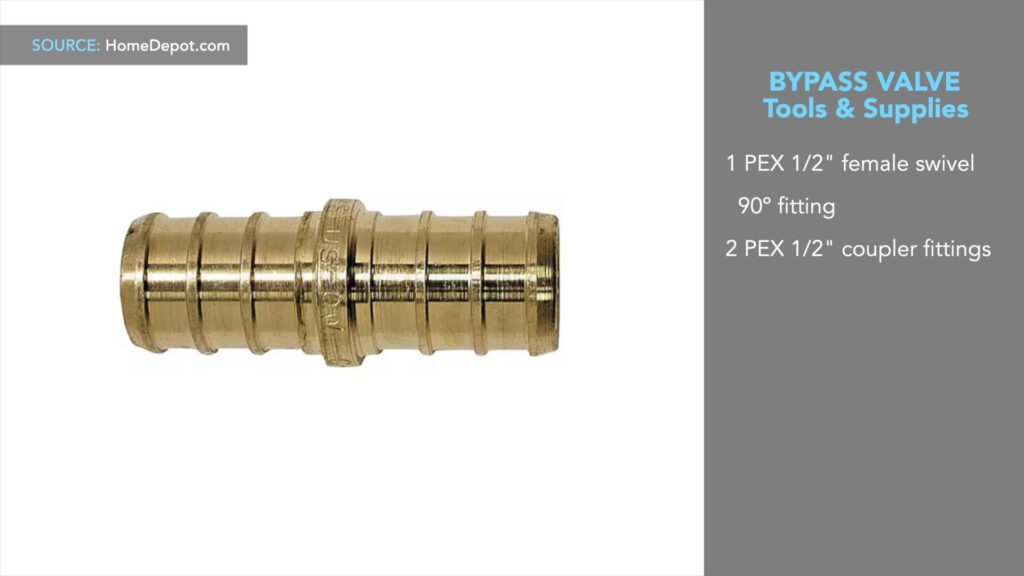
- 1 PEX ½” Female Swivel 90 Degree Fitting
- 2 PEX ½” Coupler Fittings
- 8 PEX ½” Clamps
- One 3-Way Bypass/Shutoff Valve
- And 24” + of Blue PEX Pipe
With that said, here is the process I used.
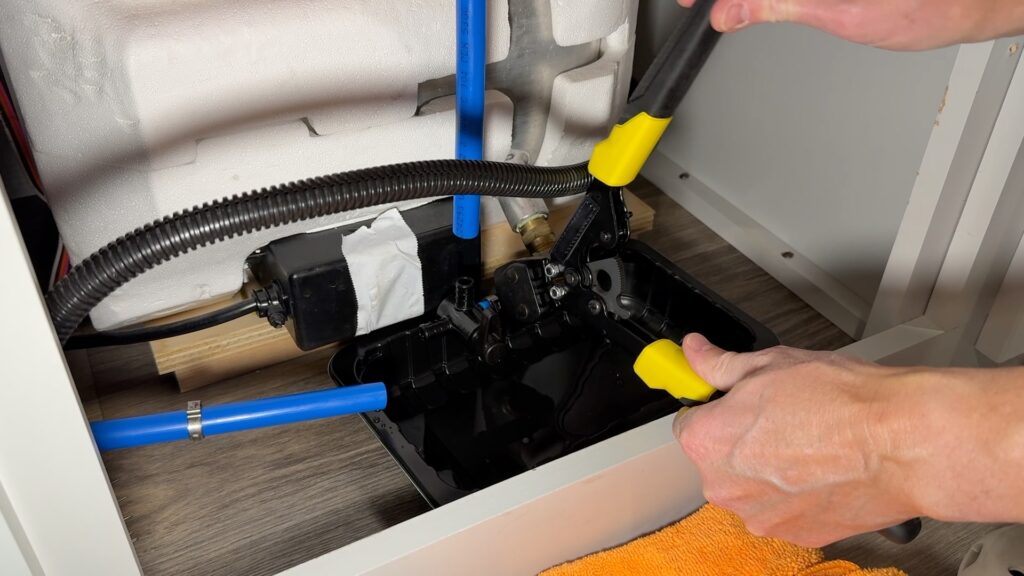
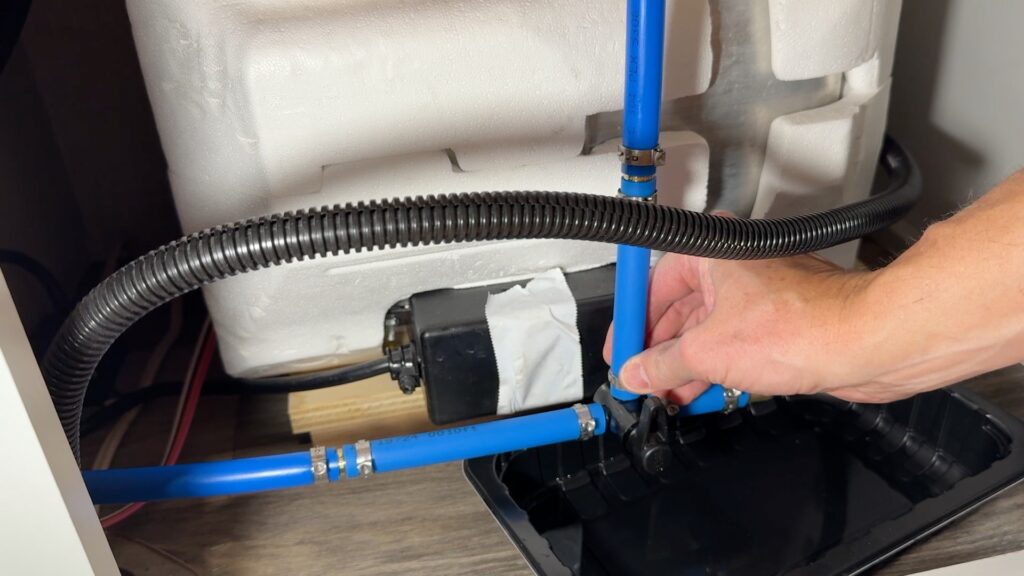
Step 1 is to remove the existing bypass valve and Female swivel connector:
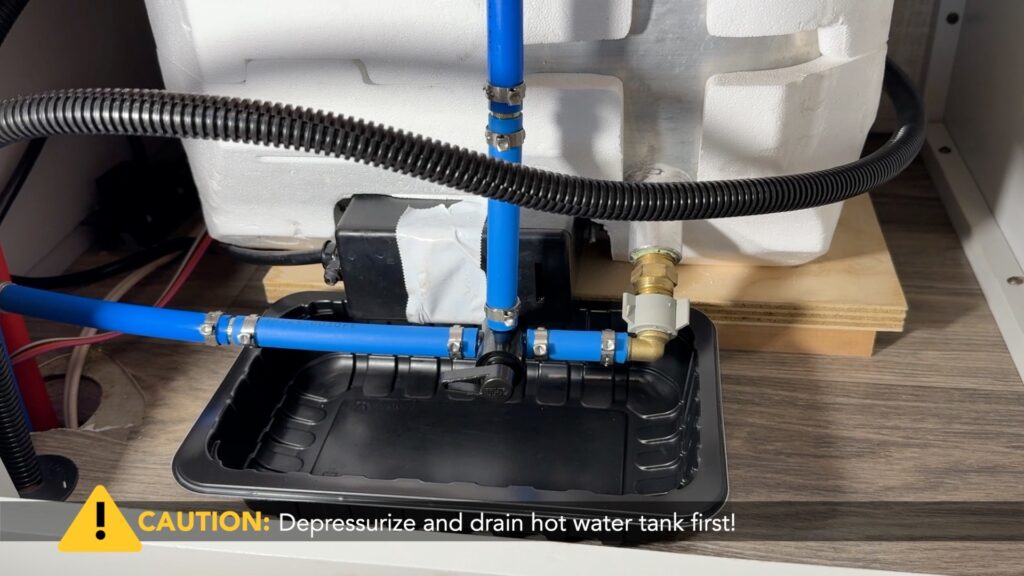
First, put a small tray below the female swivel connector to catch water.
Next, remove the female swivel connector from the hot water tank.
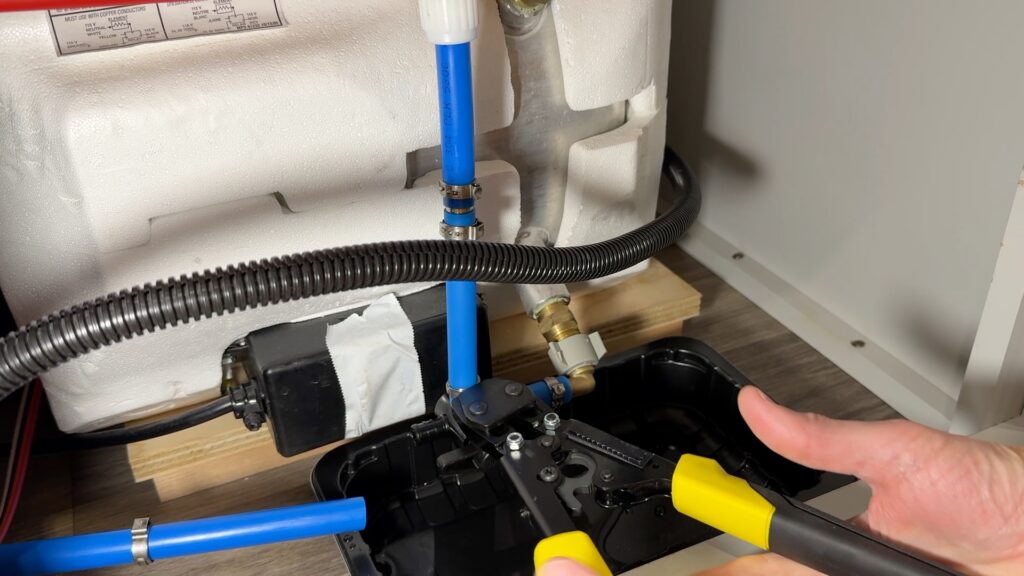
Next, using your PEX pipe cutter tool, cut the existing bypass valve off by cutting the vertical and horizontal lines running to the bypass valve.

Step 2 is to build the new PEX connections
Note: My original intention was to fully replace the lines going to the bypass valve. However, after looking at it more closely and not wanting to introduce new issues, given one connection was far back and difficult to reach to replace the existing PEX clamp, I decided to cut the lines mid-way and used ½” PEX couplers.
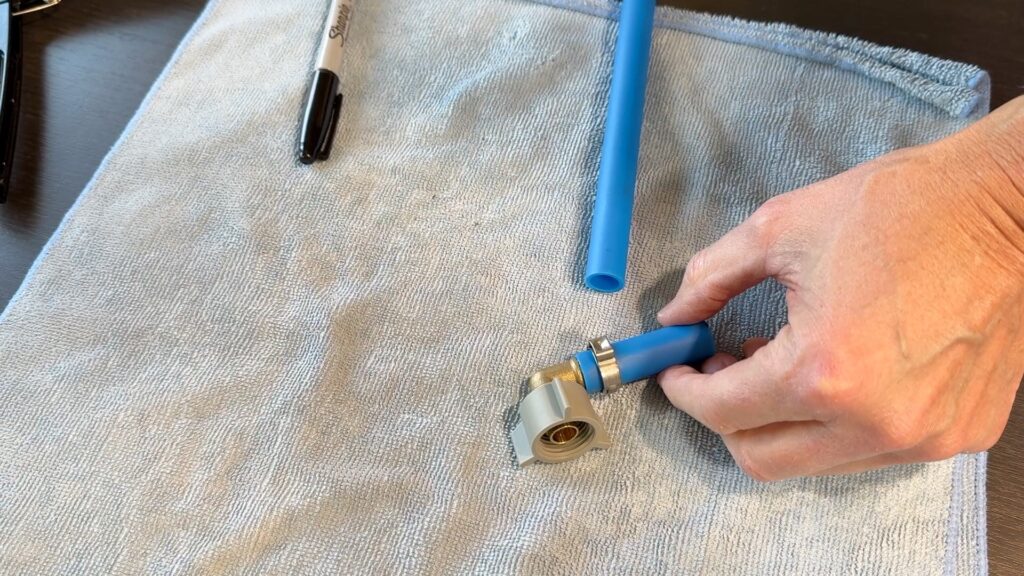
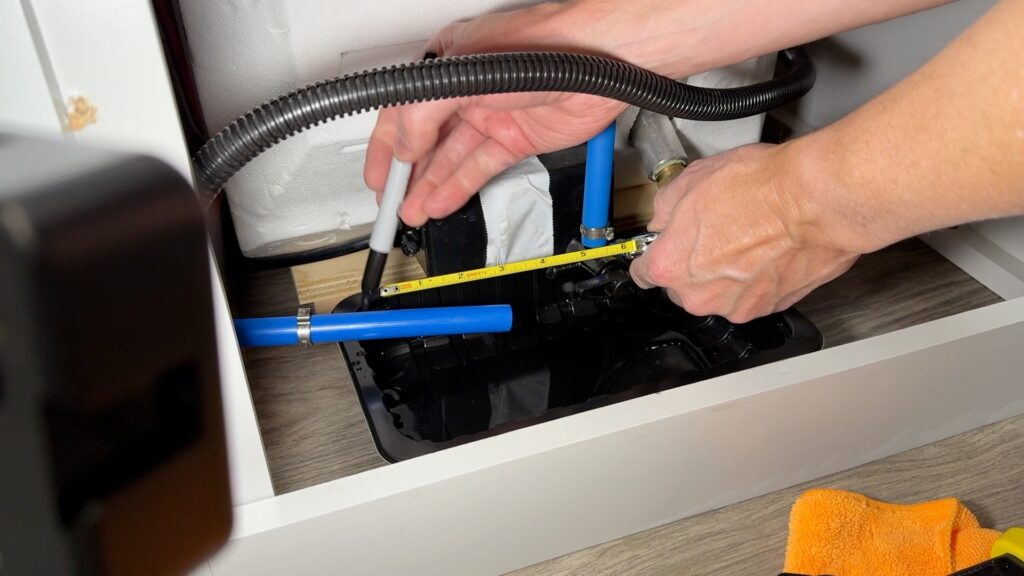
First, measure the length between the new female swivel fitting and the new bypass valve (not shown), then cut the PEX pipe to length using your PEX pipe cutting tool.
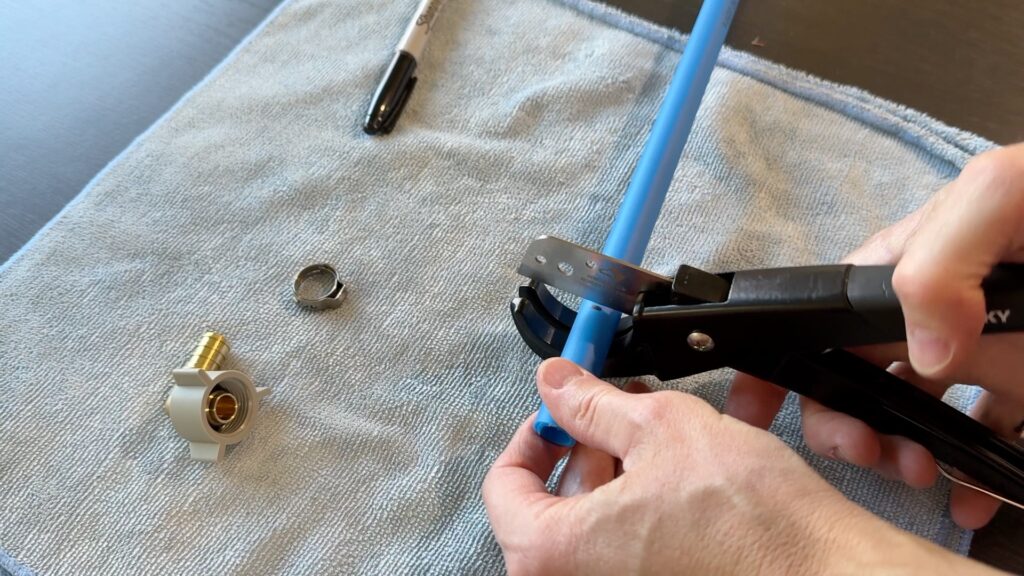
Next, fit the cut PEX pipe onto the female swivel fitting. It will take some hand strength to twist the pipe on tightly.
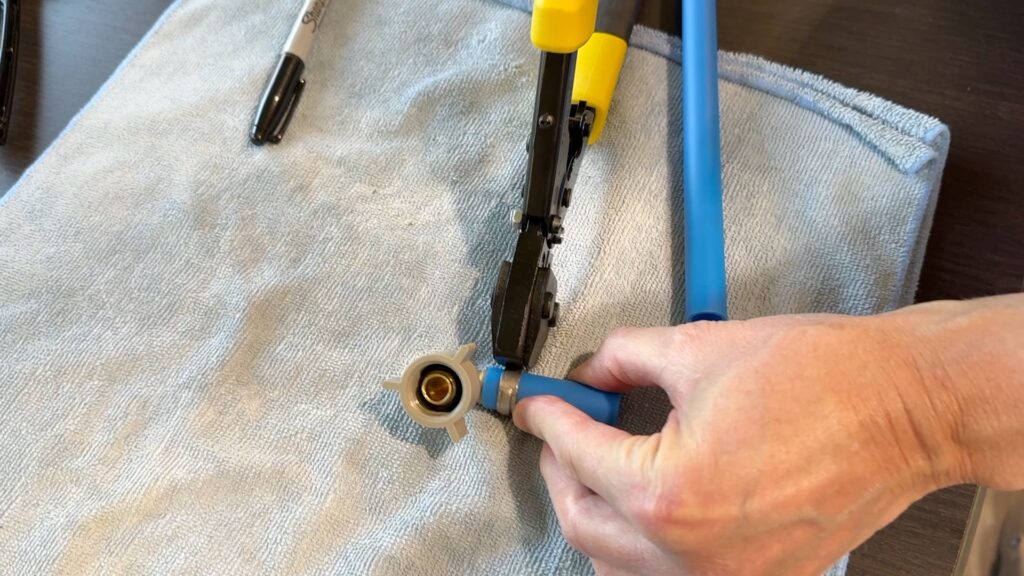
Next, add a ½” PEX clamp onto the pipe about 3/8” from the end of the pipe.
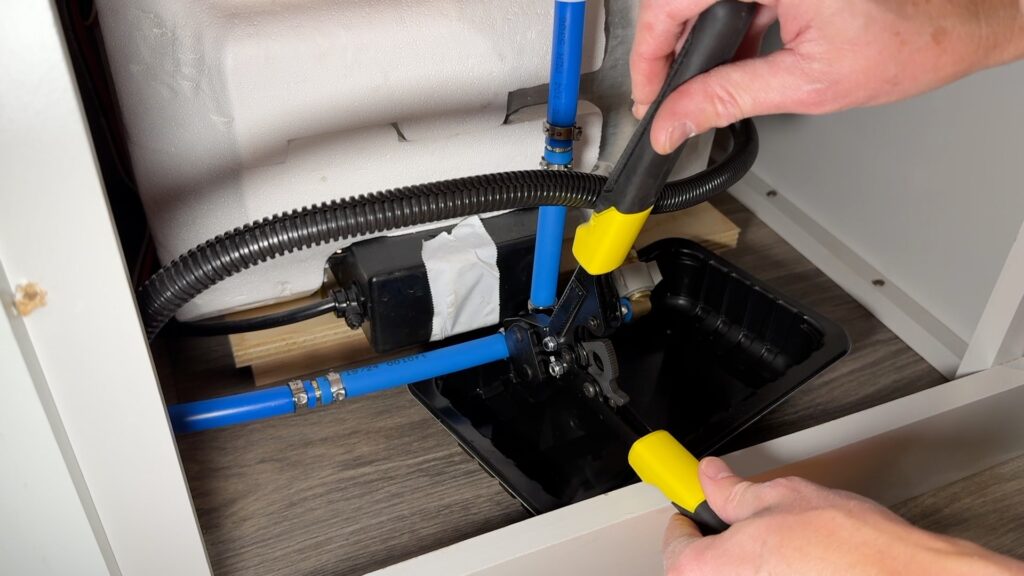
Next, using your PEX Cinch Tool, compress the clamp to the PEX pipe. This takes considerable strength and two hands or one hand and a hard surface to accomplish.
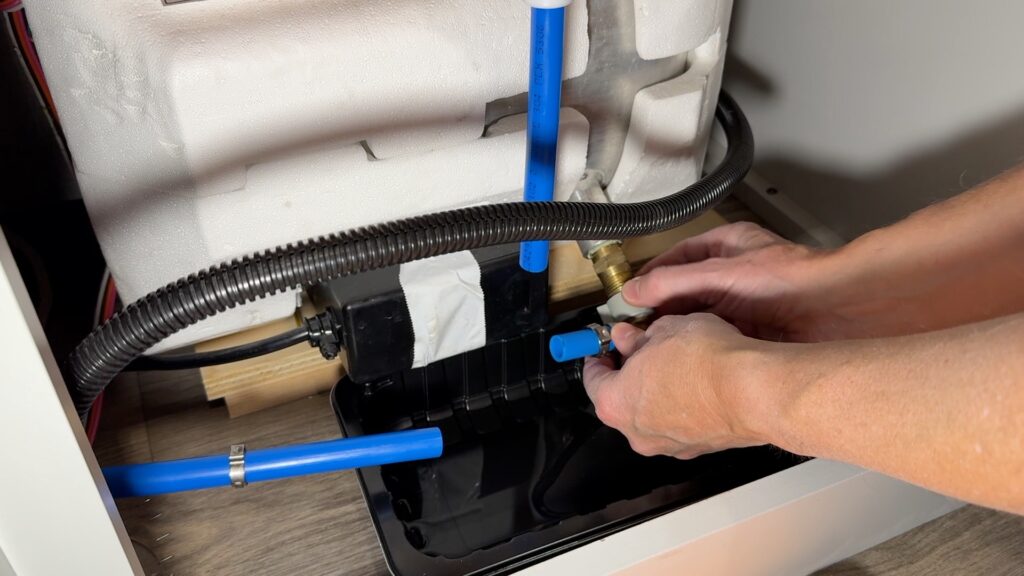
Next, fit the female swivel fitting to the hot water tank male threads. On mine, there was a rubber gasket to thread first, and it took some hand pressure to thread. You will need to adjust the attached PEX pipe as you tighten the fitting to the tank. Also, remember to put a second ½” PEX clamp in the new pipe.
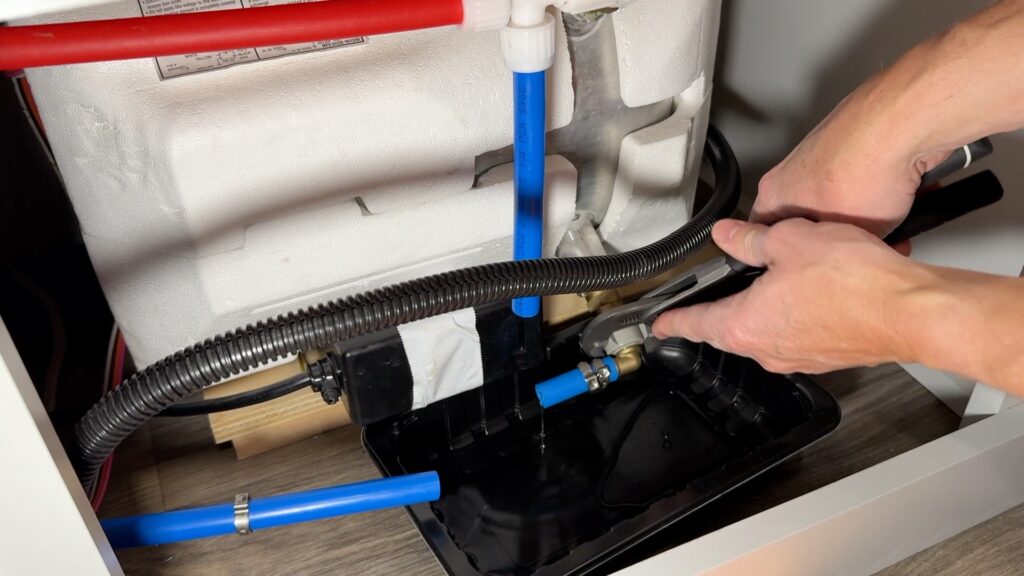
Next, use channel locks to tighten the fitting. Since the swivel fitting is plastic, be careful about over-tightening and potentially breaking the fitting.
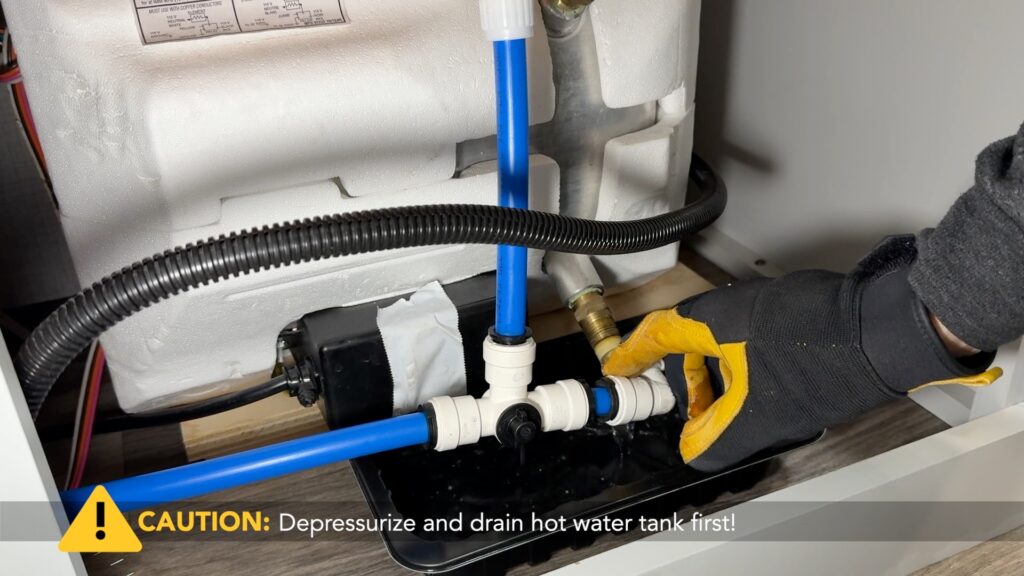
Next, fit the new bypass valve into the new PEX pipe, adjust the clamp to about 3/8” from the end of the fitting, and compress the clamp with your PEX cinch tool.
To attach the vertical and horizontal lines going to the new bypass valve, we decided to cut these lines mid-way and use coupler fitting for ease of access and future maintenance.
We did the vertical pipe first:
First was to cut the vertical line midway with the PEX cutter tool.
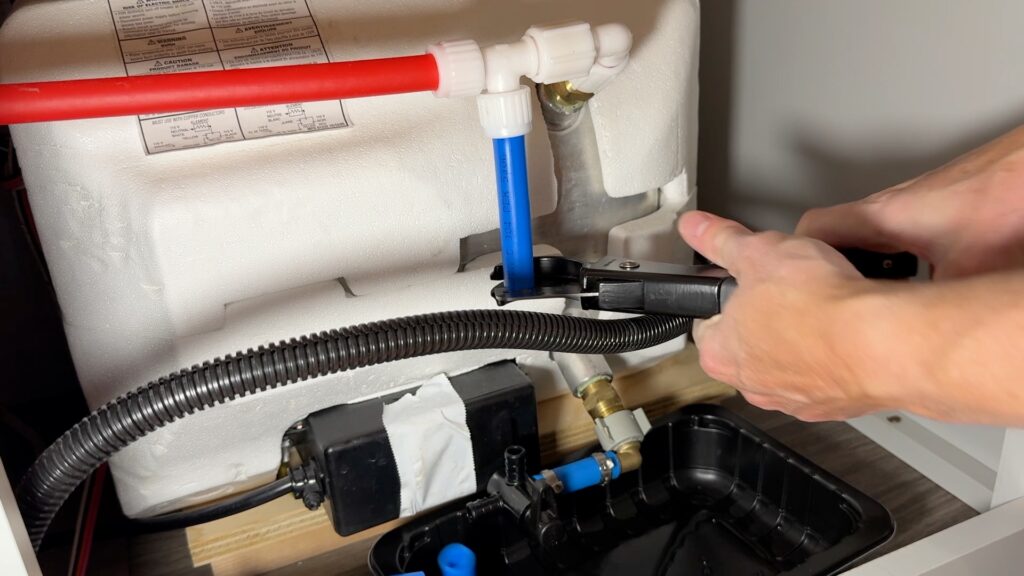
Next, place a PEX clamp onto the vertical pipe and fit the coupler fitting onto the end of the pipe.
Note: You’ll notice that the coupler slid out of the pipe, and I needed a third hand to hold the coupler fitting in as I compressed the clamp. This is because I needed both hands to compress the cinch tool. Looking back, I could have partially compressed the clamp to have it hold the coupler fitting, then used both hands to compress the clamp.
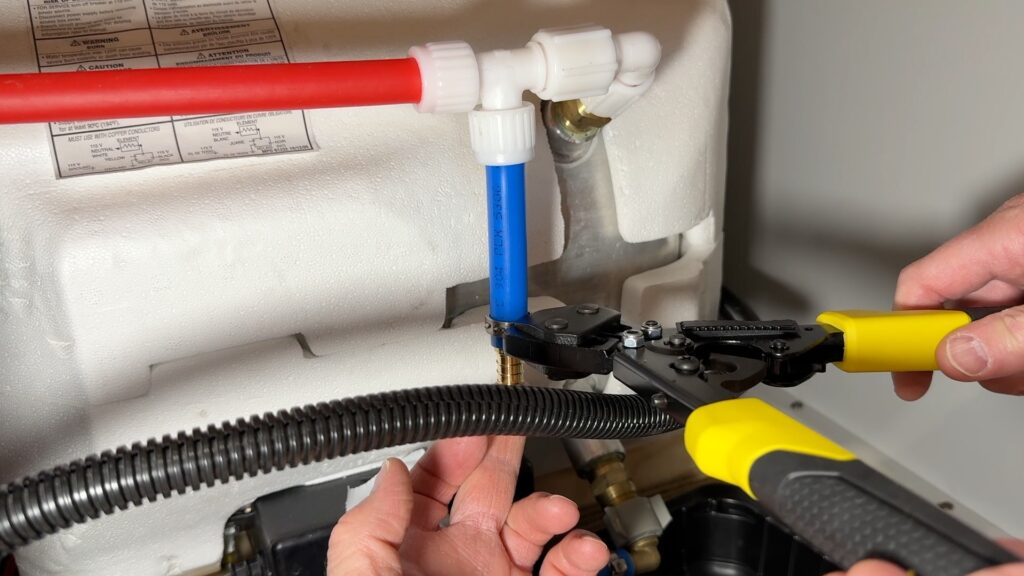
Next, measure the distance for the vertical pipe insert and cut accordingly using your PEX pipe cutter tool. Add two PEX clamps to this piece.
Next, fit the vertical pipe insert to the bypass valve and the coupler fitting. Ensure you support the plastic bypass valve when pushing the new pipe onto the valve. It takes some effort to twist and push the new pipe onto the fitting and be aware of any obstacles. Once the new pipe is inserted, adjust the clamps to about 3/8” from the end of both sides of the new pipe.
Next, use your PEX cinch tool and compress both clamps onto the pipe, and test that the fit is tight.
Now, onto the horizontal pipe:
First was to cut the horizontal line midway so I could access the pipe to compress the clamp. I did a quick measuring and marking to get a general length.
Next, add a clamp to the horizontal line and cut the line at the mark using the PEX cutter tool.
Next, insert the coupler fitting into the PEX horizontal line, adjust the clamp to 3/8” from the end of the fitting, and compress the clamp.
Next, measure the exact distance for the new pipe to fit between the new coupler fitting and the bypass valve.
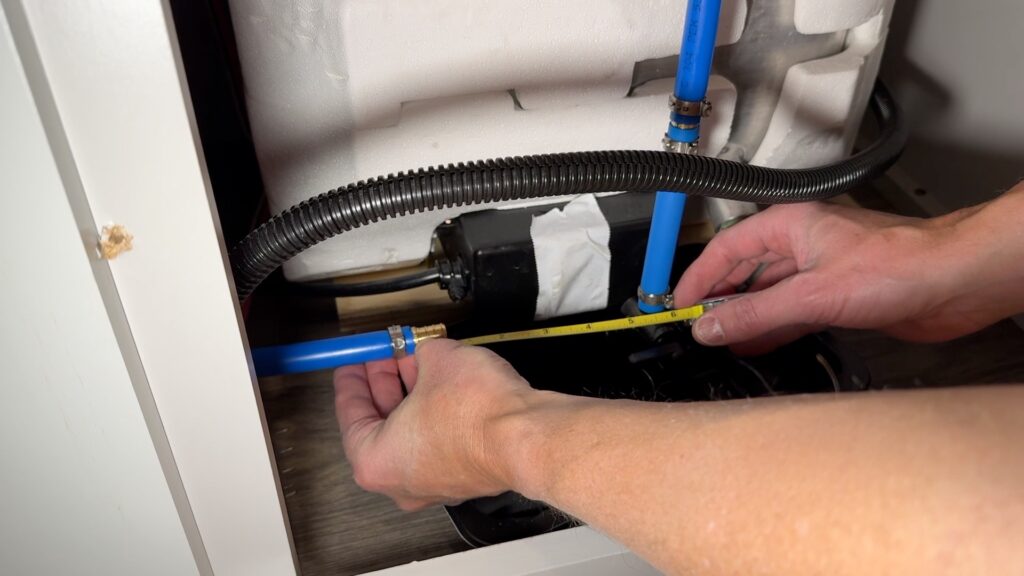
Next, mark and cut a piece of PEX pipe to length, add clamps to the new pipe, and insert the pipe onto the coupler fitting.
Next, compress the clamp at the coupler fitting, then fit the pipe to the bypass valve, adjust the clamp, and compress it.
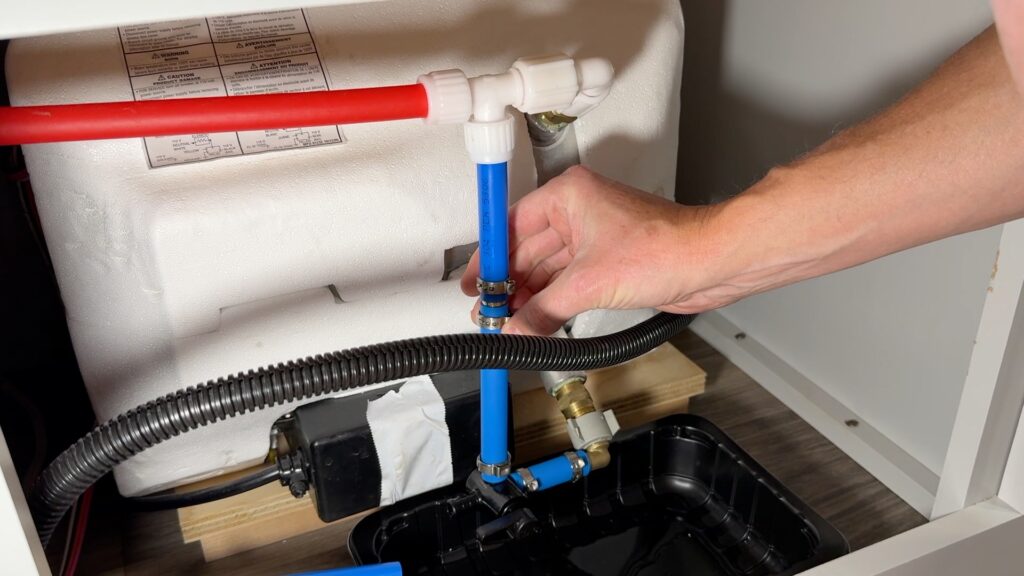
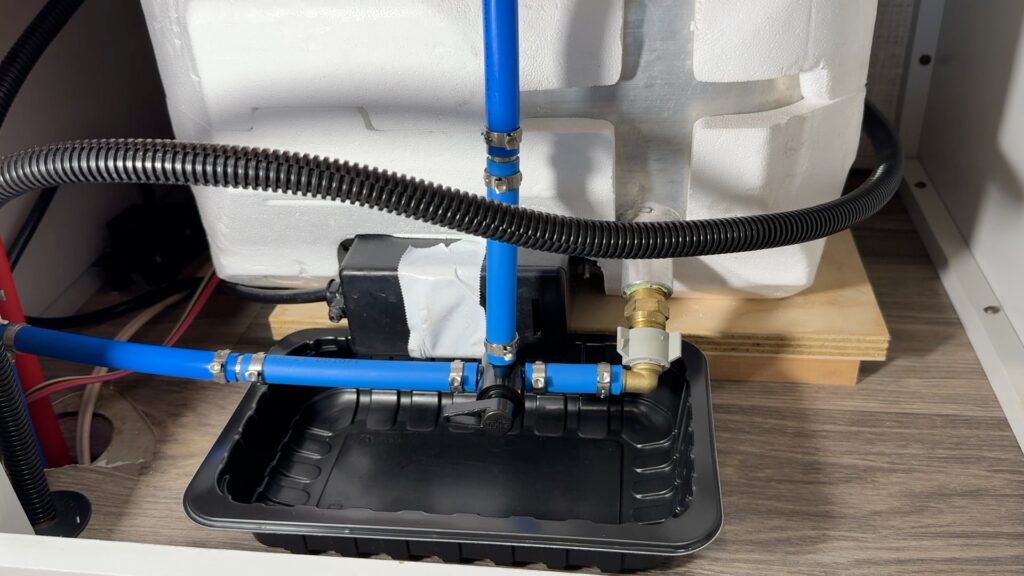
At this point, all your fittings and clamps should be seated.
Next, physically check all the connections by hand to ensure everything is seated tightly.
Finally, attach your water pressure regulator on a hose to the city water inlet of the rig and run a water pressure test to the system. When you turn the water on, you should hear water going into the hot water tank if your bypass valve is open. Filling a six-gallon water tank will take several minutes.
Next, after the tank is full and you no longer hear water moving into the tank, check the water pressure on your pressure regulator (outside) to see that you have 40-50 psi on the water lines.
Next, go back inside to the water tank with a headlight or flashlight and look closely for leaks at each fitting and at the female swivel fitting.
Finally, if possible, heat the water in your tank and let it sit for a while, then recheck the fittings for any leaks.
Okay, that should do. Congrats on a job well done!
The process document for this project on https://johnmarucci.com/docs-downloads/