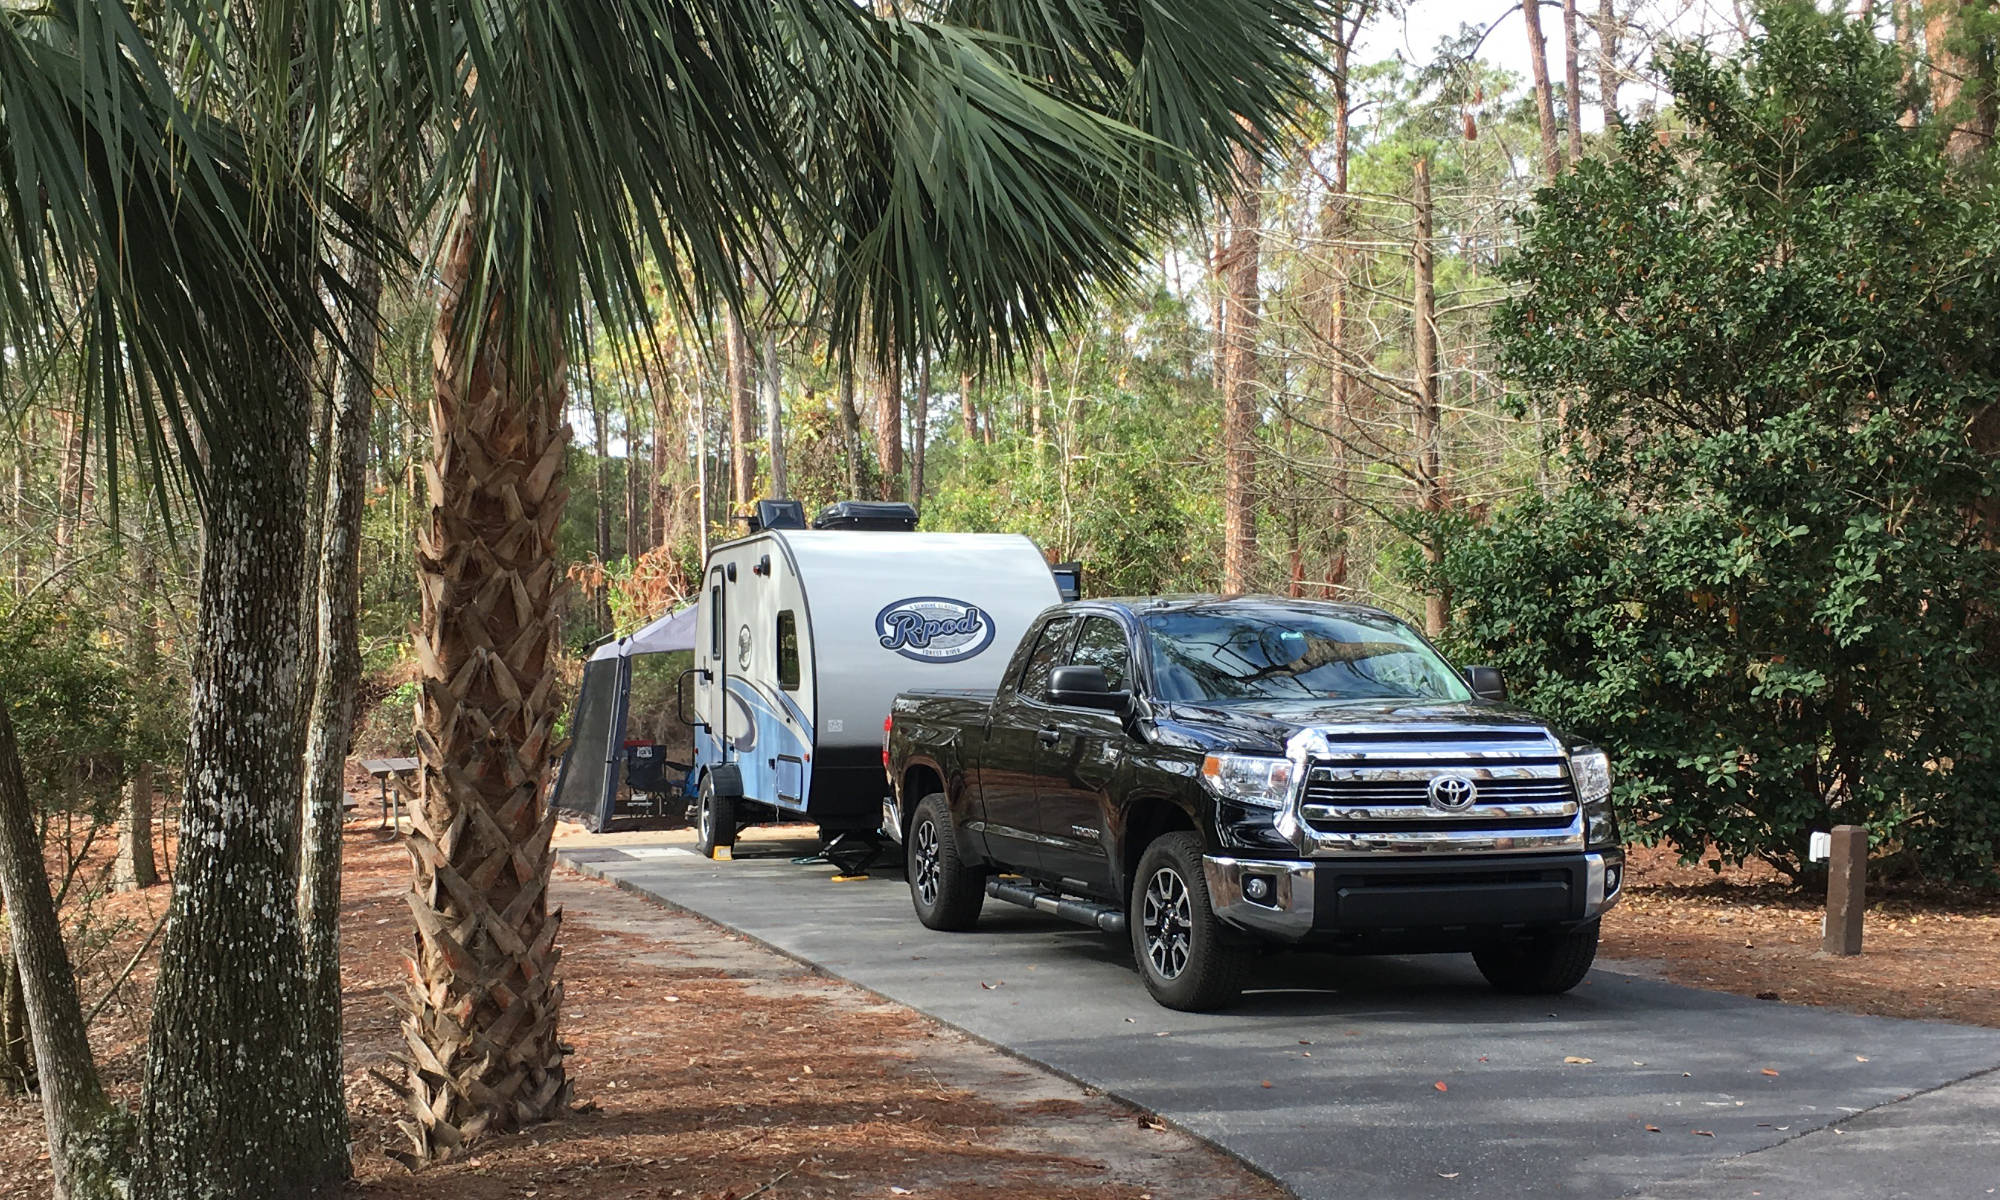
In this blog, we’ll go over the basics of how to back up your travel trailer into a campsite solo. This is targeted at those who are new to RVing but there will be plenty of tips for the more experienced. The goal is to improve your confidence when having to back up your RV solo. If you want a visual representation of this blog, watch the video called: Backing into a Campsite – Step-by-Step. There is also a process doc in the Docs & Downloads area.
Besides using a public dump station, the most stressful thing I deal with when traveling with my travel trailer is backing into campsites. This is compounded if the campground loop road is narrow, or the campsite sits at a perpendicular angle from the road. In due course, you will likely run into difficult campsites to back into. If you learn a way to back into sites that lowers your risk, your stress level will be the better for it, you’ll improve over time, and you’ll generally enjoy RVing more.
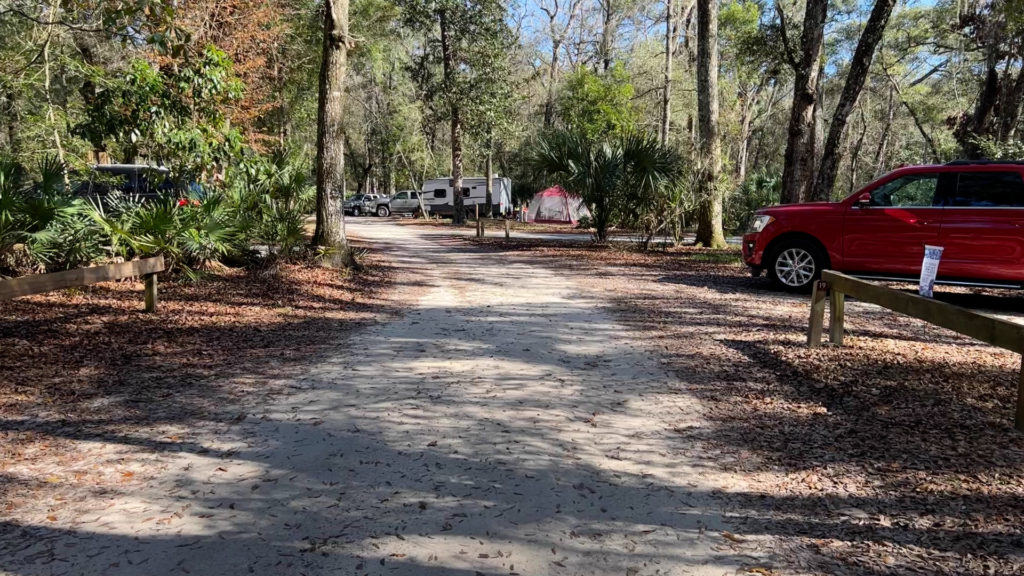
Backing into campsites takes time to master. While it may take time, there is a process to follow to help speed you along the learning curve, which we will get into shortly. First, let’s cover some basics.
Many campgrounds have pull-through sites that allow you to avoid the difficulty of backing in altogether. This is a real advantage and saves considerable time and stress. The disadvantage is usually cost, as many pull-through sites cost more than back-in sites. Also, there are usually fewer pull-through sites at a campground as they can take more campground real estate.
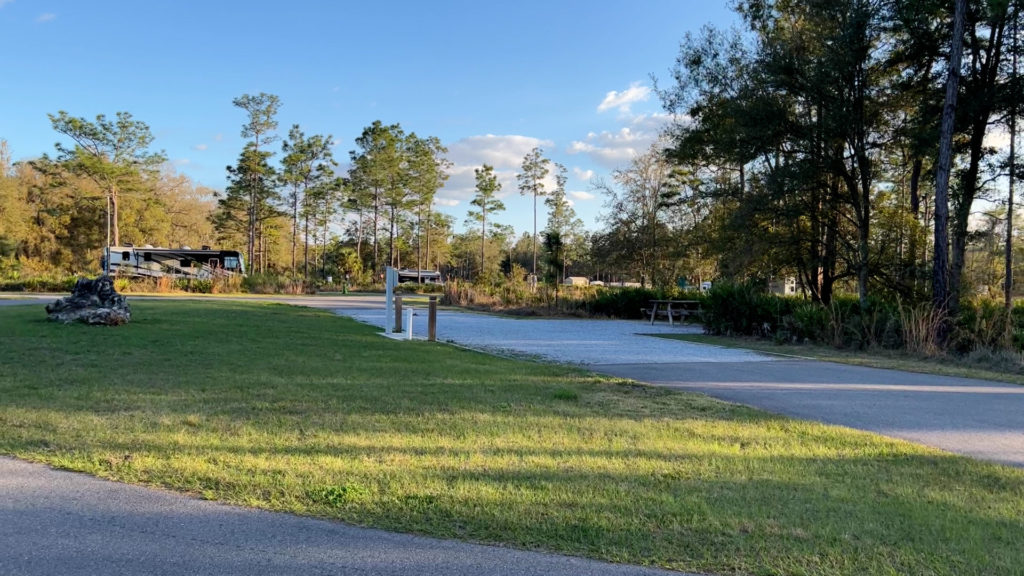
Back-in sites are the most common type of campsite at campgrounds. In general, there are two types, the ones that are set at a diagonal to the campground loop road, and those that are set perpendicular (at roughly 90 degrees) to the campground loop road. By far the easier of the two to back into are the campsites that are set at a diagonal to the campground loop road.
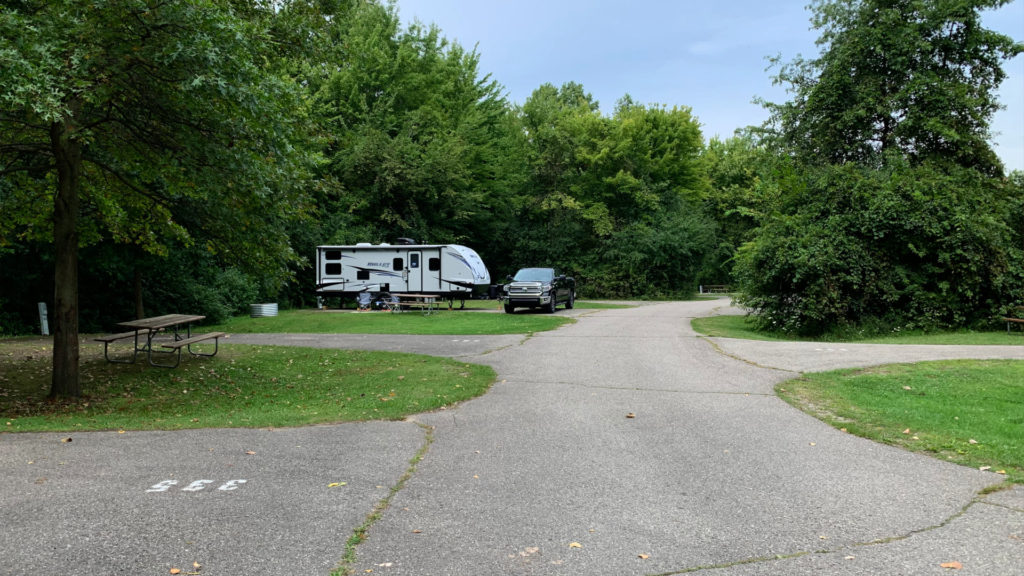
The problem with a campsite where the site entrance sits perpendicular to the road is that you must turn the back of the trailer at much more of an angle on your initial turn. If you are not careful, you can cause damage to the back of your tow vehicle by hitting the trailer or weight distribution hitch if you cut too tightly. I found this out the hard way backing into a difficult site at Silver Springs State Park in Ocala Florida. After cutting a back-in turn too tightly, I ended up putting a crease in my truck’s rear bumper from contact with the trailer’s weight distribution hitch.
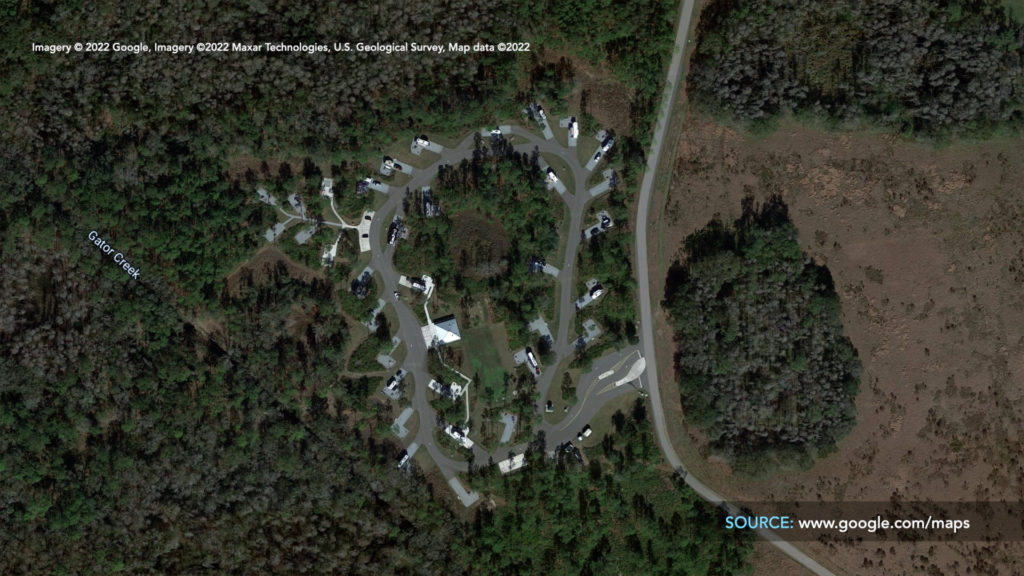
Another issue is dealing with a narrow campground road. This leaves very little room for the front side of the tow vehicle to unwind the first back-in turn. So, be aware that tight campground loop roads and perpendicular campsite entrances are more difficult to back into. If possible, when planning your trip, try to look at these dynamics on a satellite map so you know what you are in for.
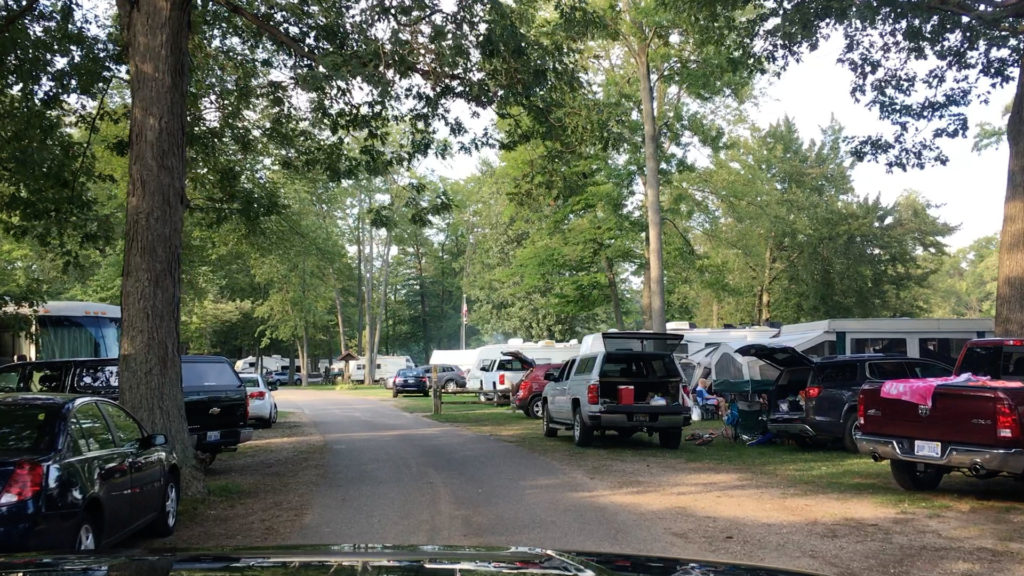
Also, some campsites can be very loosely defined, and it can be tough to see the site’s boundaries. It may be that camping neighbors have crowded your site with their vehicles or gear not even knowing they have their stuff on your site. Obstacles like vehicles and gear, as well as trees and low-hanging tree limbs, can be a real risk to your RV and/or tow vehicle.
Finally, the time of the week and season you camp will likely make a difference in how you grow in your confidence. My counsel to those just getting started is to try and start out on an off-season weekday if possible. Usually, these times will be much less busy. The last thing we need when getting started with developing our backing-in skills is close neighbors all around eyeing every move we make. It is tough enough to learn with no one around, so think about being a contrarian if possible.
Okay, with some preliminary things out of the way, let’s begin to walk through the process of backing into a campsite. We’ll go over a six-part process:
- Site Survey
- Starting Position
- Cut-Back Turn
- Unwind & Follow
- Pull Forward
- Push Back to Marks
Part 1 – The Site Survey
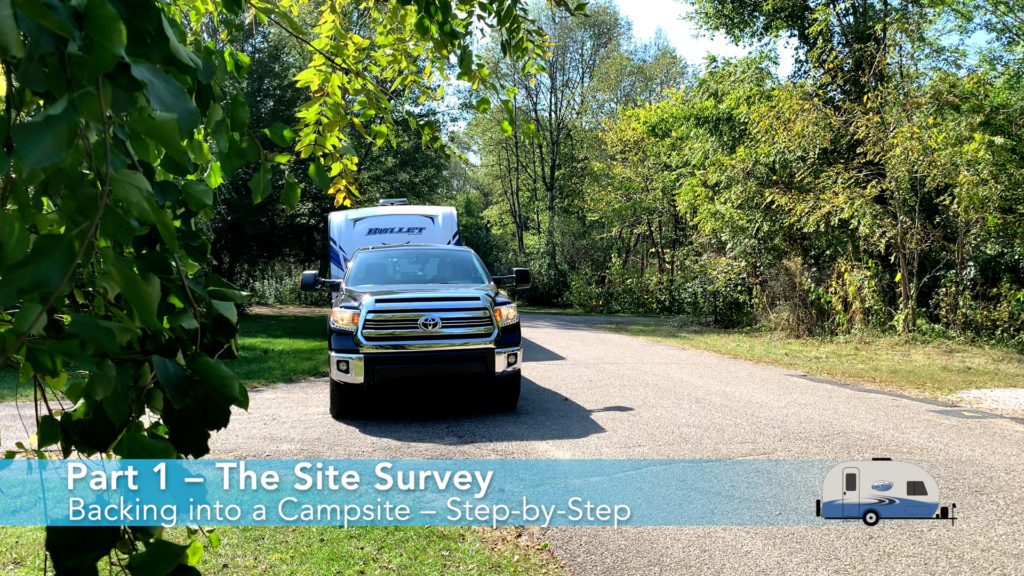
- Pull up and park in front of the campsite to survey the site. At some campgrounds with wider loop roads, you can pull slightly off the road and park. This is a bit more difficult if stopping means you are blocking a busy campground loop road. The reason to do a site survey is so you can note any obstacles, unevenness, and where utilities are. The goal is to come up with where you want the RV to end up on the campsite. Especially be aware of campsite utility poles and any other non-moveable obstacles. Also, be aware of the space you may need to accommodate your RV’s slide.
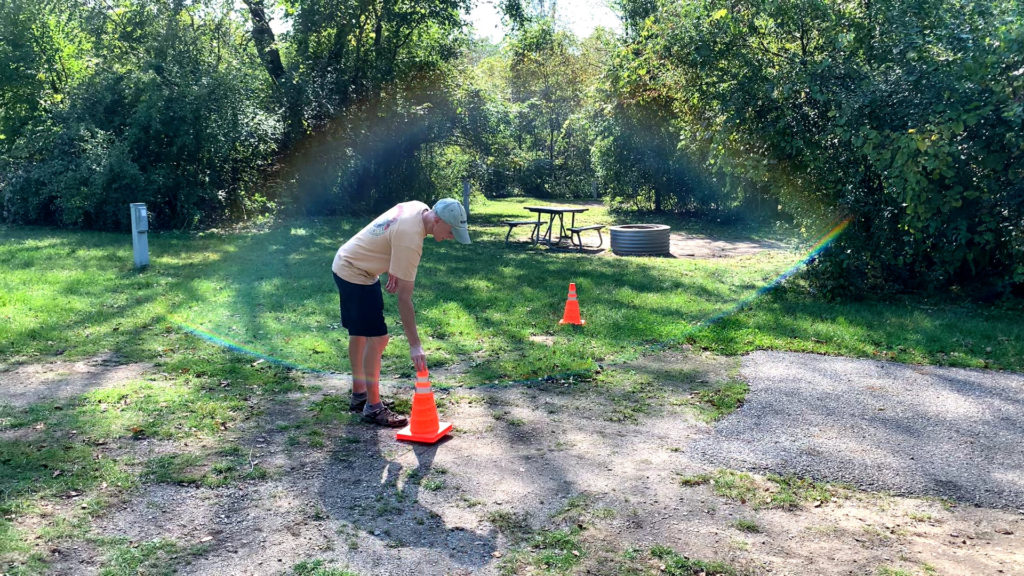
- Next, place a marker at the front corner of the campsite to have a reference point for your first turn.
- Next, mark where you want the back corners of the RV to be on the site. If you are on a full hook-up site, remember to keep in mind the placement of the sewer outlet on your RV. Use two orange cones, colored wheel chocks, or colored levelers to mark both back corners of where you would like the RV to rest on the site.
Part 2 – The Starting Position
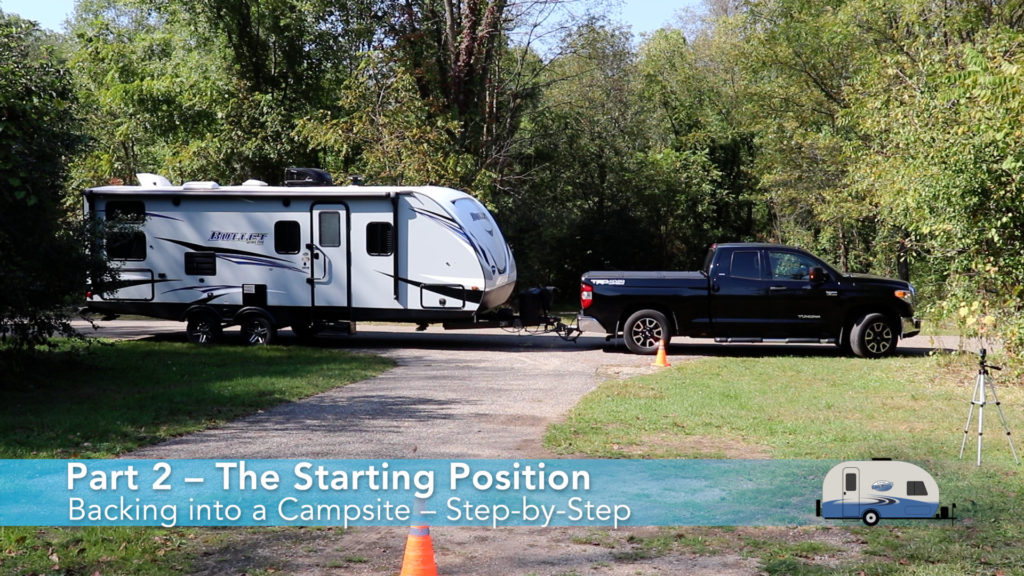
- Pull the tow vehicle and RV past the campsite drive entrance enough to where the back corner of the RV is parallel to the cone at the front corner of the campsite drive entrance. This will allow you to begin your back in with plenty of room to execute your first back-in turn.
Part 3 – The Cut-Back Turn
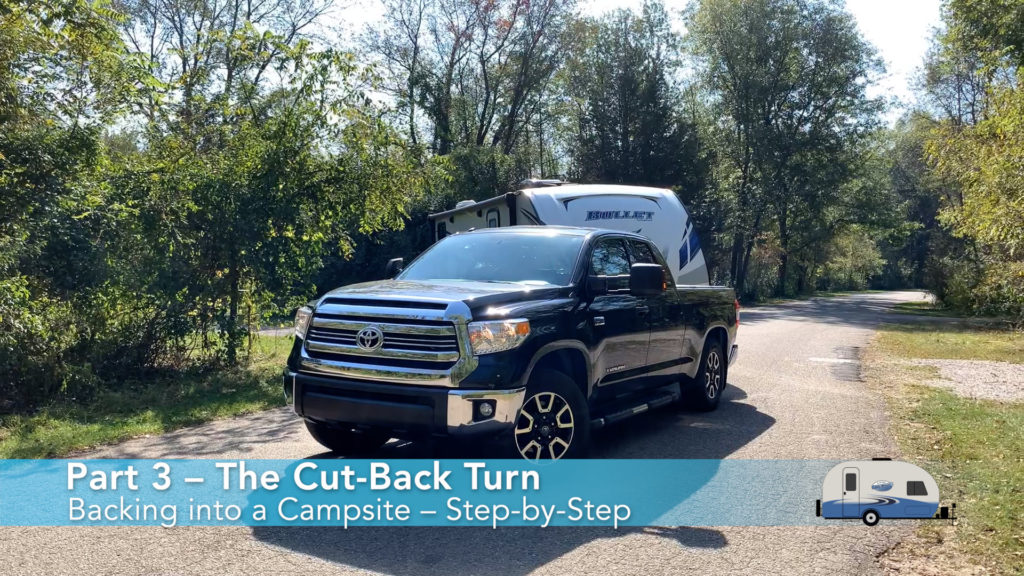
- Turn your tow vehicle steering wheel in the opposite direction to where you want the back of the trailer to go. This is counter-intuitive and takes a bit of getting used to. If I turn my steering wheel to the left while going backward, the back of the tow vehicle and front of the trailer will move in the same direction, pivoting the back of the trailer in the opposite direction. This is because the tow vehicle is attached to the trailer at a single point at the trailer’s tongue. The force in one direction on the tongue will pivot the back of the trailer in the opposite direction.
- Next, move the tow vehicle very slowly back as the back of the trailer moves toward the campsite. As a tip, you will likely need to use the opposite mirror from the way you are turning your steering wheel. I sometimes stop and adjust my mirrors to make sure I can properly see the back of my trailer.
Part 4 – The Unwind and Follow
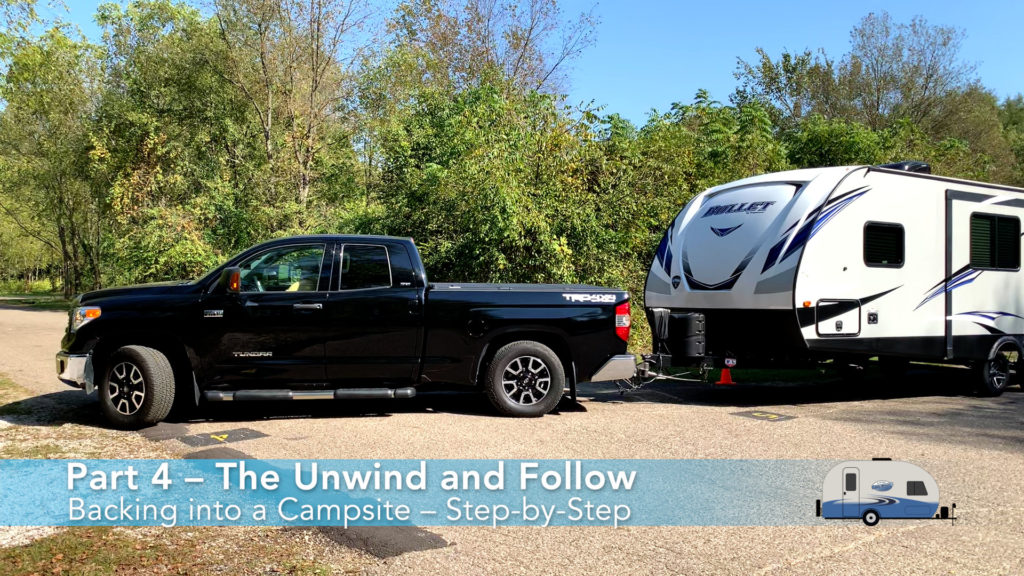
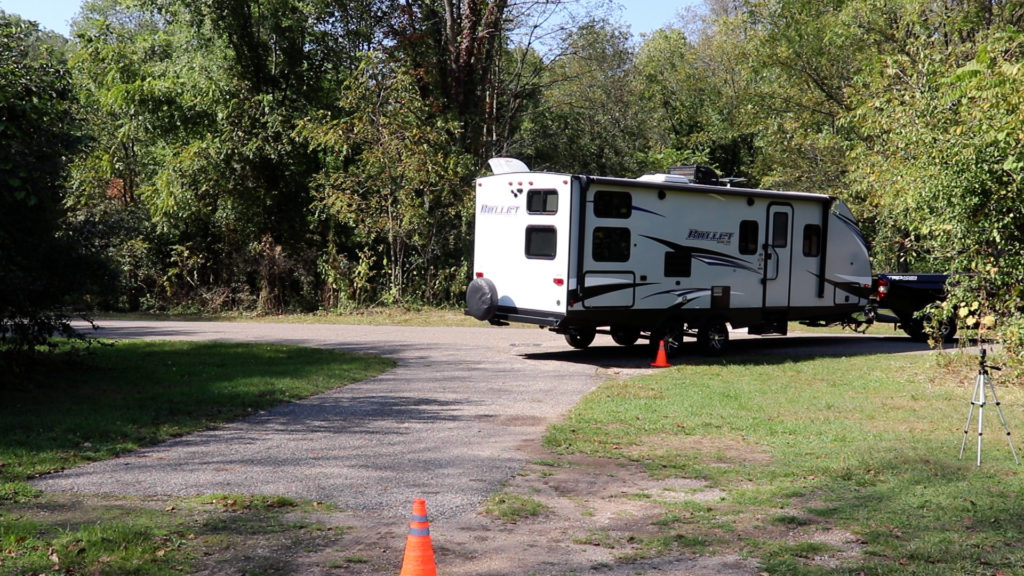
- Once you are moving the back of the trailer in the right direction pivoting around the front campsite cone, you will need to unwind your turn which will move the front of the tow vehicle toward the opposite side of the road. This is where you can get into trouble if you are not careful, especially given a narrow campground loop road with trees, shrubs, or vehicles near the road across from your site.
When you unwind the first turn, what happens is the trailer begins to move in the opposite direction from the first back-in turn. This is usually needed in most situations. However, the front of your tow vehicle will turn toward the far side of the loop road quickly when doing so. If there are serious obstacles near the road, there is a real risk of hitting them with the front of the tow vehicle.
- Next, once you allow the first back-in turn to unwind, you will be straightening up the trailer on the campsite pad. Many times, at this point in the process, I find that I have either overshot or undershot where I wanted to be on the campsite pad. If you are fortunate and there is considerable length to the campsite pad, you can back up a ways on the pad before you pull forward to straighten things out.
Part 5 – The Pull Forward
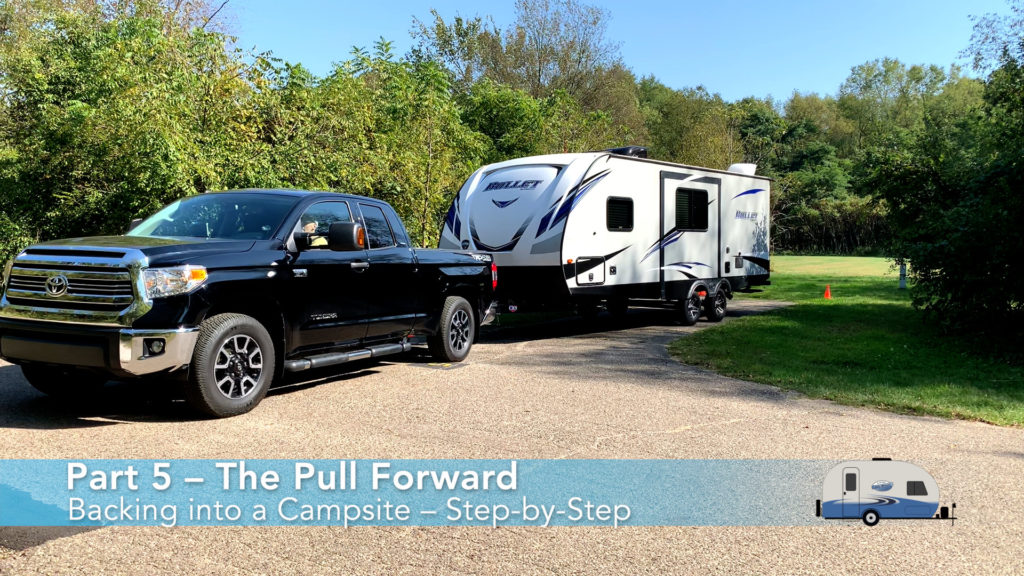
- Pull forward as much as possible straight out of the campsite. If there is an open space directly across the road, pull the tow vehicle forward in the site giving yourself plenty of room to back in straight.
On some occasions, mainly due to obstacles across the loop road, you may have to pull out completely and go around the loop road again for a do-over. I have had to do these many times, so it is nothing to be ashamed of, especially on a very difficult back-in.
Part 6 – The Push Back to Marks
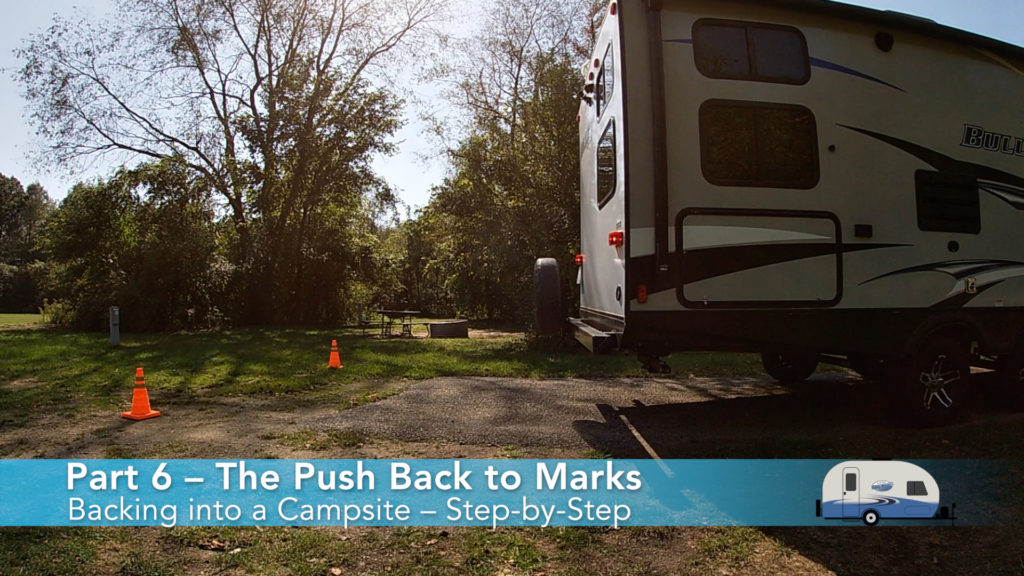
- Once the RV and tow vehicle are pulled out straight, back in again using your colored cones as guides. Try to get the back corners of the RV aligned with the cone marks. Since you have already mapped out where you need to end up, you shouldn’t have issues with slide-outs having room, the reach of your electrical cord, water hose, or sewer connection.
Ok, that’ll do it!
All the best in your camping endeavors!
As always, thanks to our fans who support our efforts by starting their shopping from our Amazon Storefront and by their generous financial support by using the THANKS feature located under each YouTube video ($ within the Heart icon). Your support is greatly appreciated!
