
In this blog, we’ll go over the step-by-step process of replacing the front decal on my 2017 R-Pod 179 travel trailer. After bringing the trailer out of storage this past season, we noticed that the front decal had developed several cracks in the vinyl. Not wanting to leave the decal to decay further, we decided to remove and replace it. While the process of replacing an RV decal isn’t difficult in theory, there is quite a bit of manual labor and time involved to do so. Please watch the video we have that ties to this blog for more visual details.

The first thing to consider before attempting to tackle such a project is safety. You will likely have to do this work while on a ladder. Also, if you are replacing the front decal, the front of the trailer will be curved away from you – so you will have to stretch away from the ladder at times when working. If after watching the process, you don’t feel comfortable doing this type of work, please contact a local RV dealer or service center to have the work done for you.
There a few tools and supplies we used to tackle the project. Most of the tools are inexpensive or you may already have them at your disposal. You can find most of these tools and supplies at a local hardware store or on our Amazon storefront. Also, the step-by-step printable pdf instructions for this process are available at johnmarucci.com on the Docs & Downloads page in the Resources area.
Tools Required:
Portable hand-held hair dryer or hand-held hot air/heat gun
Heavy duty extension cord for the dryer or heat gun
2-4” plastic putty knifes
Plastic flat auto trim tool or plastic razor blade scraper
8’ to 10’ ladder and/or 5’+ large step stool
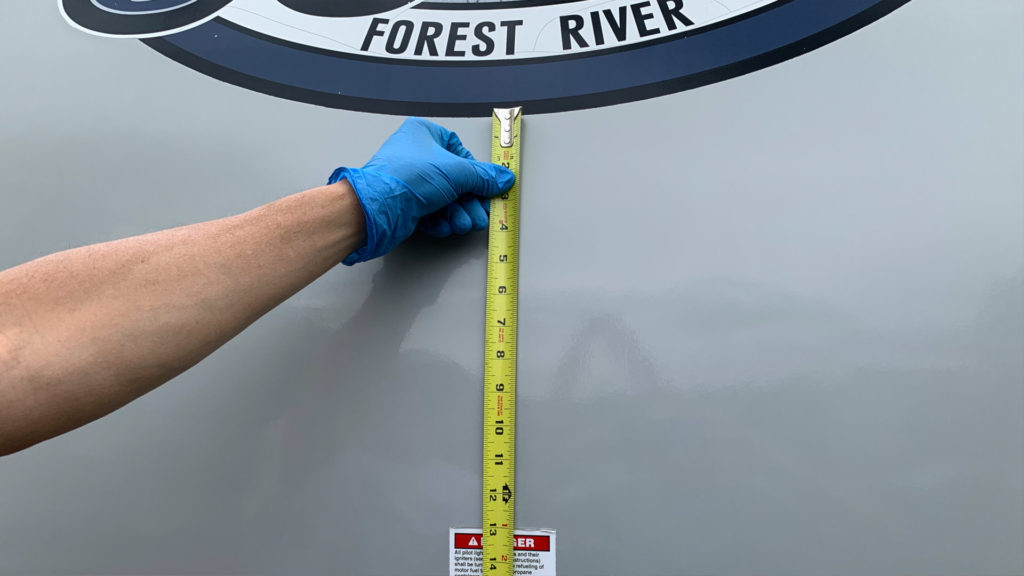
Tape Measure
Supplies Required:
Goo-Gone
Isopropyl Rubbing Alcohol
Marine/RV Oxidation Remover
Old cloths for application of supplies
Painter’s tape (wide and narrow if available)
Steps Required to Complete the Task:
Position your ladder or step stool so that you can easily reach the decal.
Measure and record the distance up from the bottom of the trailer front tongue plating to the bottom of the existing decal. Also, measure and record the distance from each side of the trailer roof side wall railing to the sides of the existing decal. These measurements will be used to place the new decal later in the process. You may find that the current decal is not centered on the trailer. It is your call whether to place the new decal exactly where the existing one is or to adjust its placement to where you desire. Note, that if you do decide to change decal placement, there may be significant fading of the fiberglass finish over time which will show up if the position of the decal is moved.
Plug in your portable heat gun or hair dryer securely with a heavy-duty extension cord. Ensure there is plenty of slack in the cord.
Turn the heat gun or hair dryer to blow hot air and begin to heat the area of the decal you want to start scraping off. I used a household hair dryer. If you use a heat gun, be careful how hot the setting is.
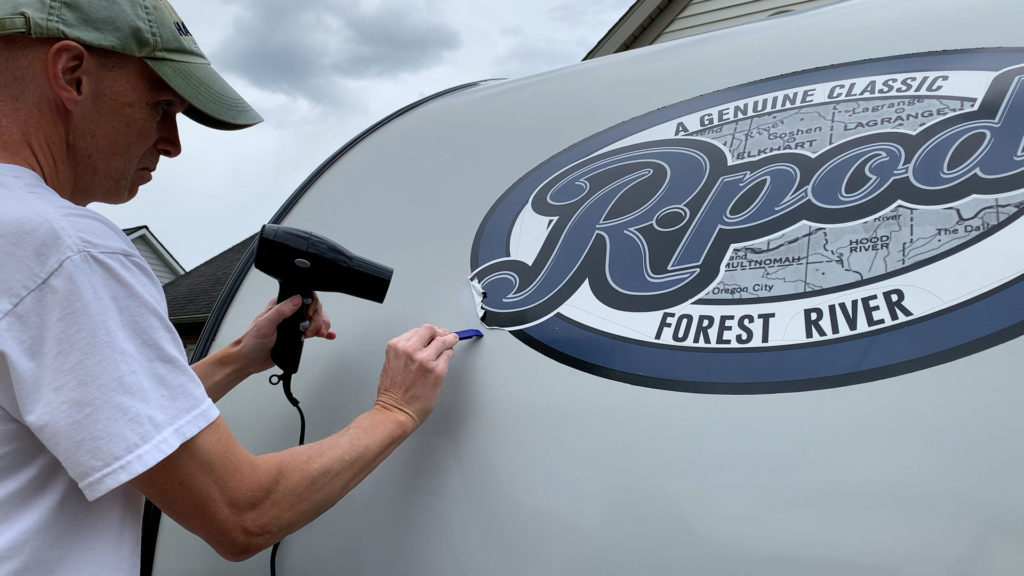
Use the automotive trim tool or plastic razor blade to begin scraping off the existing vinyl decal while keeping the hot air pointed at the decal. As the decal heats up, it should begin to slowly peel where you are scraping.
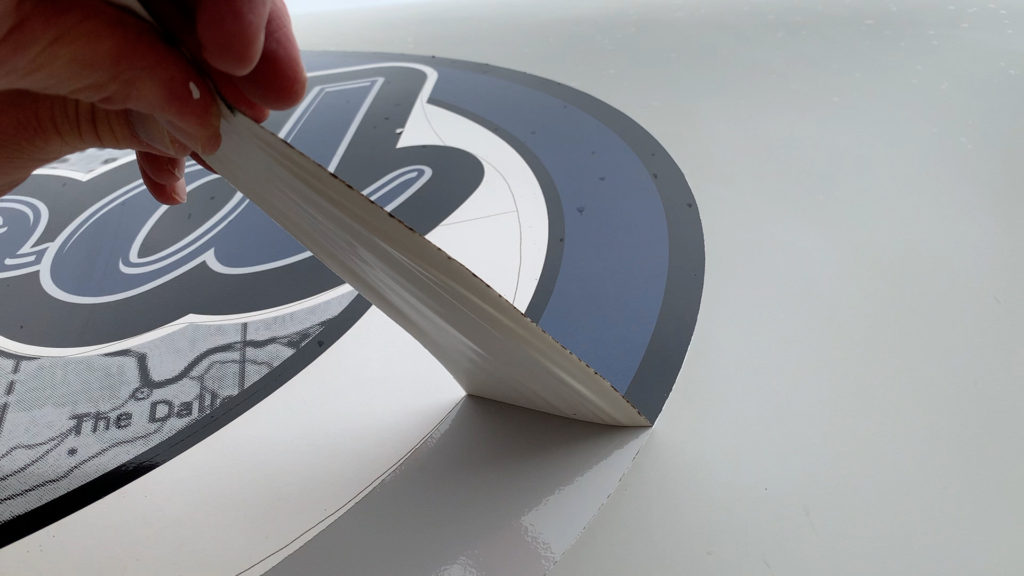
Once you have a significant portion of the decal beginning to peel, start to slowly pull the decal off manually. This can be a very slow process as many times we had the decal break while attempting to peel it off by hand. It was interesting that the darker colored vinyl areas of the decal seemed to peel much easier than the lighter colored areas. This heating and scraping process took quite a long time using a household hair dryer and an automotive trim tool. A proper heat gun and plastic razor blade may have sped up the process. So, level-set your expectations on the time and effort required based on the tools you have.
After removing the main parts of the decal, you may still have small pieces of decal glued to the trailer surface. This will require more scraping to remove.
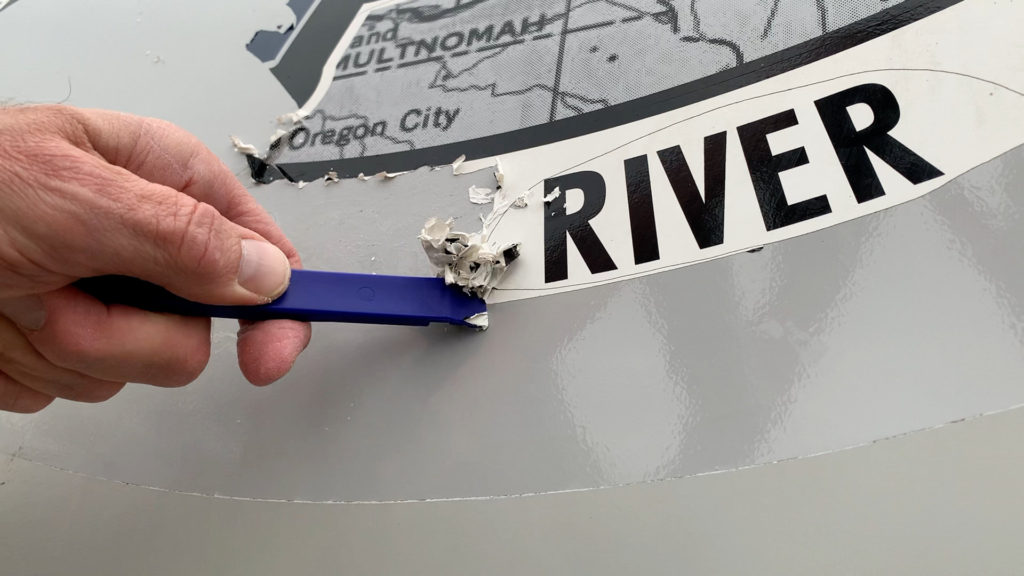
Use Goo-Gone or a similar remover to spray onto the glue and further scrap off any residual glue from the surface of the trailer where the decal was.
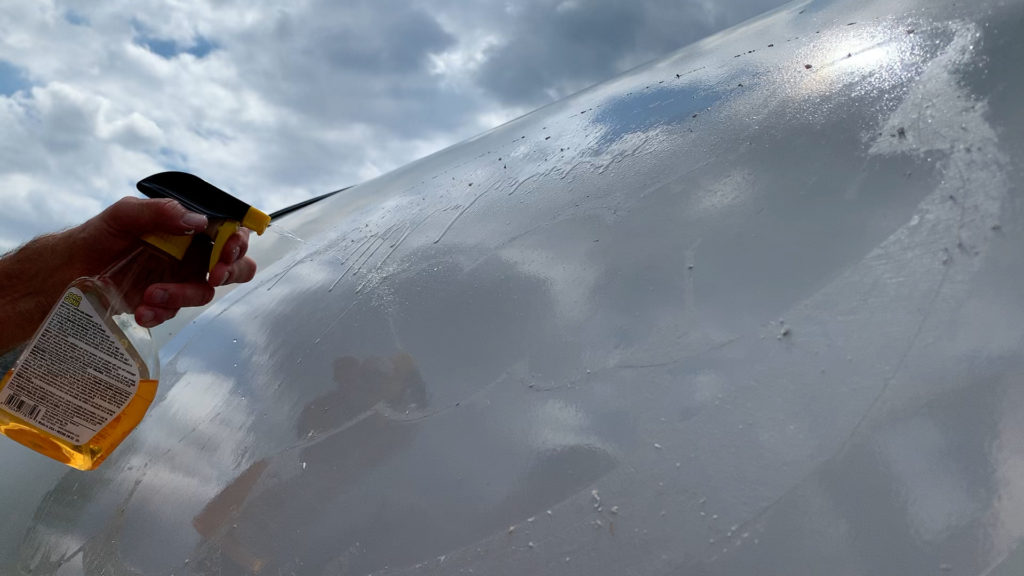
Apply isopropyl alcohol to a small towel and apply it to the decal area to further remove any glue residue. This should clean the area fully so that it is ready for the new decal.
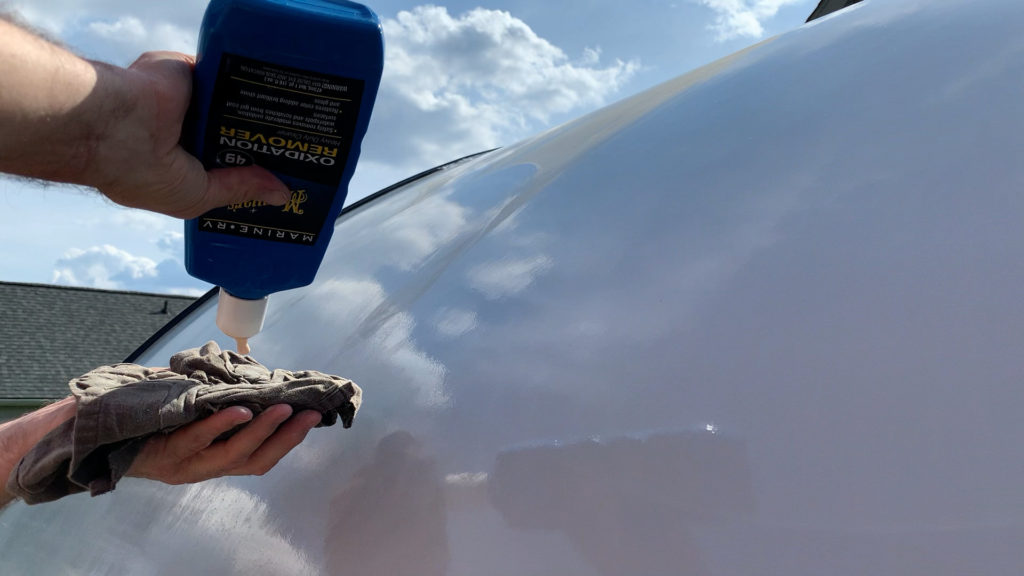
As an added cleaning step, we used Meguiar’s Marine/RV Oxidation Remover on the surface area where the decal was to further prepare the area for the new decal. This step also helped remove any further glue residue.
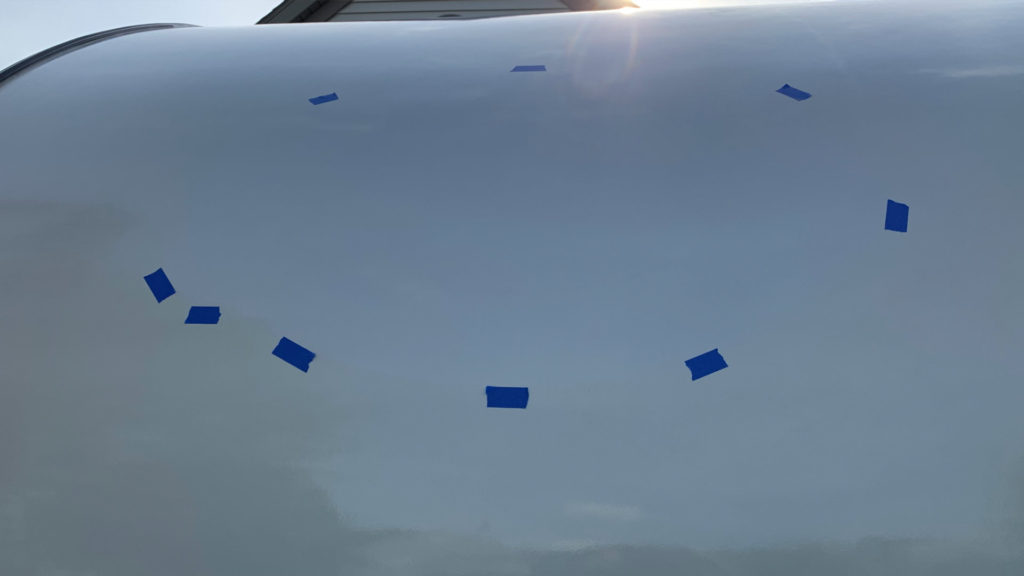
Tape the outline of the area where you plan to put the new decal. We used the exact area where the old decal was so any fading of the fiberglass would not be apparent. Use the measurements outlined earlier in the process, to either confirm the existing location or to change the location of the decal. Use small pieces of removable painter’s tape to create a basic outline of where the new decal will go.
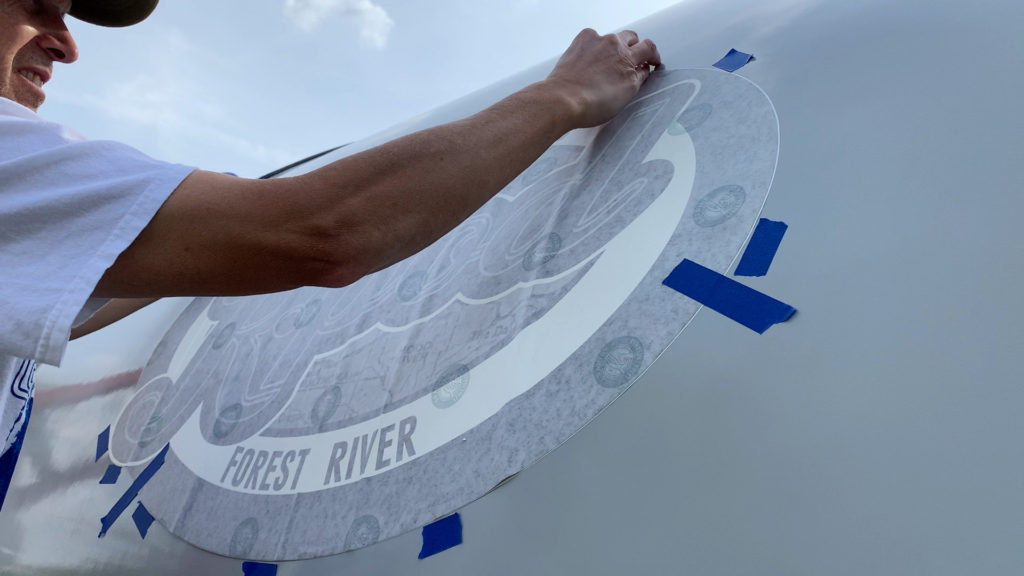
Place the new decal into place and secure it with strips of painter’s tape. From this shot, you can see that I am using several pieces of tape to ensure the decal stays in place.
Add a large vertical piece of tape along the center of the new decal. This long vertical piece of tape will serve as a pivot point to remove the decal backing. Notice here that I used wider painter’s tape to place the long piece vertically along the north/south axis of the decal, but just slightly off-center.
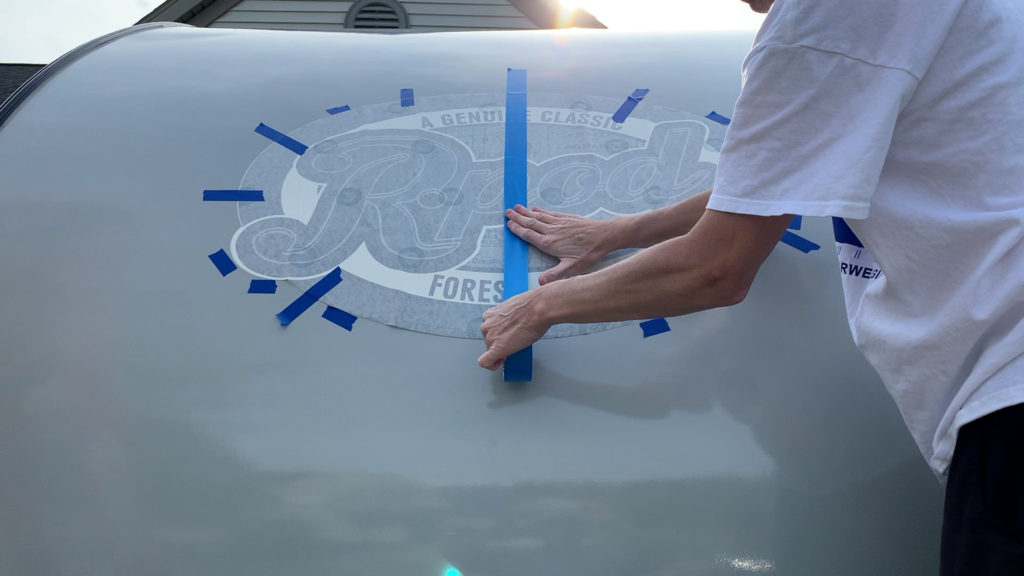
Place a couple smaller pieces near the long vertical piece on the left side to hold the decal in place at these points. We need to reinforce these areas before we cut and remove the decal backing.
On the right side of the decal, remove the tape holding the decal in place. At this point, only the long vertical tape will be holding the right side to the trailer surface. I also removed the guide tape at this time.
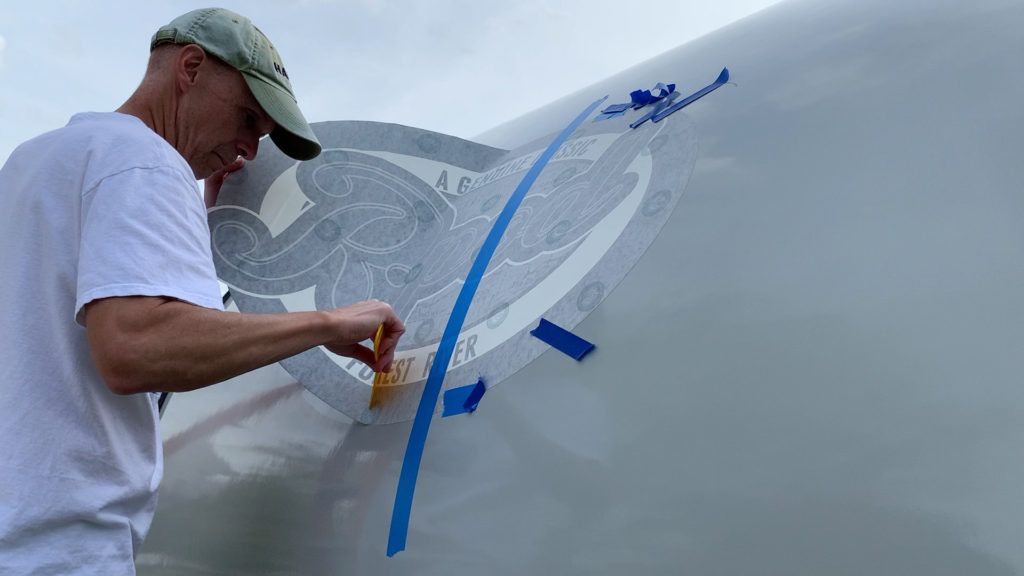
Very carefully peel off the decal backing from the far right of the decal toward the vertical tape piece. Notice here I am on a step stool that has a wide landing to stand on. Peel the backing off all the way to the vertical piece of tape.

Carefully tear by hand the decal backing from top to bottom. The backing is thick paper and should tear easily. Take your time tearing the paper backing and try to keep the tear line close to the vertical tape.
Work the decal onto the fiberglass using a small plastic putty knife. Hold the outside of the decal up off the surface as you work the material onto the surface from the center outward. The backing will be very sticky so go slowly and work the air bubbles from the decal surface moving from the center of the decal where the vertical tape is, toward the far-right edge of the decal. This work is very important so that all air bubbles are removed. Take your time on this step to ensure no puckers or air bubbles remain under the decal.
Remove the long vertical piece of painter’s tape and place it on the right side of the decal that is now adhered to the trailer’s surface. The tape should be placed to the right of the tear.
Remove the other pieces of painter’s tape that are holding the left-side of the decal in place or acting as a placement guide. After doing so, the left side of the decal should be clear of any tape.
Fold back the left-side of the decal and remove the backing. This will expose the sticky side of the decal. The backing should remove easily and detach at the middle where it was torn previously.
Using your plastic putty knife, begin to work the decal onto the fiberglass from the center toward the outside edges of the decal. Remember to hold the decal up from the surface with your non-working hand and go very slowly to work all puckers and air bubbles out of the surface of the decal. As you can see from this shot, it is a matter of slowly working the material from the center outward using the plastic putty knife.
Do a close-up final inspection of the decal to ensure there are no air bubbles. Use your plastic putty knife to remove any final imperfections.
Remove the remaining painter’s tape from the right side of the decal. The decal should now be in place and ready for you to peel off the outer paper.
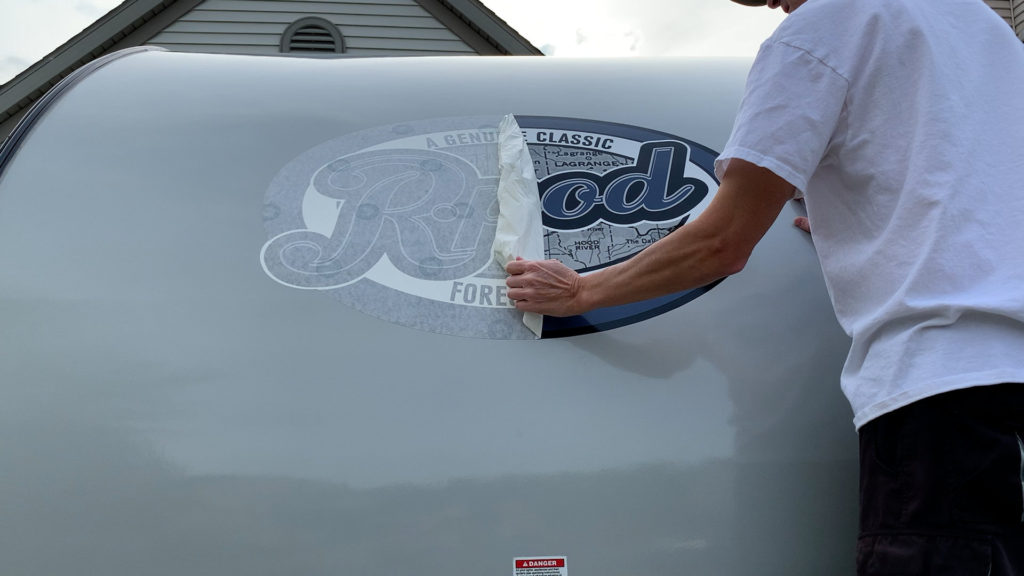
Peel the outer paper from the decal. Depending on preference, start on one side and work fully toward the opposite side until the entire outer paper layer is removed. This is also a slow process that requires even steady pressure to peel the outer paper off. Take your time. You also need to remember safety at this point, since pressure is being applied to the material while you are on a stool or ladder. Please watch your balance. The entire peeling of the outer layer took approximately 3-4 minutes.
Should you wish to add a layer of protection to the new decal, you can apply wax or polish to the decal and surrounding trailer surface.
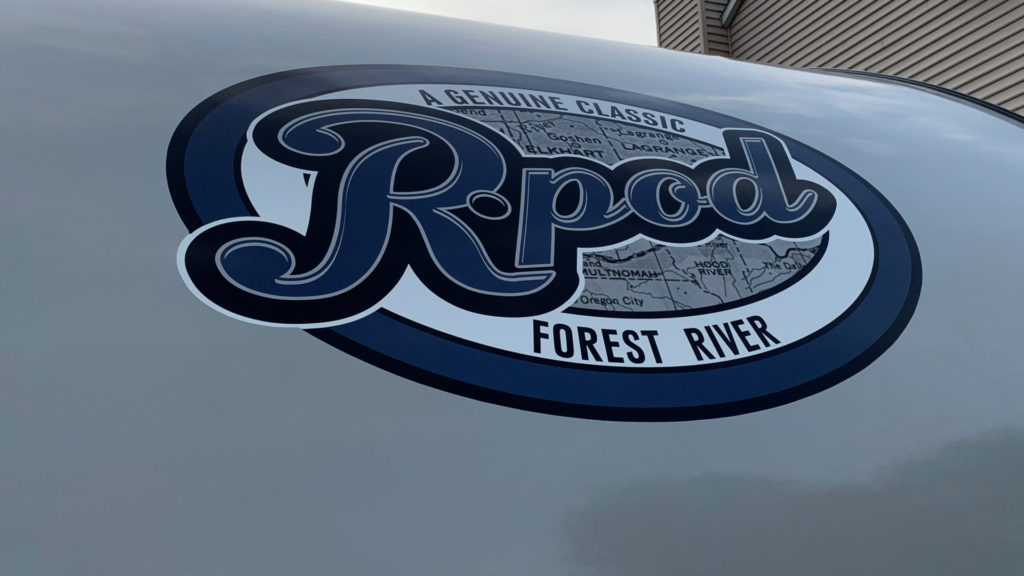
Ok, that should do it! Congrats on removing your old decal and adding a new decal to your RV. I think the process is straightforward but does require a focus on safety. You will also need to be patience with the amount of manual labor required. I certainly do enjoy having this new bright decal on my R-Pod RV. Remember, if you don’t feel comfortable tackling this project yourself or working from a ladder, contact your local RV service center.
All the best in your camping endeavors!
We’d love for you to join the On The Road Team by subscribing to the YouTube channel. You can also follow John on Facebook @JohnMarucciOnTheRoad.
As always, thanks to our teammates who support the channel by starting their shopping from the On The Road Amazon Storefront. Your support is greatly appreciated!