
In this blog, we’ll go over the step-by-step process of repairing the Dometic 300 toilet on my 2020 Keystone Bullet 243BHS. We did this after noticing a strong urine smell coming from a recently replaced toilet. This is now the third Dometic 300 toilet that we have installed in this trailer. A video on the channel goes into detail on the replacement of a prior Dometic 300 series toilet should you be interested in viewing it. The link to that video is here.
This blog is meant to show what we did to repair the odor issue with our Dometic 300 toilet. Be aware that this process is NOT suggested or endorsed by Dometic and may void your warranty – it is simply what we decided to do on our own to eliminate the issue after having already replaced two other Dometic 300 toilets. You will need to determine what solution is right for you.
Here is the backstory: I took ownership of my new 2020 Keystone Bullet 243BHS in June of 2019. It had a Dometic 300 toilet that had a manufactured date of May 4, 2019. At about 70+ nights of use, we noticed an increasingly strong urine smell in the bathroom. Since this occurred while out on an extended RV trip, we ordered a warranty replacement model, but due to an uncertain arrival date, we ended up purchasing another Dometic 300 toilet from a Camping World, which was located relatively close to us.
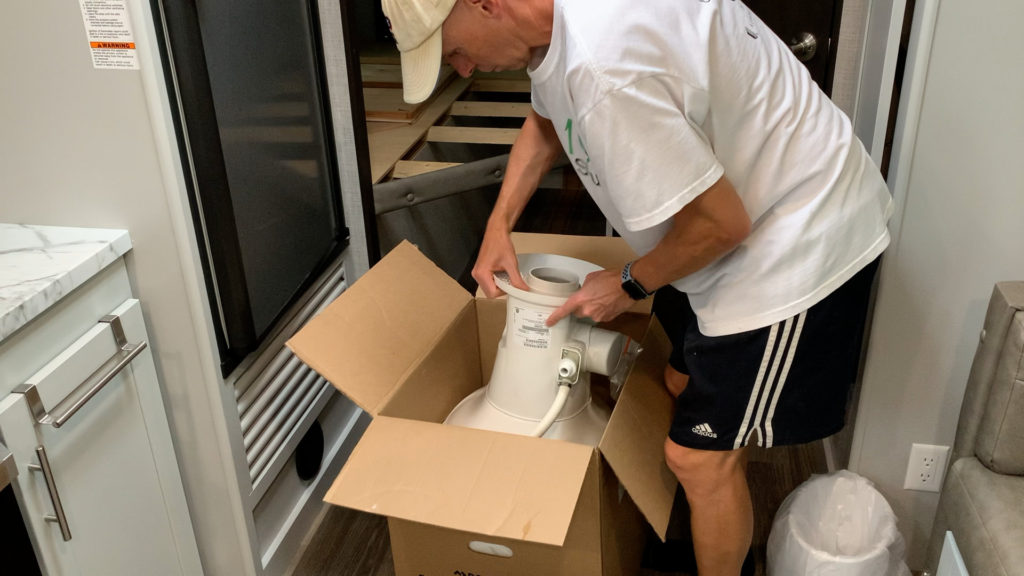
This replacement unit seemed to work fine until it reached around 200+ nights of use. At this time, we began to notice the distinct odor from the bathroom while on a shorter RV trip. Once we returned home, we again replaced the toilet with a unit of the same model with a manufactured date of February 3, 2020. We were less than ten nights into a more extended RV trip when once again, we noticed the now-familiar odor emanating from the bathroom of the Keystone Bullet. While at this point, we travel with a spare Dometic 300 toilet under the bunkhouse, we decided to disassemble the current toilet and attempt to fix it based on some other findings we discovered online.
Detection
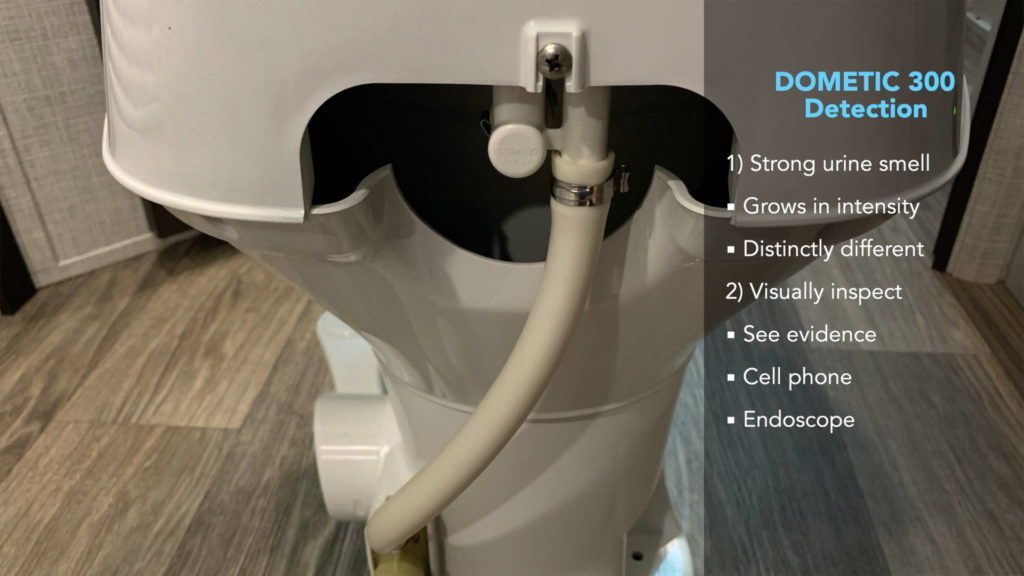
How can you detect if this may be an issue with your Dometic 300 toilet? First, be aware of a strong urine smell. You may initially notice a faint smell, but it will grow in intensity if there is a leak. This odor is distinctly different from typical black tank smells that you may occasionally notice. Second, visually inspect the opening at the back of the toilet. The opening allows you to see evidence of any leaks into the outer bowl. Since this opening will probably be near a wall, you may not be able to use a cell phone camera to capture a picture of any leakage. If this is the case, you can use an endoscope to inspect inside the outer bowl for signs of a leak. Here is a link to the endoscope I used.*
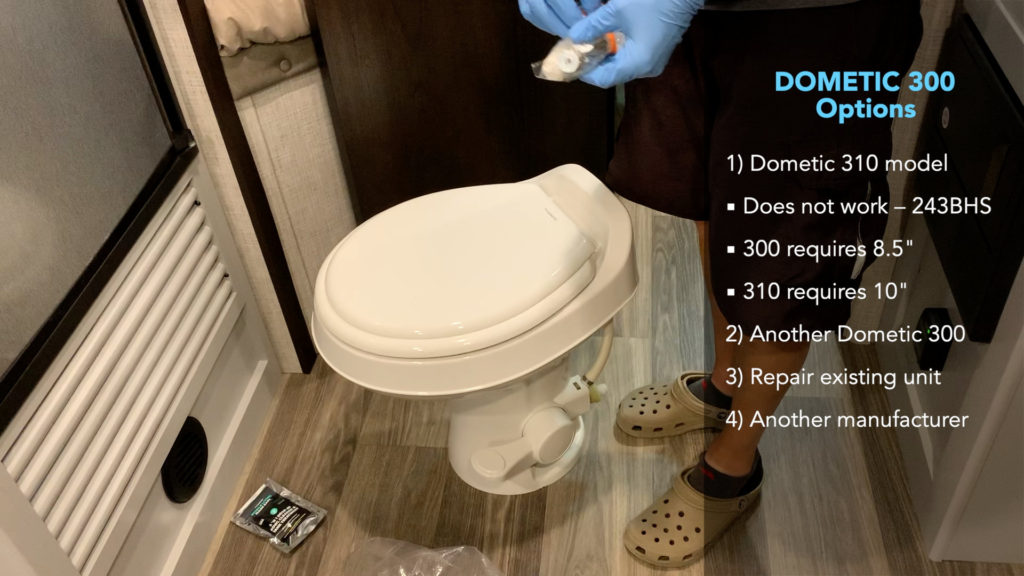
If you determine that this is the issue with your toilet, you have a few choices: First, you might be able to replace it with the upgraded Dometic 310 model that has a porcelain bowl and is not prone to suffer from this issue. Unfortunately, this option does not work on the 243BHS due to the larger clearance needed from the T-bolts to the rear wall. The Model 300 requires 8.5″ of clearance; the Model 310 requires 10″ of clearance. Second, you can replace it with another Dometic 300 model. Third, you can choose to repair your existing unit using a process similar to what I do in this video. Fourth, you can check into using a unit from another manufacturer, which will probably necessitate making some changes to your RV in the process.
Be aware that if you order a warranty replacement from Dometic, it may take a few weeks to several months to receive the unit. As of this taping, I have already waited over two months without any sign of the replacement.
If you choose to repair your existing Dometic 300 toilet, we cover the steps I used to complete the repair process in this video. Note that the process document is available on johnmarucci.com in the Resources area. Here are the tools and supplies I used to complete the project:
For the list of tools and supplies, please download the free process document here.
Toilet Removal
- Turn off the water supply
- Remove and drain the water supply line
- Remove the toilet bolt covers/nuts and washers
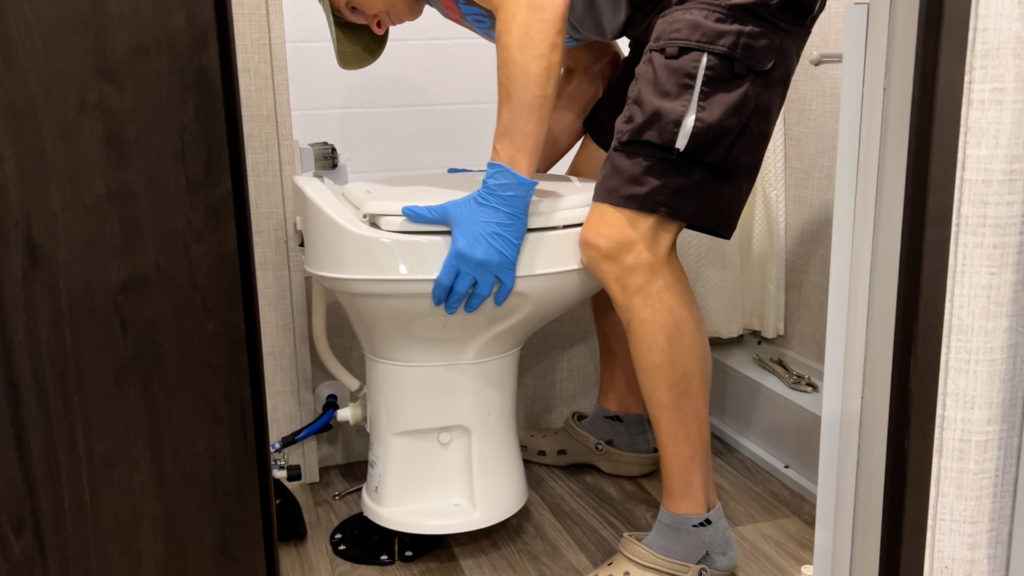
- Remove the toilet from the floor
- Empty liquids from the outer toilet bowl into a bucket
- Clean the toilet, including flushing out the outer bowl
- Clean the floor flange and the floor
- Place toilet in a large trash bag for transportation
- Move the toilet outside of the trailer
Toilet Repair
- Place the toilet upside down on a large piece of cardboard to prevent it from being scratched
- Use the extra-long flathead screwdriver to remove the four screws attaching the base of the toilet
- Carefully set the base aside, remembering that the base and bowl remain attached by the water hose
- Use the Phillips head screwdriver to remove the five screws attaching the outer bowl to the inner bowl
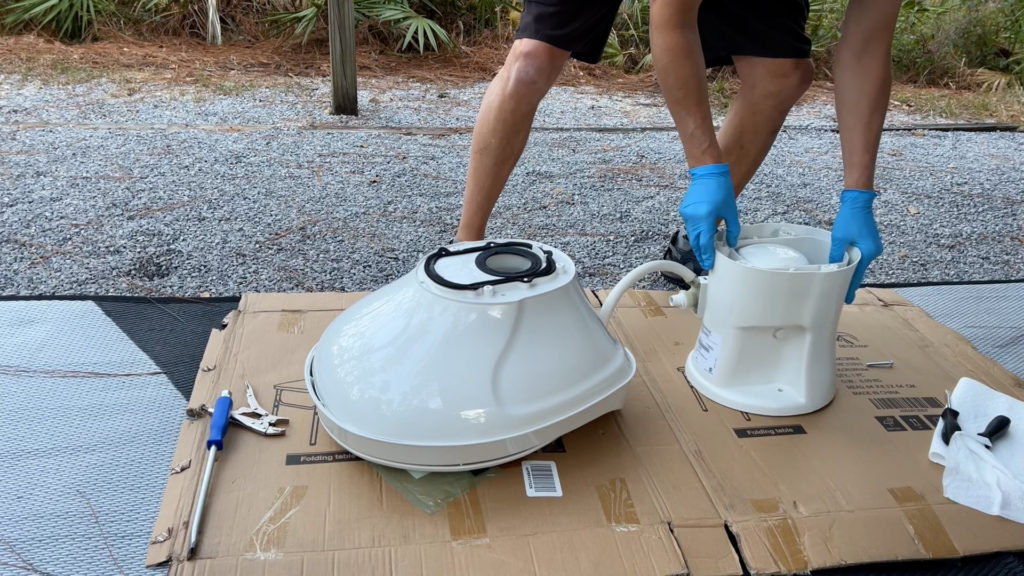
- Detach the two bowls. Note that it helps to start at the back where there is a gap to separate them.
- Place the outer bowl aside along with the base seal
- Carefully clean both the inner and out bowls along with the base seal
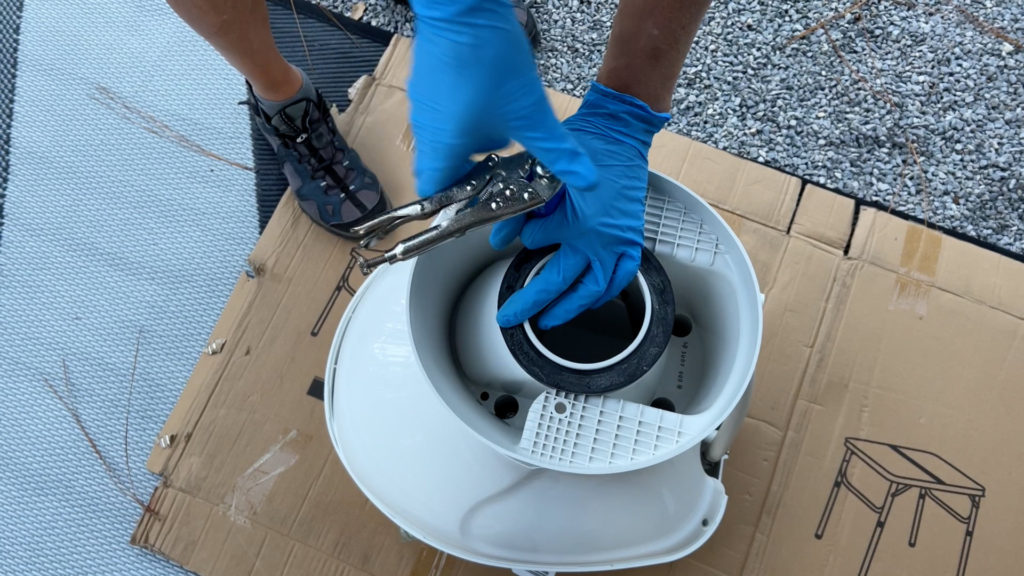
- On the inner bowl, remove the seal rings
- Clean the seal rings and ensure that they are dry
- Place the first seal ring back on the inner bowl
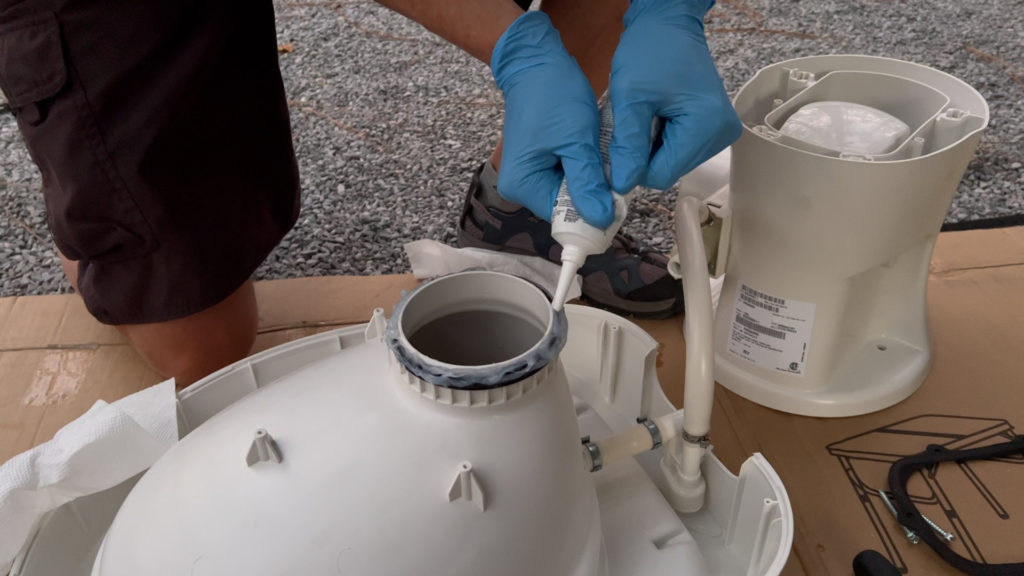
- Apply a generous amount of waterproof silicone caulk around the first seal ring
- Place the second seal ring back on top of the first seal ring on the inner bowl
- Apply a generous amount of waterproof silicone caulk around the second seal ring
- Carefully place the outer bowl back on the inner bowl, lightly pressing down until they snap into place. Note that we had difficulty getting the two bowls to match up due to the way they were originally attached.
- Reattach the two bowls using the 5 Phillips head screws
- Place the base seal back on the outer bowl. We did not apply silicone caulk to this seal since it had never been a problem.
- Place the base back on the outer bowl
- Reattach the base using the four flathead screws and your extra-long screwdriver. Make sure it is tight but not over-tightened.
Now that the toilet should be repaired, we can begin the reinstallation process
Toilet Installation
- Insert T-bolts back into the slots (if they have become detached)
- Verify that the floor flange seal is installed on the base of the toilet
- Place the toilet over the flange, aligned with the T-bolts
- Install washers and nuts on the T-bolts and torque to 30-40 inch-pounds, alternating between sides – do not over tighten
- Attach the bolt covers onto the nuts
- Connect the water supply line and torque to 30-40 inch-pounds
- Turn on the water supply
- Flush toilet several times, checking for leaks

Hypothesis
After replacing and now rebuilding these units, it appears that the problem may be caused by weight being added or removed from the toilet seat. When you sit on the toilet seat, pressure is applied compressing the two round seals. When this compression is released, a vacuum occurs which sucks water from the inner to the outer bowl. The two small seal rings do not correctly prevent this vacuum from occurring. The fact that the two bowls were not properly seated at the front of our latest toilet may have caused this issue to happen even quicker. Applying silicone caulk helps create a better seal, hopefully preventing this vacuum process from taking place.
The solution, as outlined, seems to be working well to keep sewage from seeping into the Dometic 300 toilet outer bowl. Time will tell if the solution works well over the long term, but for now, it has been tested over more than 30 nights of continuous camping and is still working to solve the problem. Our endoscope inspections have revealed no issues.
All the best in your camping endeavors!
We’d love for you to join the On The Road Team by subscribing to the YouTube channel. You can also follow John on Facebook @JohnMarucciOnTheRoad.
As always, thanks to our teammates who support the channel by starting their shopping from the On The Road Amazon Storefront. Your support is greatly appreciated!
*As an Amazon Associate I earn from qualifying purchases.