
In this blog, we’ll dive into understanding towing capacity and how to check if you’re over limit when towing. Getting this right means a much safer towing experience!
Understanding Towing Limits
So, let’s jump in. In a separate blog, we provided detailed information on understanding the payload or vertical weight limits of your tow vehicle. In this video, we will examine towing capacity, or horizontal weight limits, in detail.
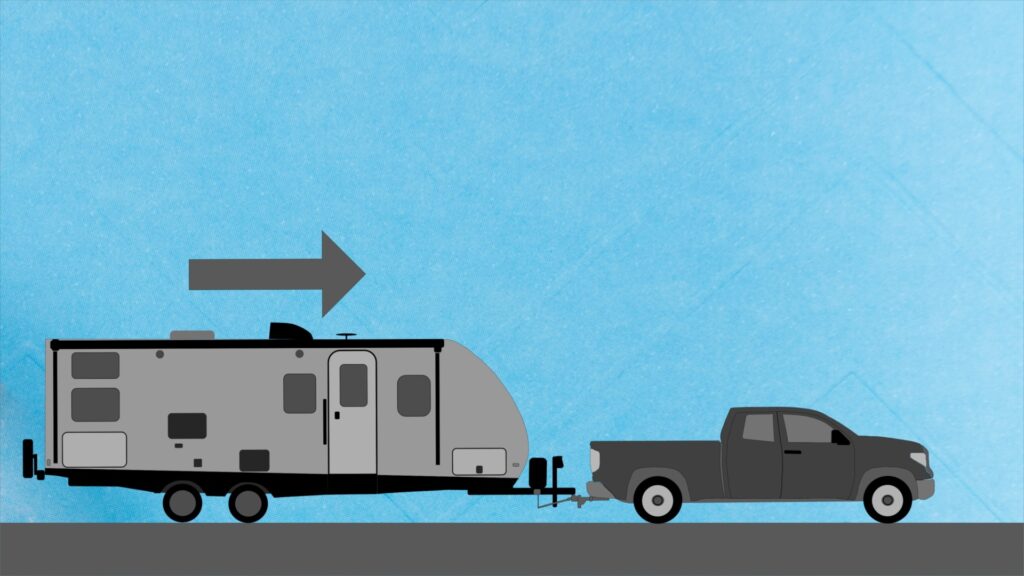
While payload is the total vertical weight your truck can carry, including passengers, gear, hitches, tonneau covers, and the tongue weight of your trailer, towing capacity, or horizontal weight, is how much your tow vehicle can pull. You can determine payload capacity from the door stickers on your tow vehicle; however, towing capacity is usually found in the owner’s manual or on the manufacturer’s website, based on the specific setup of your vehicle.
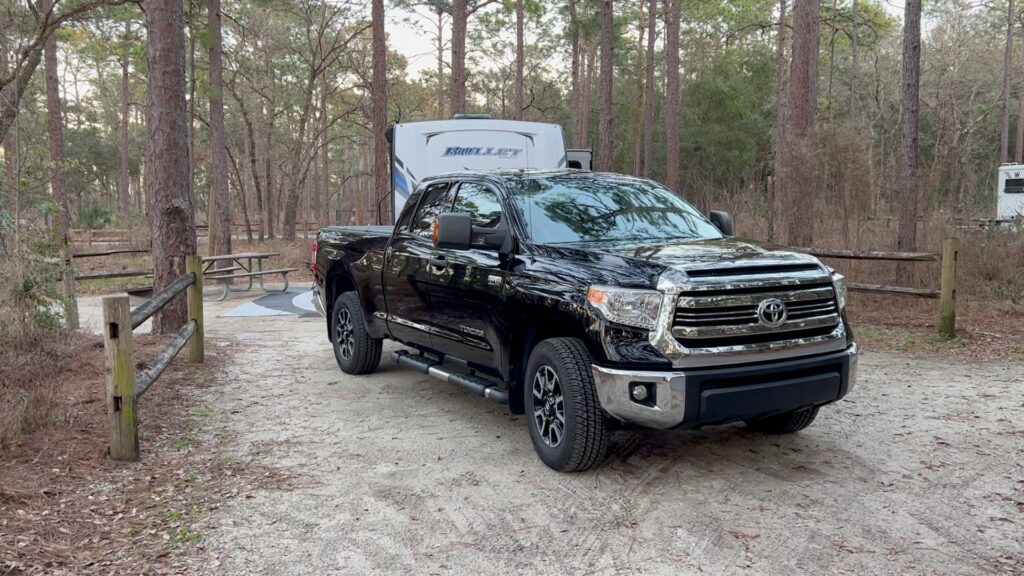
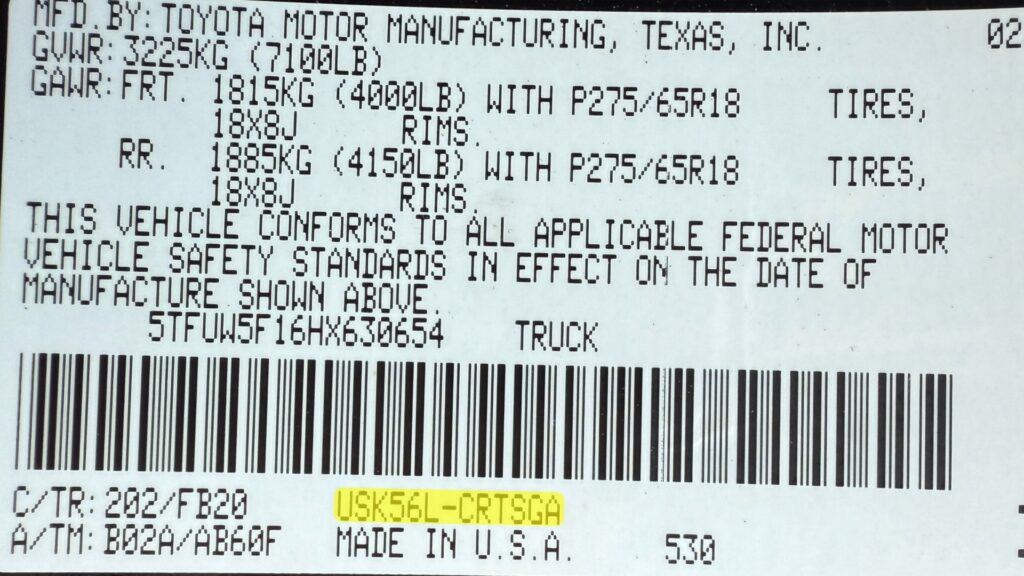
So, let’s take a look at my 2017 Toyota Tundra owner’s manual to discover what the towing capacity is for the truck. The first bit of information required is the model code. Mine is located on the manufacturer’s certification label, which is on the driver-side door sticker. For my Toyota, it is located directly above the ‘Made in U.S.A.’ labeling. Using this code, we can look up the towing capacity in the Trailer Towing section of the owner’s manual.
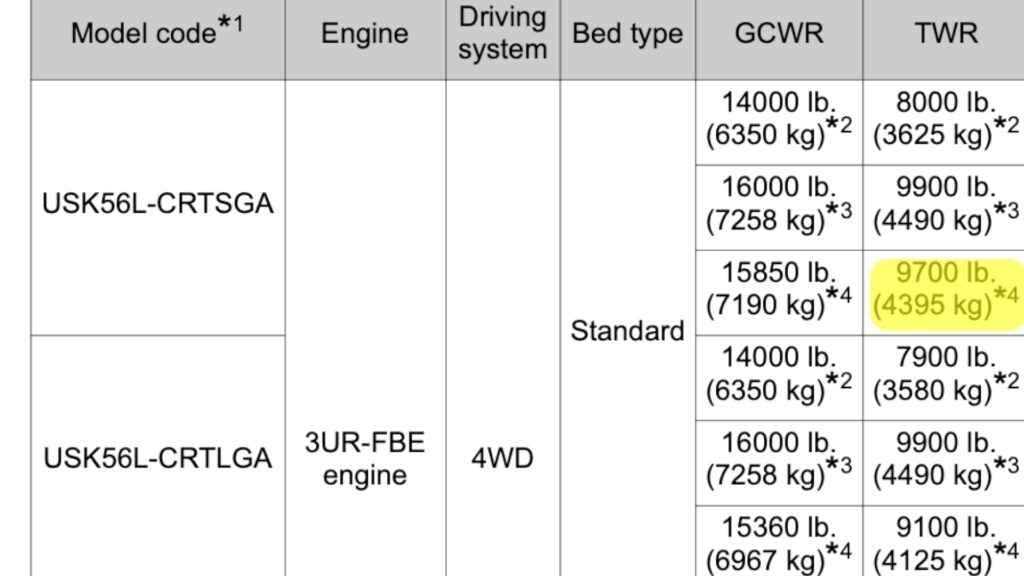
For my model code, there is only one choice of engine and driving system, so the only other information required is Bed Length. Mine has the Standard 6 foot 5 inch bed. I already knew that my truck has the optional towing package and larger fuel tank, so we need to trace over to asterisk 4. This yields a GCWR or Gross Combined Weight Rating of 15,850 lb. and 9,700 lb. of TWR or Trailer Weight Rating. TWR is the maximum allowable gross trailer weight, which I refer to as towing capacity.
If you watched the video or read the blog on payload capacity, you’ll know that for most ½ ton trucks, like my Toyota Tundra, the constraining factor is usually payload capacity (vertical weight) and not towing capacity, or horizontal weight. This is the case here, as the Tundra has a generous towing capacity of 9,700 lb., which is sufficient to tow most travel trailers. Using all of my past weigh-ins at CAT Scales, the most I have ever towed was just over 6,000 lb. trailer weight and a bit over 12,000 lb. GCWR or combined truck and trailer weight. This means I have never come close to the towing capacity of my truck and trailer combination, given the GCWR is 15,850 lb. and the most I’ve weighed is about 12,000 lbs. In general, I am almost always under my truck’s horizontal weight limits by over 3,500 lb.

This is good news; however, if I switch to a heavier trailer that my truck can handle in terms of towing capacity, it will require more payload capacity and likely reduce braking efficiency for the truck, potentially resulting in a less safe towing experience. The truck just doesn’t have the payload capacity to increase the trailer size, even though I have plenty of towing capacity.
Know Your Trailer Weight
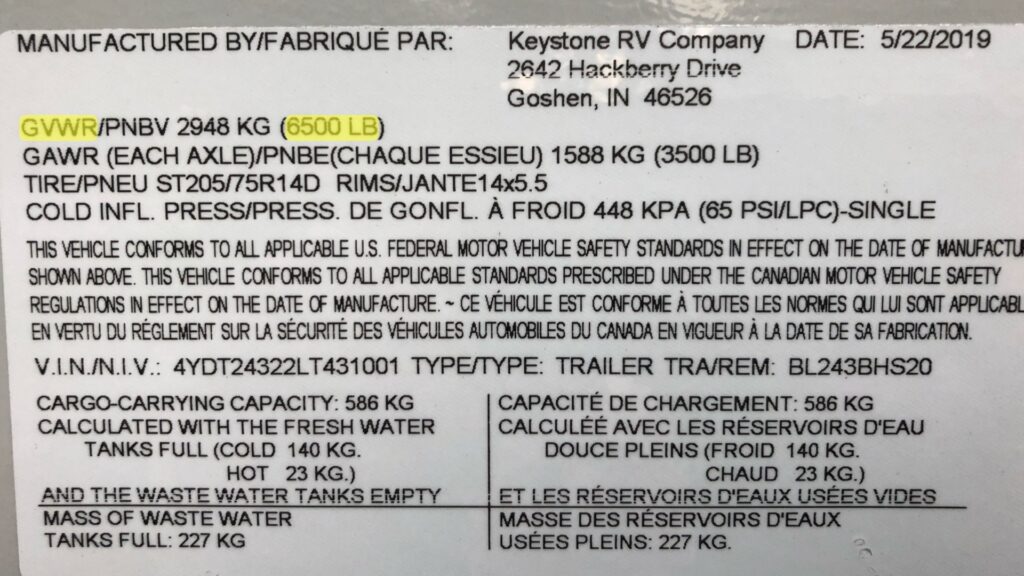
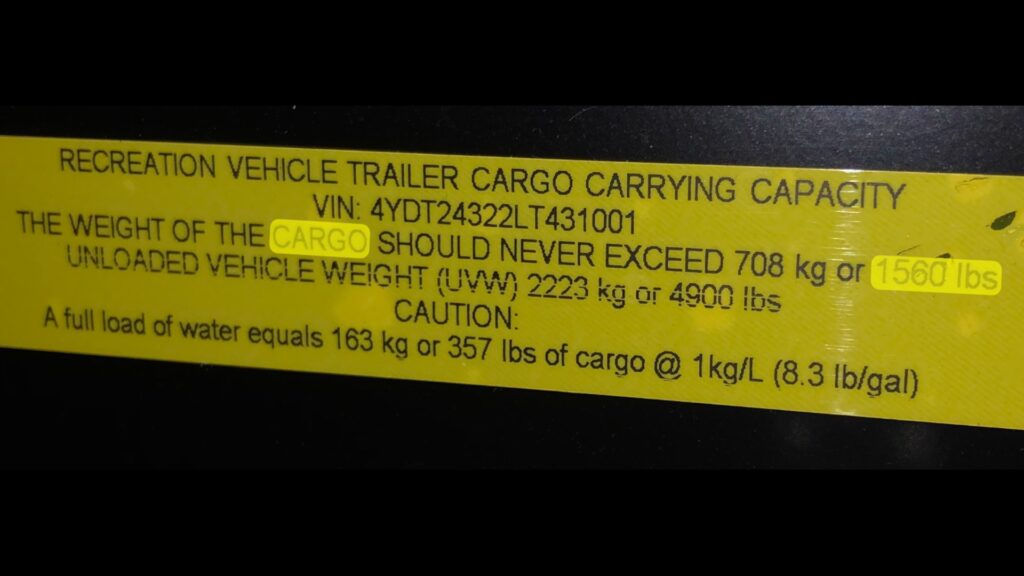
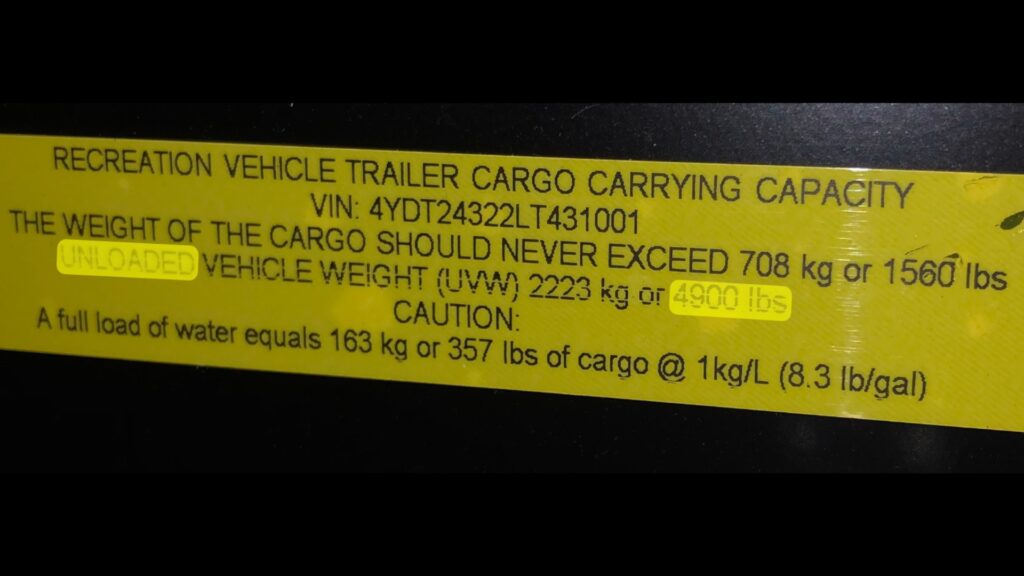
Another area to understand is trailer weight, so you know if you are over or under towing capacity. You can discover the trailer’s weight limits on the manufacturer’s sticker. It should have the trailer’s Gross Vehicle Weight Rating or GVWR, on the sticker as well as the axle weight ratings or GAWR. I have another sticker on the trailer’s cabin door frame that provides the cargo carrying capacity and the trailer’s unloaded weight. For my 2020 Keystone Bullet, the GVWR is 6,500 lbs., with a cargo carrying capacity of 1,560 lbs., and an unloaded weight of 4,900 lbs.

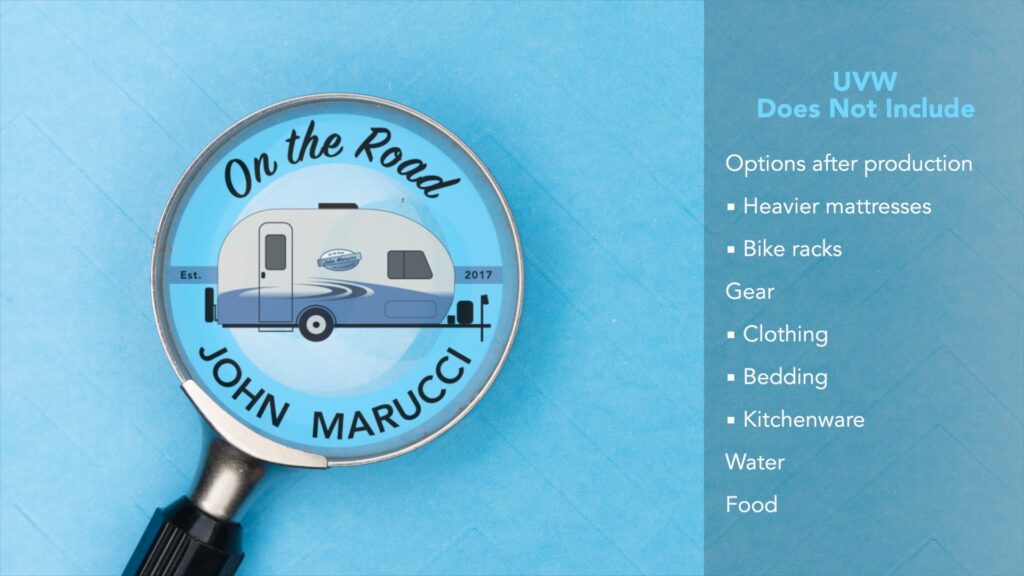
However, the manufacturer displayed unloaded weight doesn’t include any options added after production (like heavier mattresses, bike racks, etc.). So, you have to add the weight of gear, like clothing, bedding, and kitchenware. Finally, water in the freshwater tank and food in your fridge or pantry would also need to be added.
There are really two ways to calculate the gross weight of your trailer, to ensure that you are not over the trailer’s GVWR or your tow vehicle’s towing capacity. First, would be the tedious task of weighing everything separately before it goes into the trailer. I’ve done this with the bed of my truck in the past and can’t recommend using this method for every item in the trailer.
The better method is to use a CAT Scale at a local truck stop. You do have to download the app and set up a payment method, but otherwise it’s fairly easy to use. Ideally, you would go to the truck stop at a less busy time, and weight your camping-ready tow vehicle separately, then the tow vehicle and trailer together, with the trailer loaded and ready for camping. Usually the second weigh-in is less expensive than the first, and subtracting the first truck-only weigh-in from the second, will yield the loaded weight of the trailer. This data also helps with determining payload, which we cover in detail in another video on the channel.
We have a good video on using a weight distribution hitch that covers more detail on using a CAT Scale, should you want to learn more. There are also other towing videos on the channel under the towing playlist.
That should do it. All the best in your camping adventures!
As always, thanks to our fans who support our efforts by starting their shopping from our Amazon Storefront and their generous financial support by using the THANKS feature located under each YouTube video ($ within the Heart icon). Your support is greatly appreciated!