Click here to sign up for reminders when new blogs are posted.
After a recent trip with my R-Pod 179, we noticed that the vinyl trim inserts* had split along the channel leading up to roof at the front of the trailer. This happened recently since we had just completed a thorough inspection while doing several maintenance items a few weeks earlier. In this episode, we’ll cover the step-by-step process of replacing this important trim strip.
Here are the tools you will need to do the job:
-
- A sturdy ladder that will allow you to reach the top of the RV and allow you to see clearly what you are doing.
- A small Philips screwdriver.
- A small pointed awl.
- Regular scissors.
- Caulk and a caulk gun, if you replace the trim on the slide out.
Before you start the job, you will need to do a few things:
-
- Measure how much vinyl trim you will need. This would include the two curved roof rails as well as the rear of the trailer near the hitch mount. If you have a slide-out, there is also a considerable amount of trim on the slide itself and around its perimeter. FYI, you would need more than 100’ of trim for the R-Pod 179 if you replaced all of it.
- Order the right vinyl trim width. We have a link for the trim used for the R-Pod 179 in the description below. If you have a different model RV, you need to measure and research the width you will need.
- Once the vinyl trim arrives and you are ready to replace it, place the trim in a warm location until it is pliable. It will make it much easier to insert. If you can do the replacement work on a warmer day, it will decrease the effort needed to manually flex the material.
We primarily had an issue with the roof channel trim, so we decided not to precut the material. This allowed for us to maneuver the trim roll and not waste any material. Also, the nature of the curved roof makes it difficult to measure accurately, so there is an increased potential to precut the material too short or too long.
Here are the steps used to replace the a vertical/horizontal curved roof section:
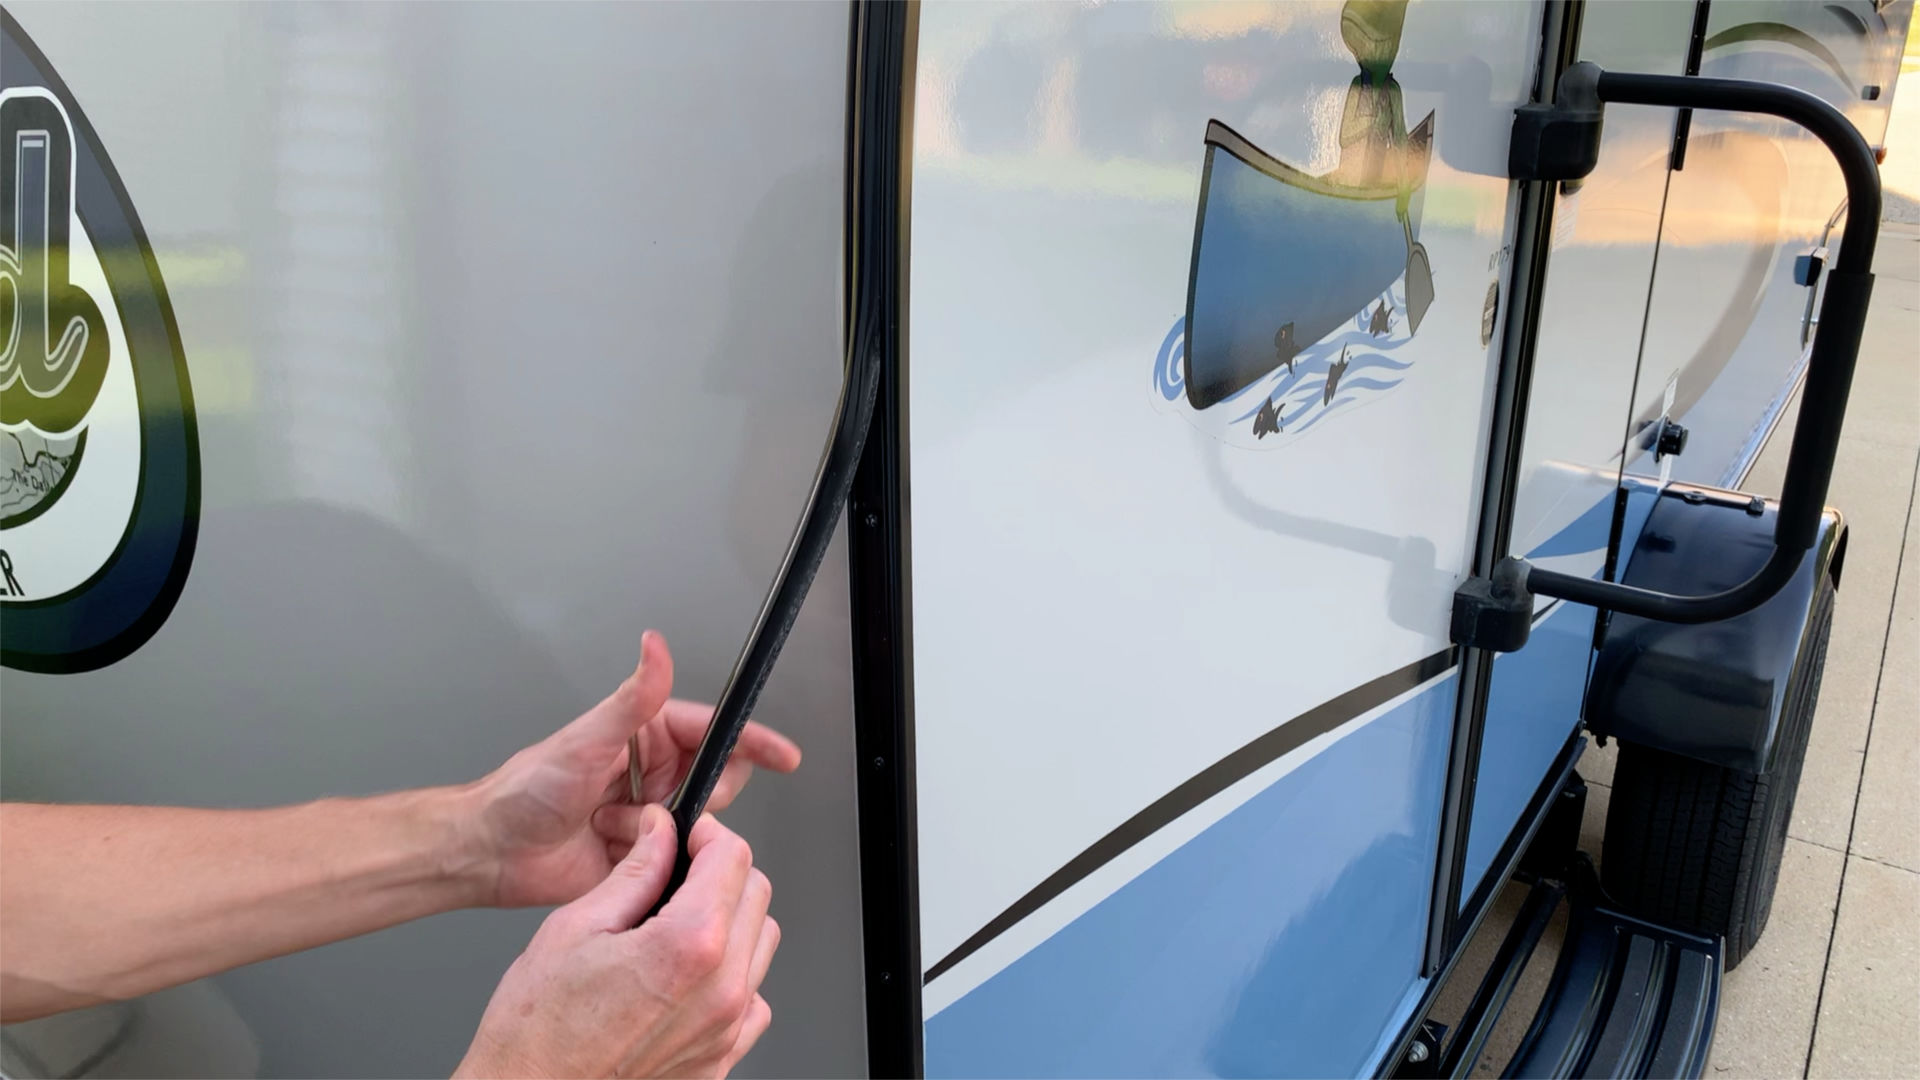
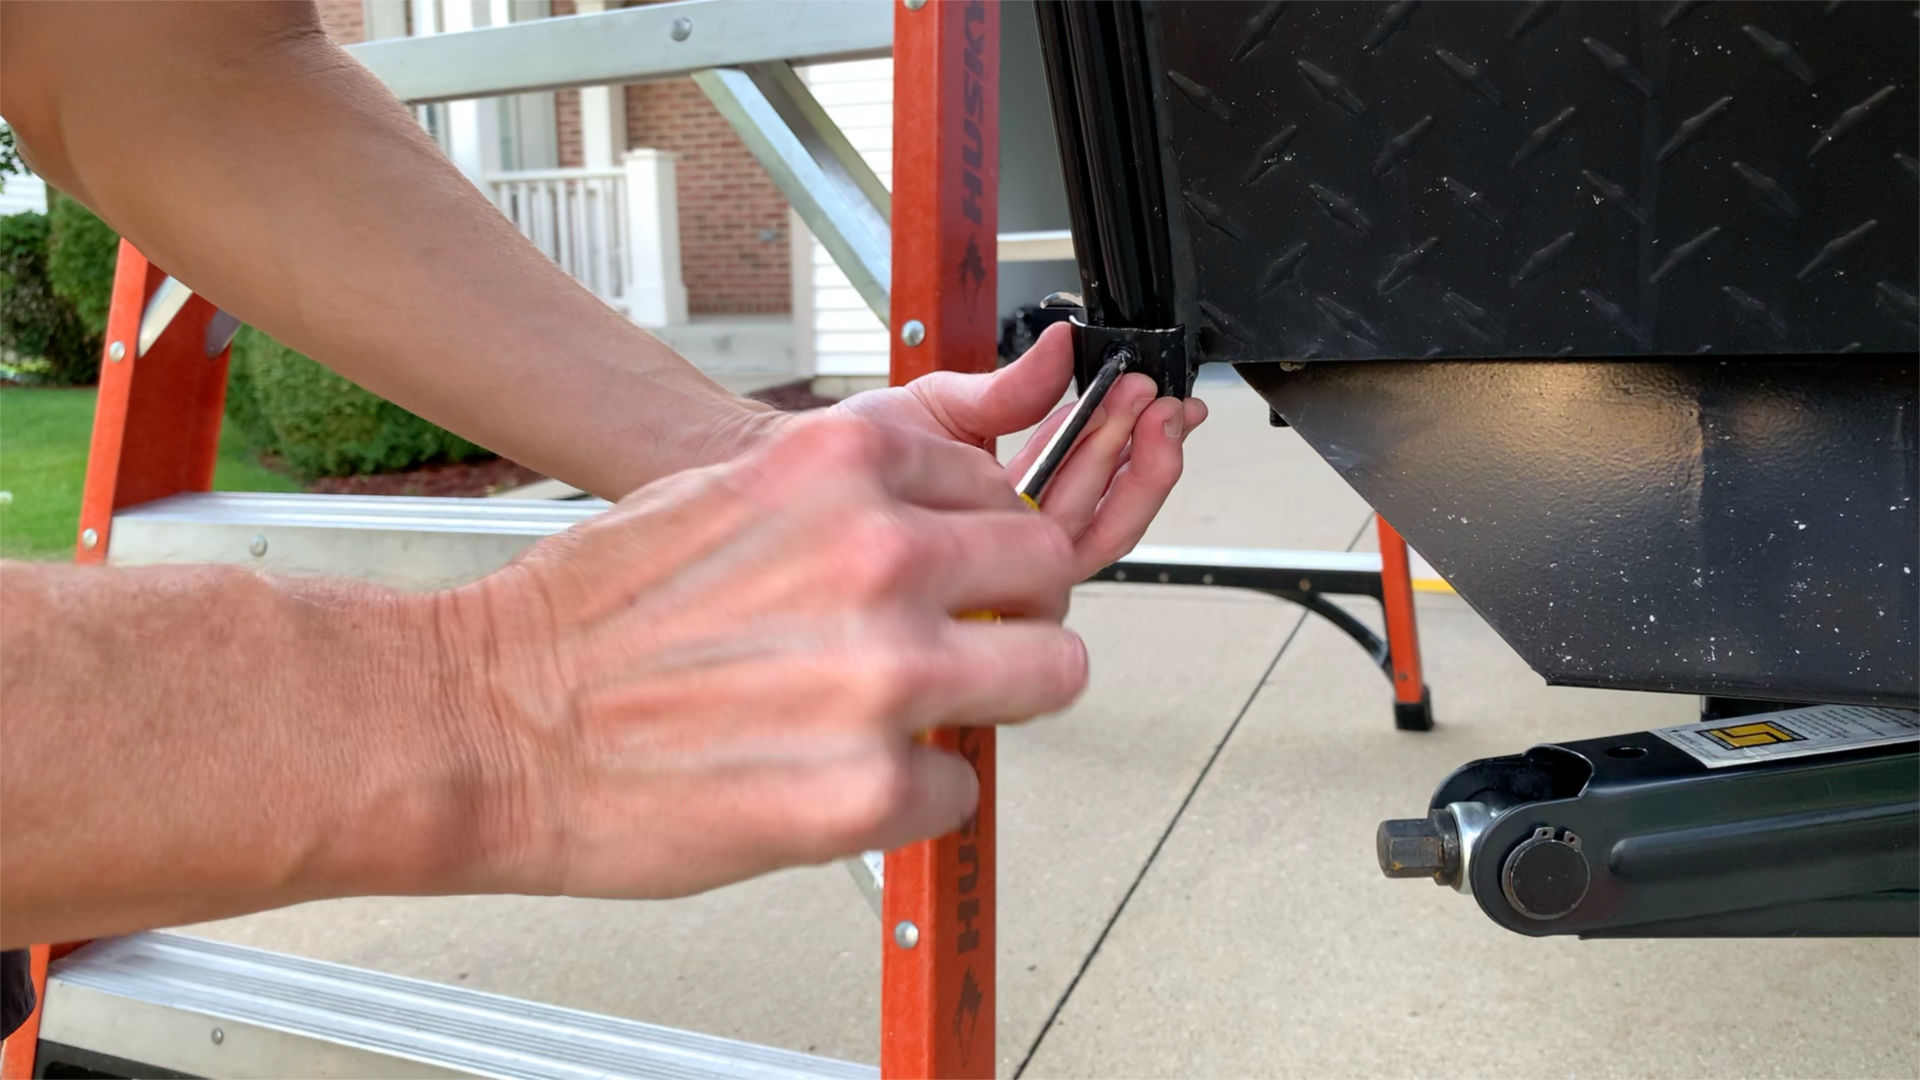
1. Remove the damaged vinyl trim. This is fairly easy. Simply unscrew the end caps and pull the trim out. Keep the cap and screw for reuse on the new trim. You will notice that once the endcap is removed, you can simply grab the trim and slowly pull it out of the channel. It comes out fairly easily. Just be careful doing this as you climb the ladder.
2. To insert new trim on the curved roof rail, climb the ladder with the trim roll and feed the needed amount down the back of the trailer. It is a simple job to slowly fish the trim from the roll down the back of the trailer. Again, remember you are on a ladder when doing this.
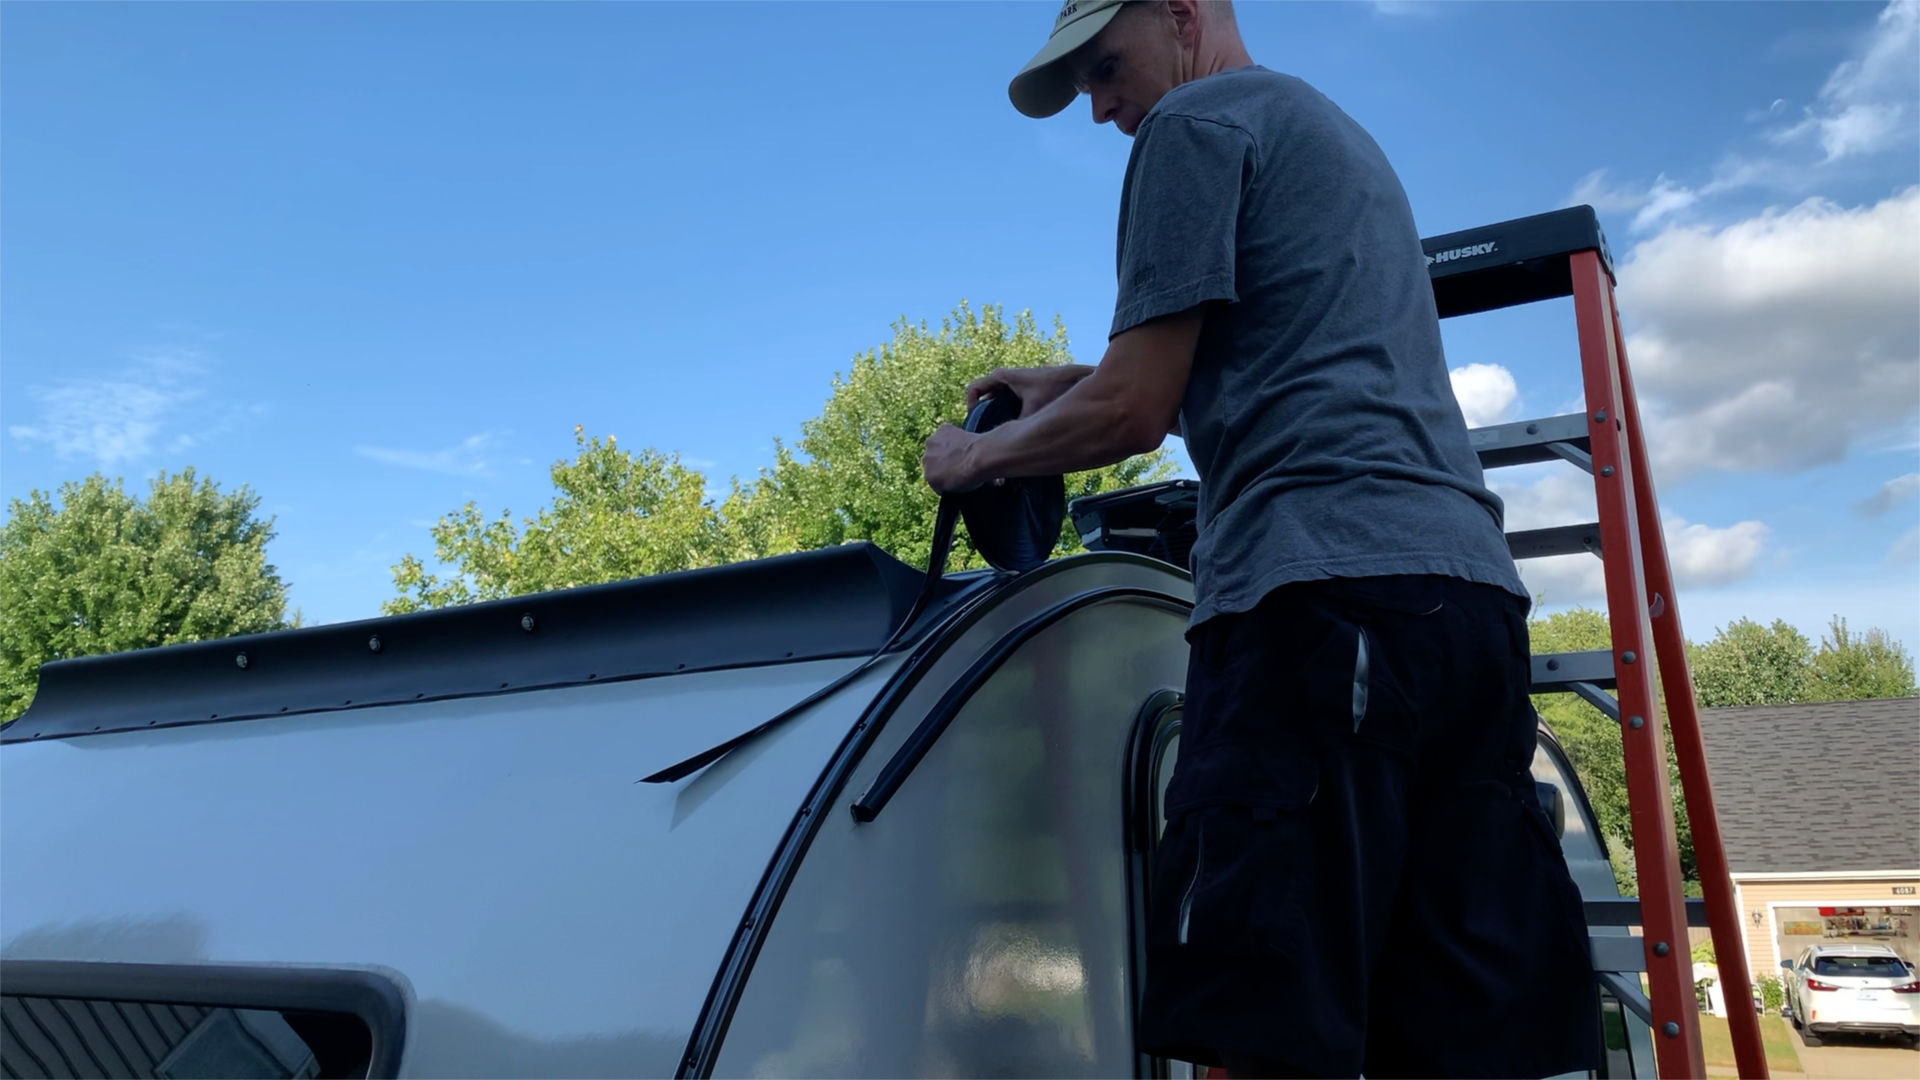
3. Set the roll of trim on the flat part of the roof.
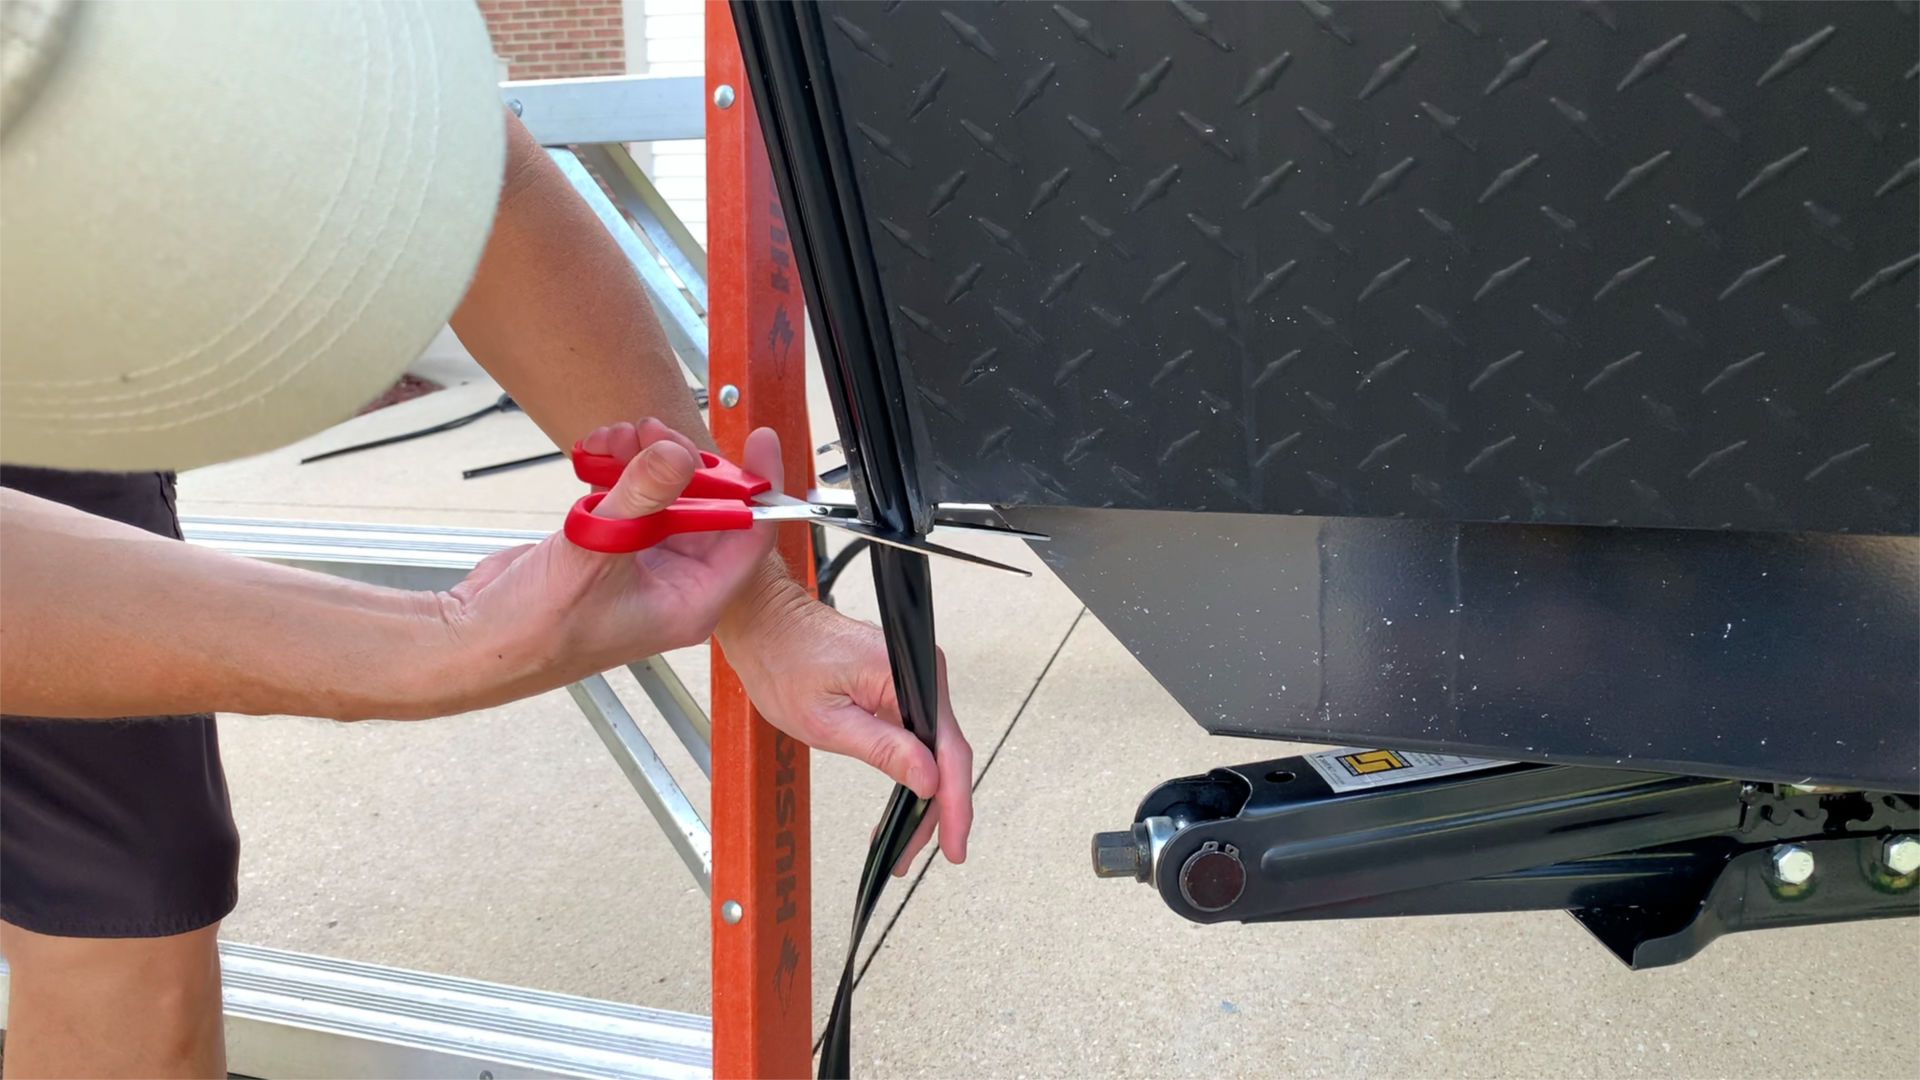
4. Come back down the ladder and cut the end of the trim square with scissors.
5. Begin setting the trim into the rail starting at the bottom by the cap. Do this up to about 8 inches to get it started. It is important that you get the trim started before reattaching the end cap so the trim stay taunt.
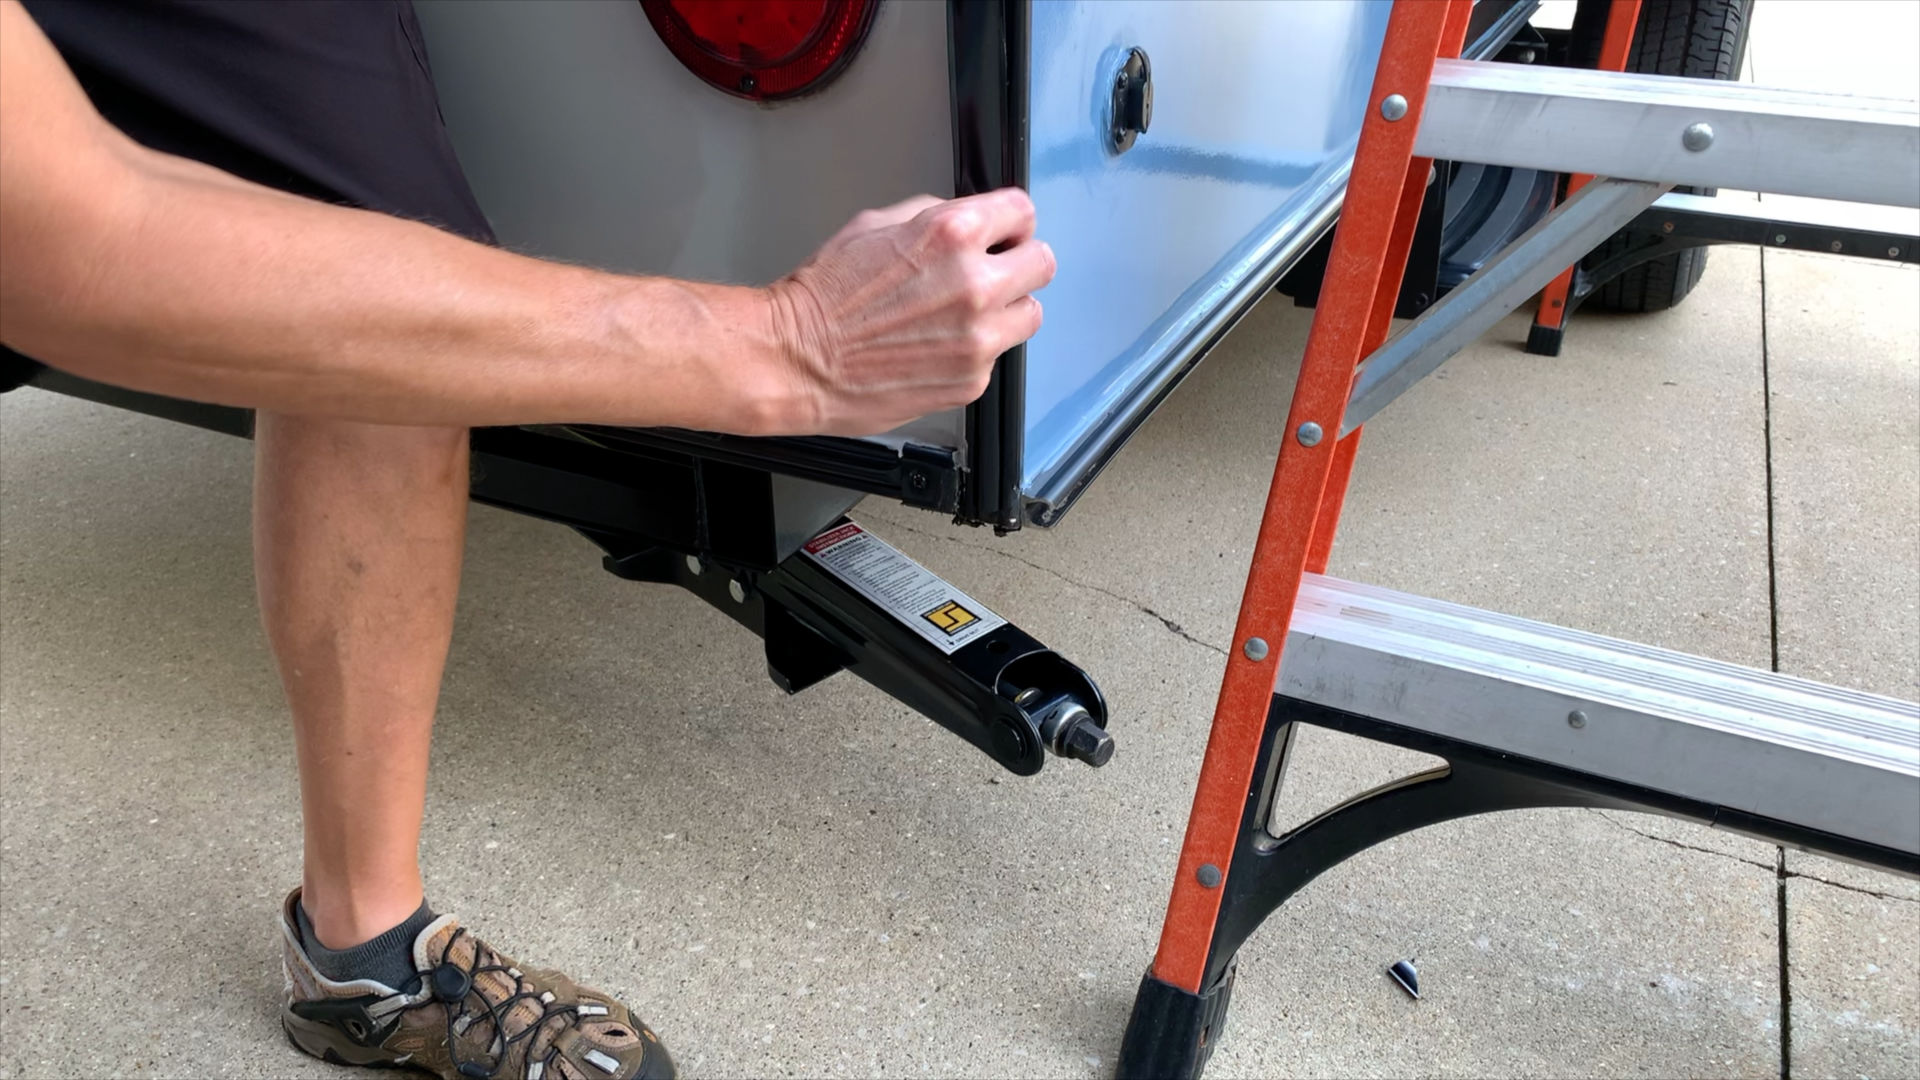
6. Reattach the endcap with the Philips screwdriver. Note that if you are having trouble getting the screw started use the small awl to poke a hole in the trim and feed the screw through. You may need to take a look or two at where the screw hole is in the channel before doing this.
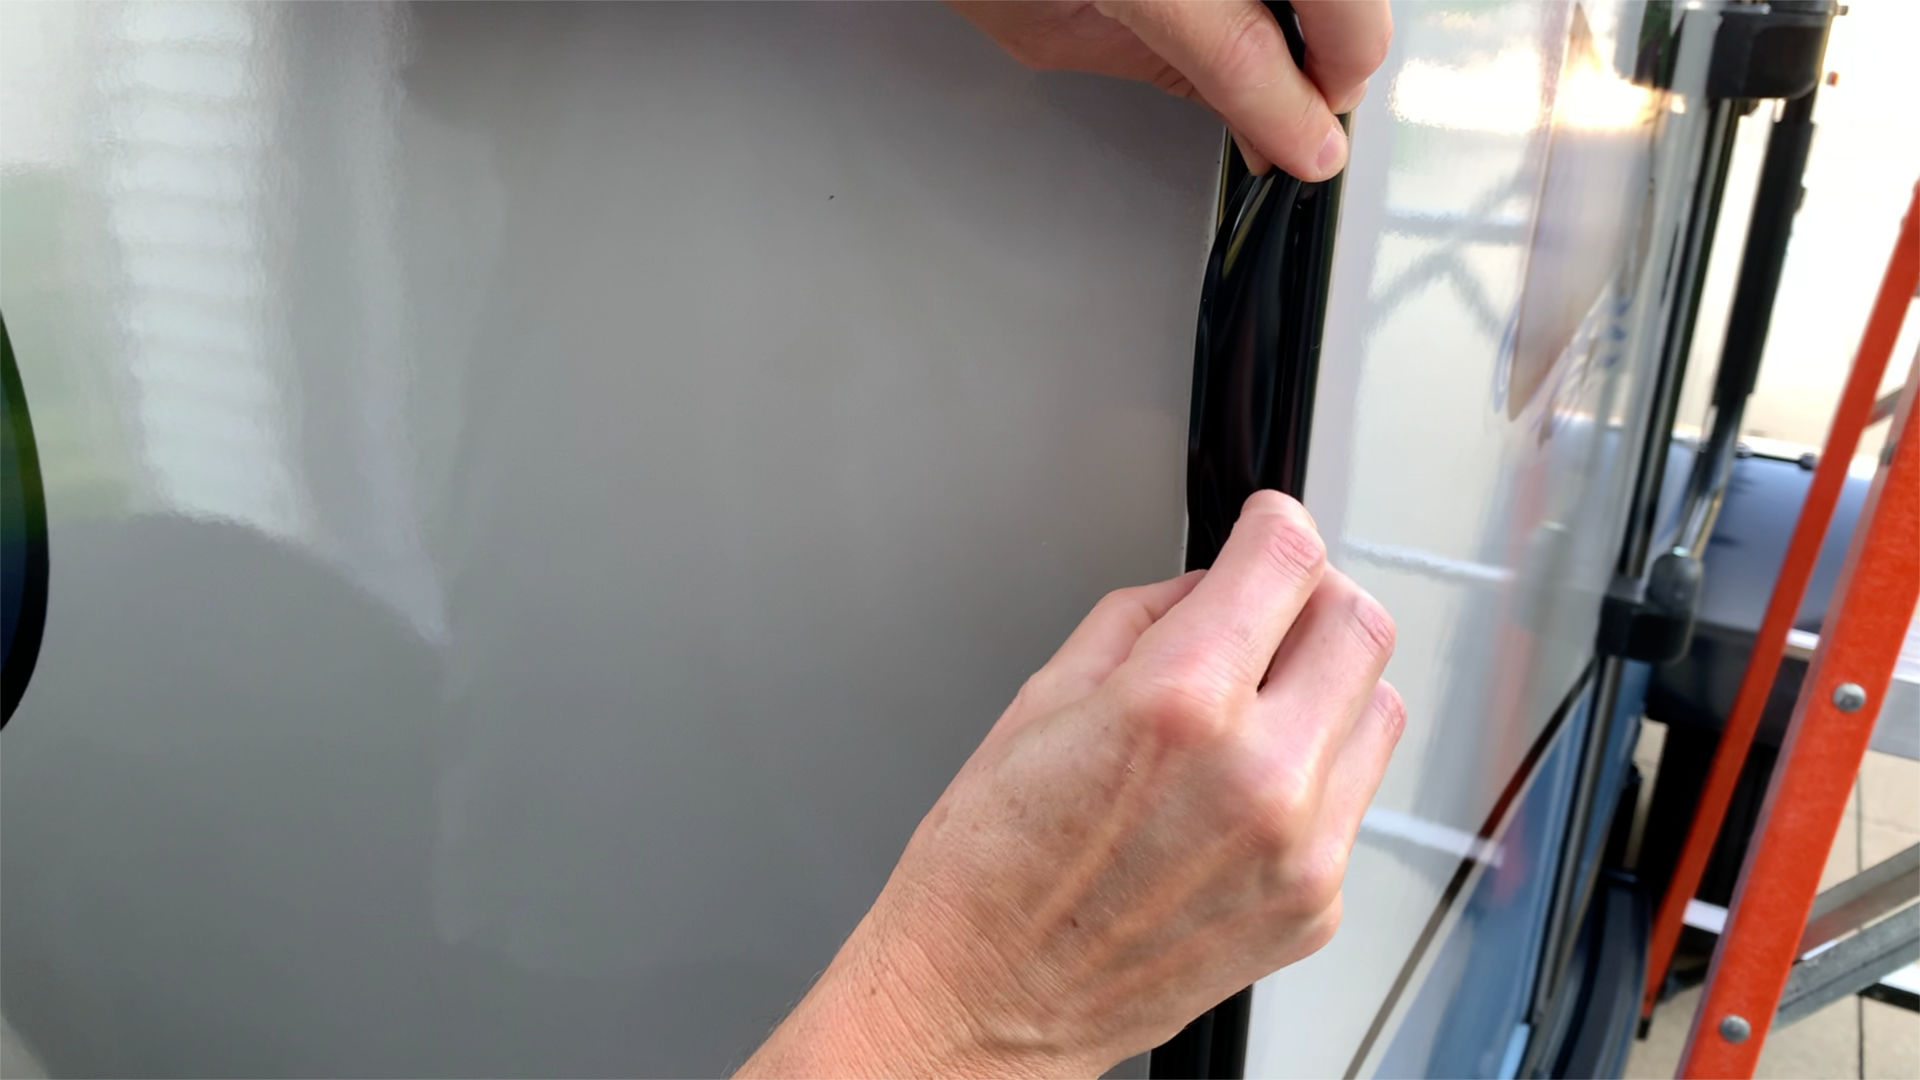
7. Feed one side of the trim into the channel and push firmly to bend and insert the opposite side of the trim into the channel. You can do this with one finger and medium pressure once you get it started. As you will see here, it does take a bit of manual pressure and hand strength to do this. Notice how I am putting a few inches of one side of the trim into the channel groove, then working the other side of the trim into the channel. It is not effortless and will require that you bend and insert the trim. This is why having the material warm and pliable helps. This shot shows up-close how I am using my lead hand to hold the trim into the channel while working the trim fully into the channel with my following hand. Hopefully this gives you a good visual of how this can be done.
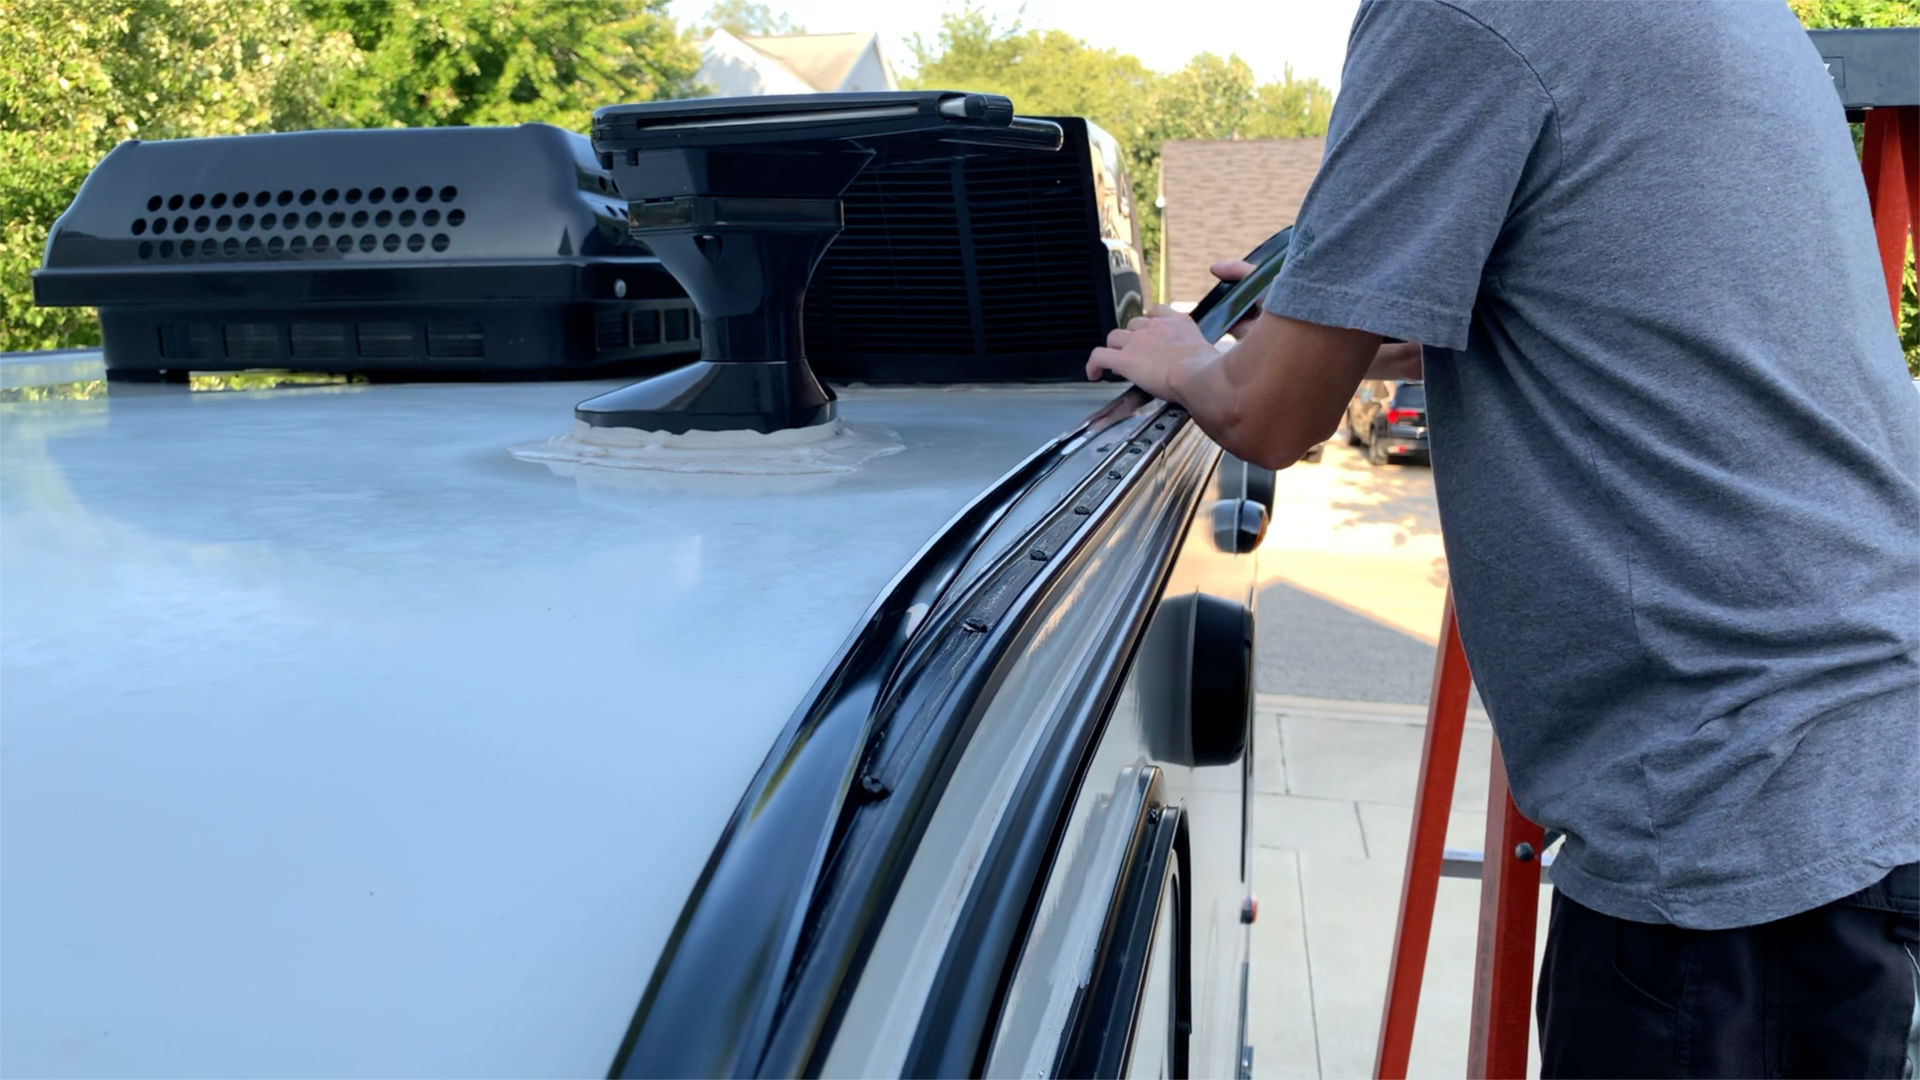
8. Use the ladder as you move up and along the roof line inserting the trim. You will want to unroll the trim roll as you go along the roof. Try to keep the trim roll taunt so it is easier to feed the trim into the channel. Exercise caution as this requires applying manual force to the trim as you are on a ladder. If you are at any point uncomfortable doing this, please have someone do this for you professionally. As you can see, it is not difficult to do, but does require some force to get the trim into the channel.
9. As you work your way to the front side of the trailer, climb down the ladder and bring the trim roll with you and lay it on the ground at the front. This allows the trim roll to remain taunt while you are working it into the channel at the front of the trailer.
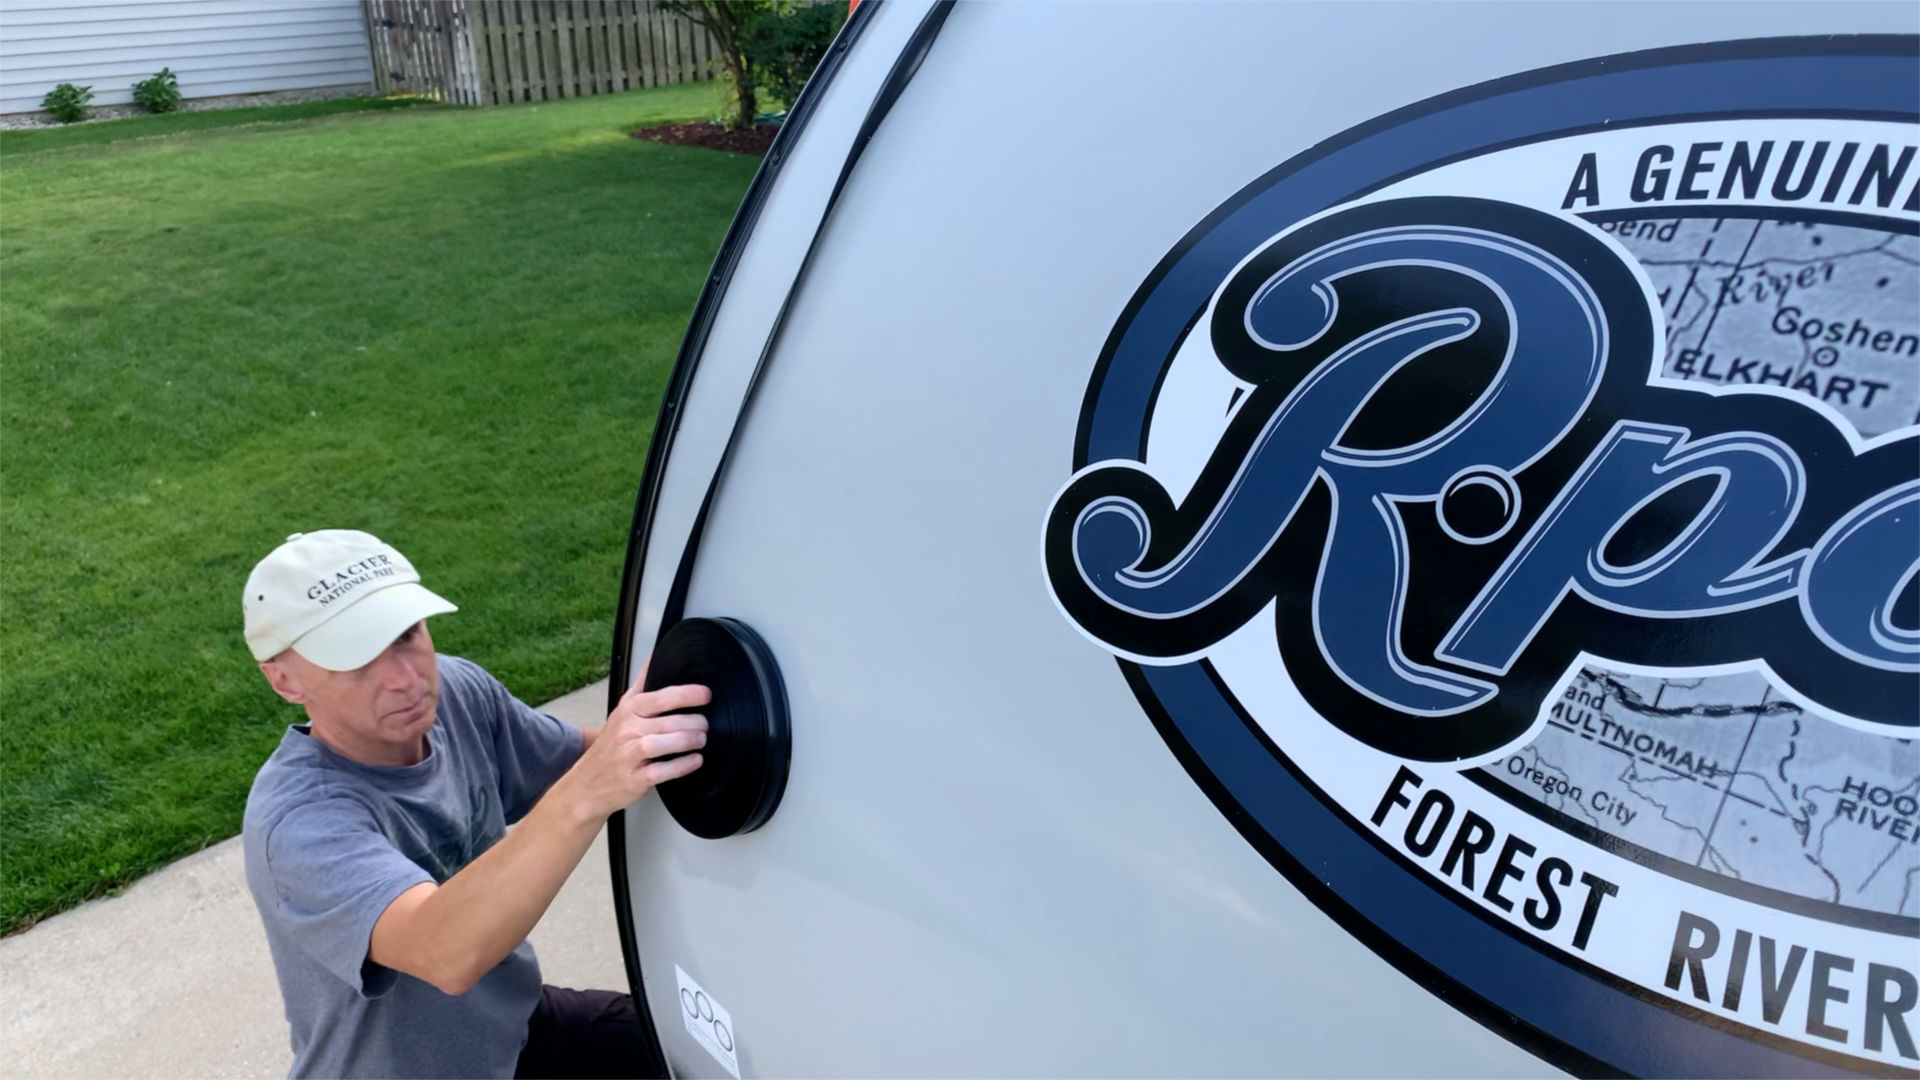
10. Go back up the ladder and work the trim into the channel stepping down the ladder as you go towards the front of the trailer. Again, remember you are working the trim into the channel while stepping down a tall ladder, so exercise caution, especially as you are working going down the ladder. Again, it isn’t too difficult, but it does require some hand strength and focus. As you come down toward the front endcap, continue the process until you reach the very end of the front channel.
11. Cut the trim with scissors at the front so it ends accurately at the front cap.
12. If needed, use the awl again to poke a hole where the screw will need to go.
13. Reattach the end cap with a Philips screwdriver. If you have aligned the screw hole properly, this should be fairly easy to do.
You will need to repeat this process should you be replacing the other longer curved roof section of trim. For a horizonal piece, the process is very similar, and you may not need a ladder depending on what piece you are replacing. When doing a horizontal or small vertical piece, you will likely need to cut a small piece first then trim to exact length. One way to do this is to remove the old piece and lay it down. Then simply unroll the new trim to the same length and cut accordingly. Remember the old saying – to measure twice and cut once!
We did not do the four pieces on the slide-out, which would require much more caulk work. These pieces were not degraded and did not need replacement at this time.
Overall, this is a fairly easy maintenance task to perform as long as you are comfortable on a ladder doing work. If not, please look to a local dealer or RV service center or mobile technician to have this done for you.
All the best in your camping endeavors!
We’d love for you to join the On The Road Team by subscribing to the YouTube channel. If you want to dive deeper, we put more content and photos on Instagram and Twitter @JohnMarucci. You can also follow John on Facebook @JohnMarucciOnTheRoad.
As always, thanks to our teammates who support the channel by watching the YouTube Ads and by starting their shopping from the On The Road Amazon Storefront at: amazon.com/shop/johnmarucci. Your support is greatly appreciated!
Watch the more than 100 videos from John Marucci – On The Road!
*As an Amazon Associate I earn from qualifying purchases. There is no additional cost to you to purchase from these links.

