
In this blog, we’ll walk through the process of replacing the Dometic CT Single Zone thermostat in my 2020 Keystone Bullet 243BHS. While recently on the road, we encountered a problem with the Dometic furnace. One of the items we had to troubleshoot while working through the furnace issue was the thermostat. The Dometic CT Single Zone thermostat has caused many owners (including myself) headaches over time. So, we decided to replace it to eliminate it from being a possible cause. There is a printable process document for this in the Resources area under Doc & Downloads.
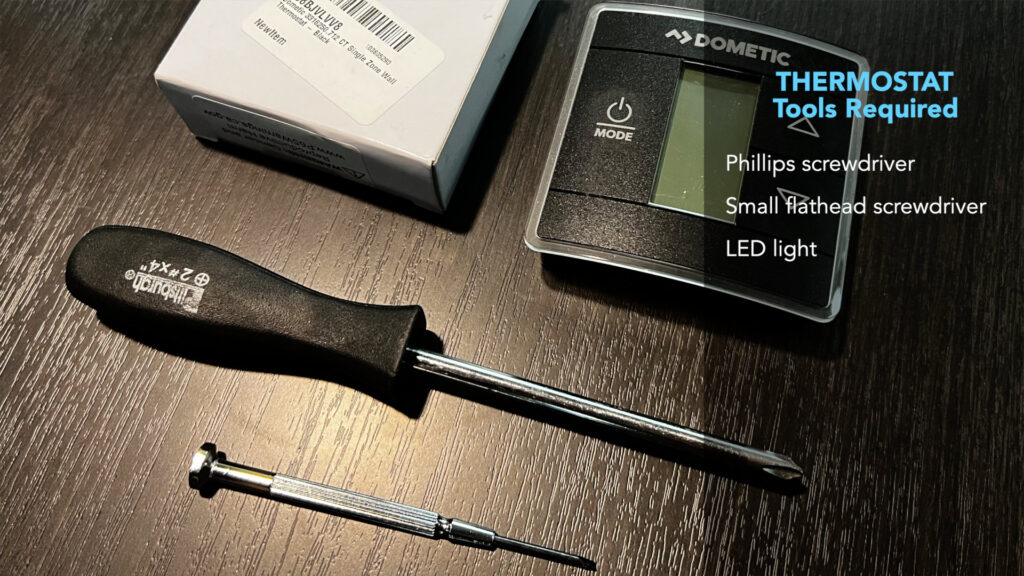
Tools Required
Phillips screwdriver
Very small flathead screwdriver
Needle-nose pliers
LED light
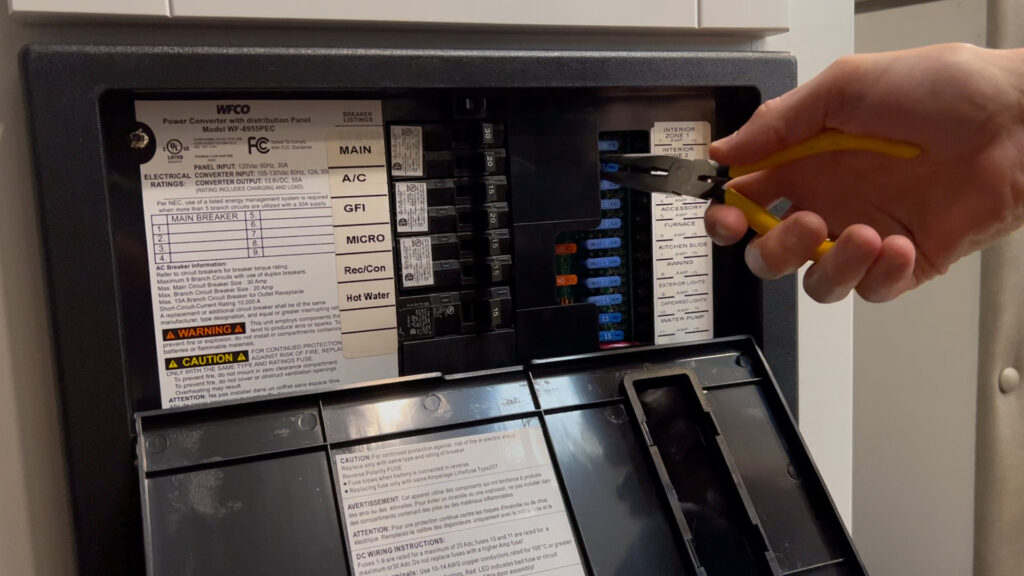
First – Remove the fuse that powers the thermostat.
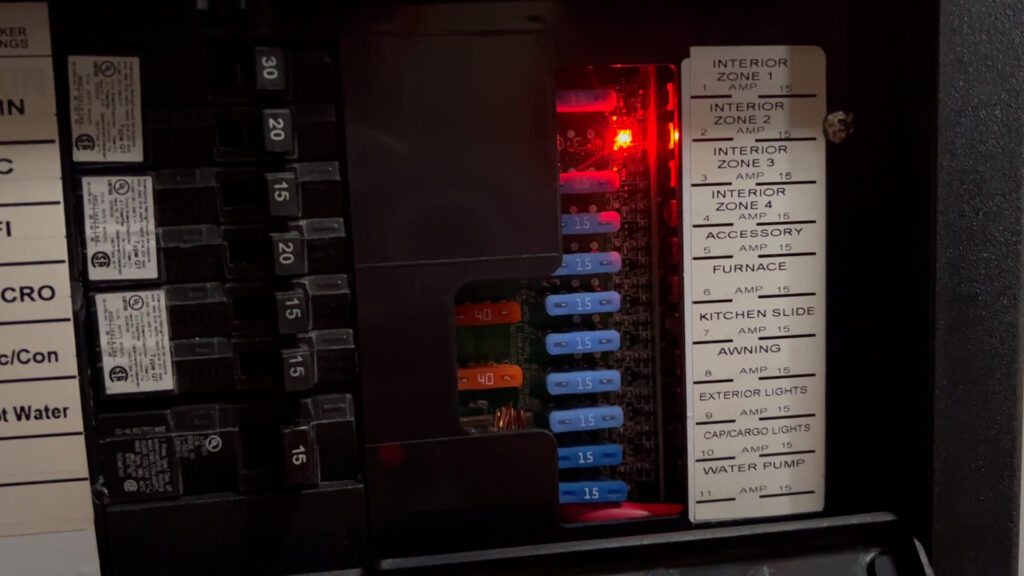
Use a pair of needle-nose pliers and remove the appropriate fuse that powers the thermostat. There should be no power to the thermostat while working on it. The thermostat was not labeled on my fuse box, so I did have to test to see which fuse powered the thermostat. Be aware that removing this fuse may also kill the lighting in your cabin, so it is a good idea to do this task during the daytime or while using an LED headlight.
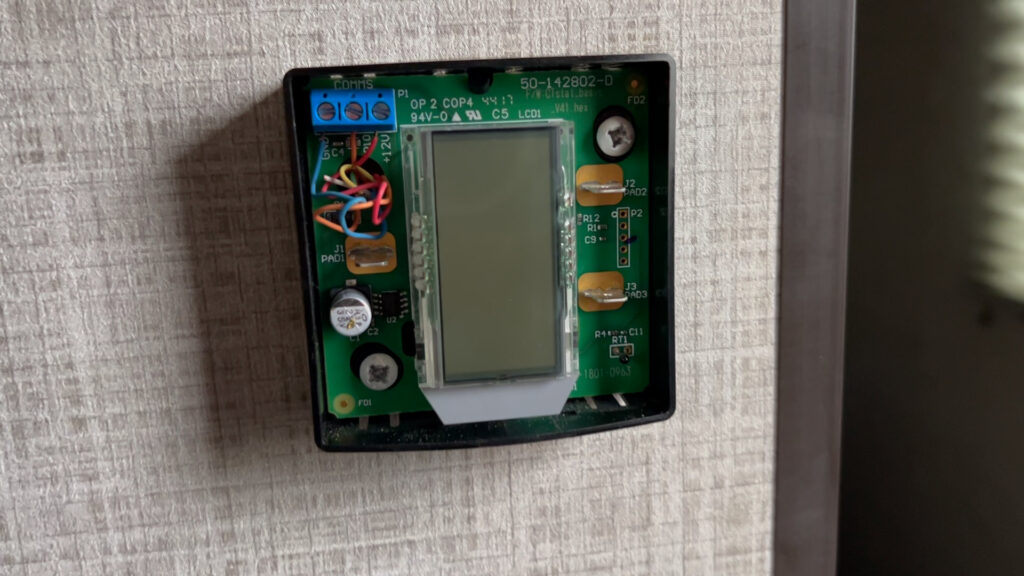
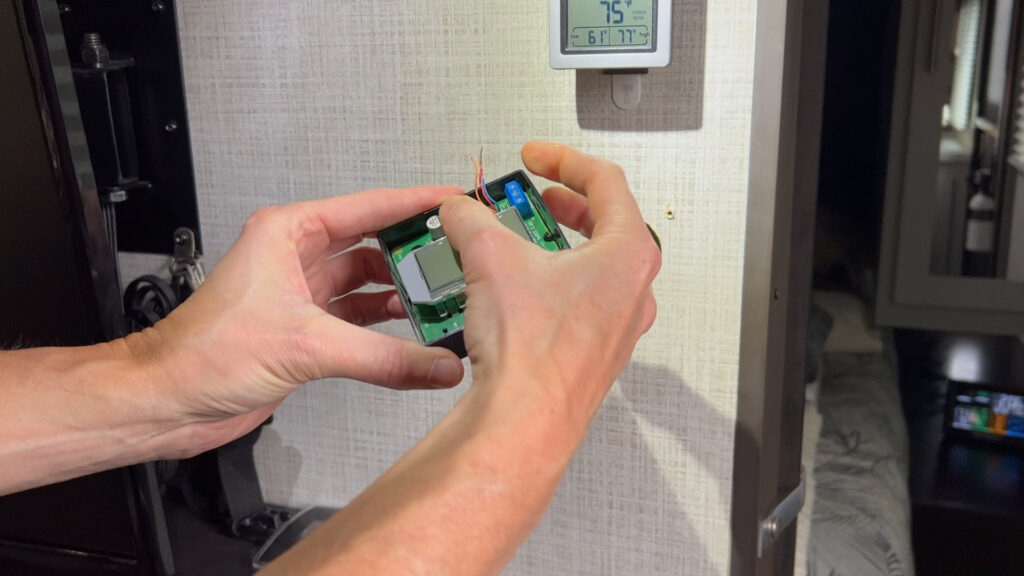
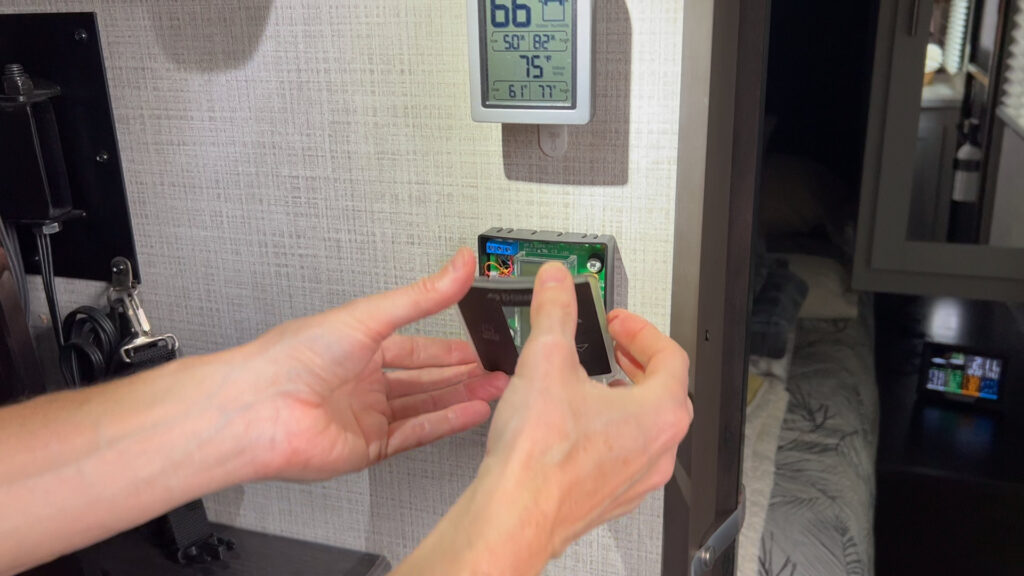
Next – Remove the thermostat’s faceplate.
The faceplate on the Dometic CT Single Zone thermostat comes off fairly easily. Simply pull the faceplate off from the top or bottom, and it should detach fully. As with any plastic piece, go slowly and apply limited pressure to the piece.
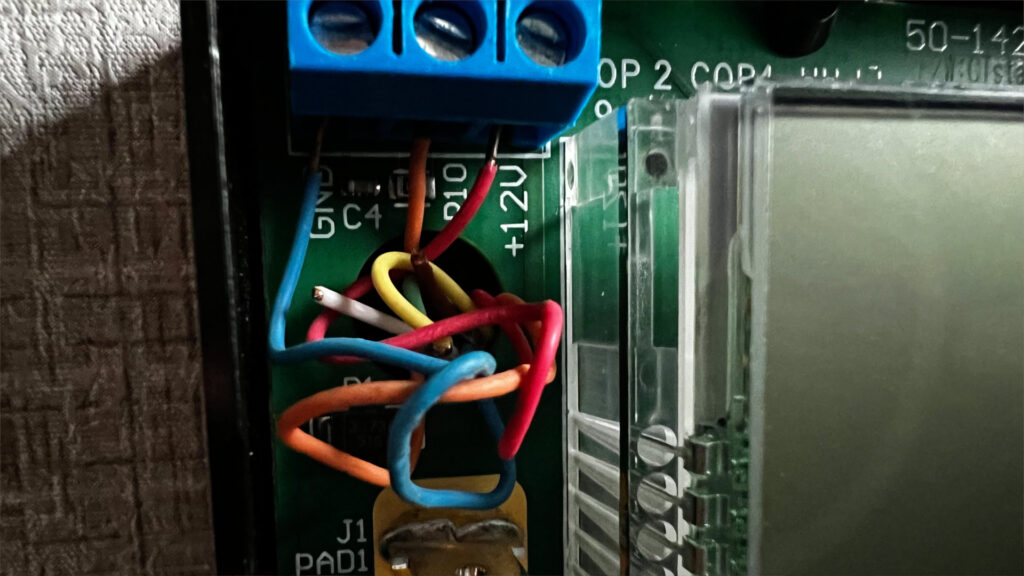
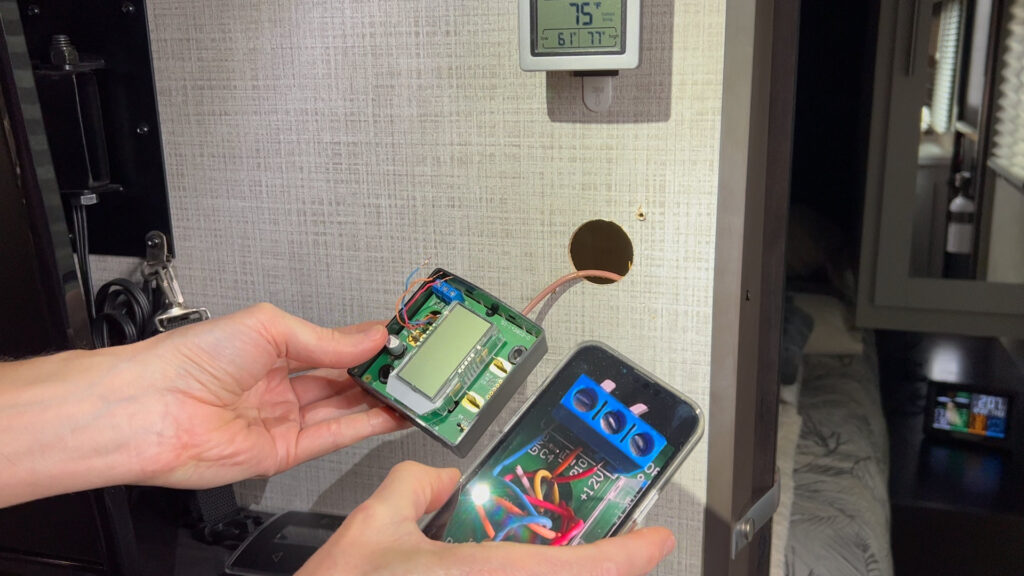
Next – Take a picture of the wire connections.
Use your smartphone or another digital camera and take a picture of the wire connections of the colored wires inside the thermostat housing. You will need this as a reference later when you reattach the wires to the new thermostat.
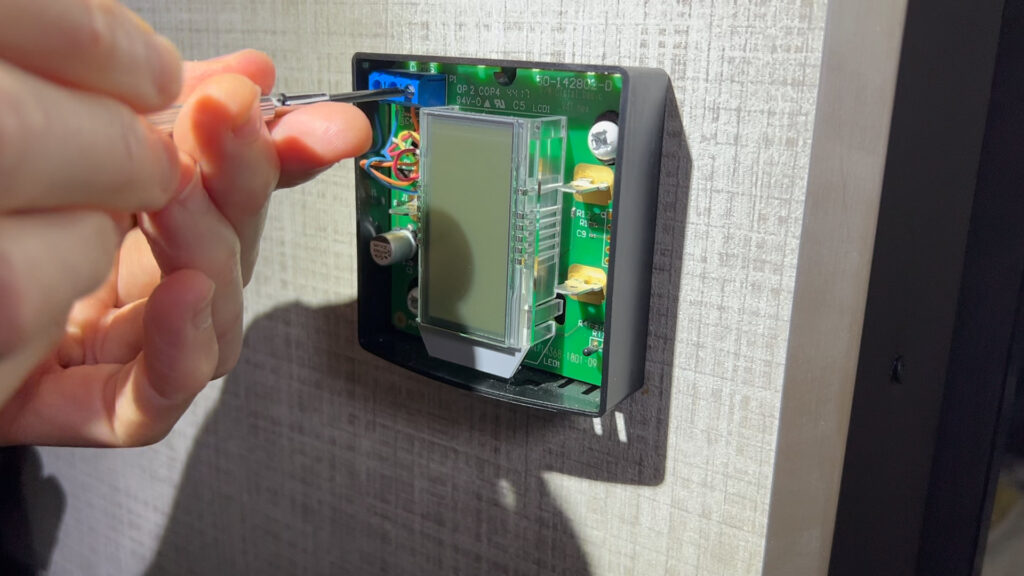
Next – Loosen the wire connection screws and remove the wires.
Loosen the screws on the thermostat’s terminal using the small flathead screwdriver. The colored wires should be loose once you’ve done this. You can then gently pull the colored wires out of the terminal.
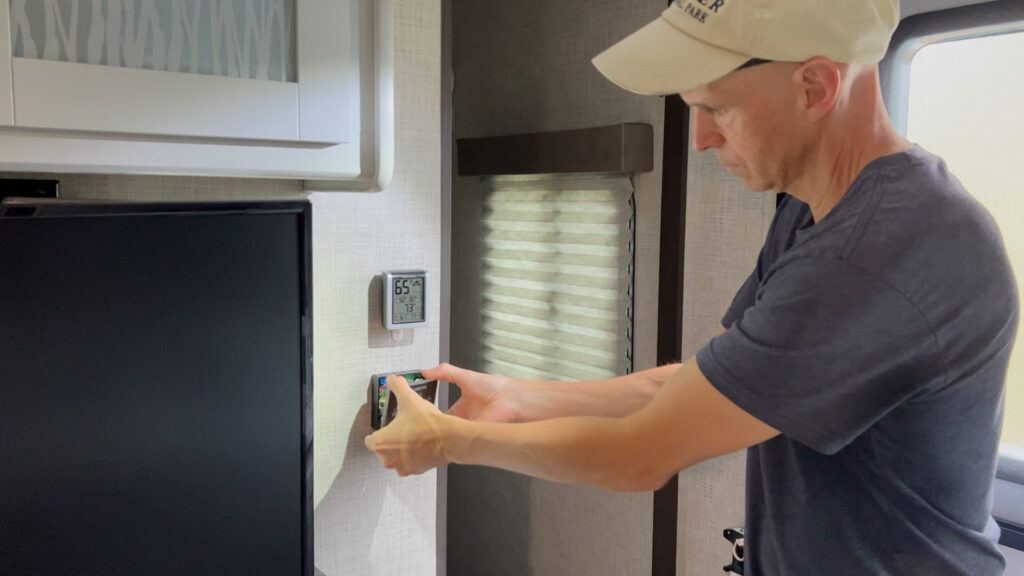
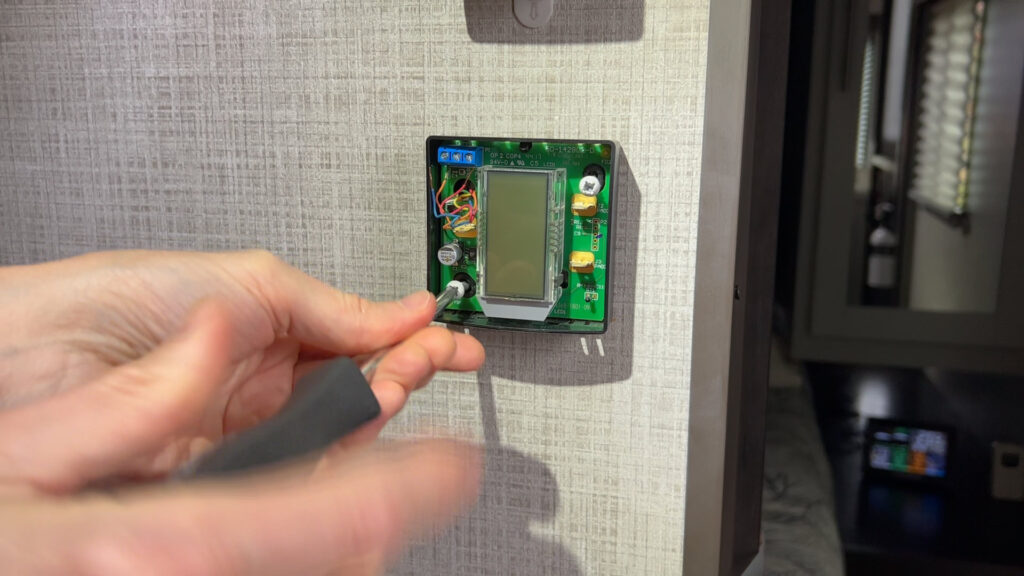
Next – Remove the screws that hold the thermostat housing to the wall.
Using your Phillips screwdriver, remove the screws that hold the thermostat’s housing to the wall. Usually, two screws hold the thermostat flush to the wall, and they should come out easily.
Next – Remove the wires from the existing thermostat and stow the thermostat.
With the thermostat housing free from the wall, pull the colored wires through the housing from the back. At this point, the old thermostat housing should be free from the wires. Finally, remove the thermostat from your working area to avoid confusing it with the new unit.
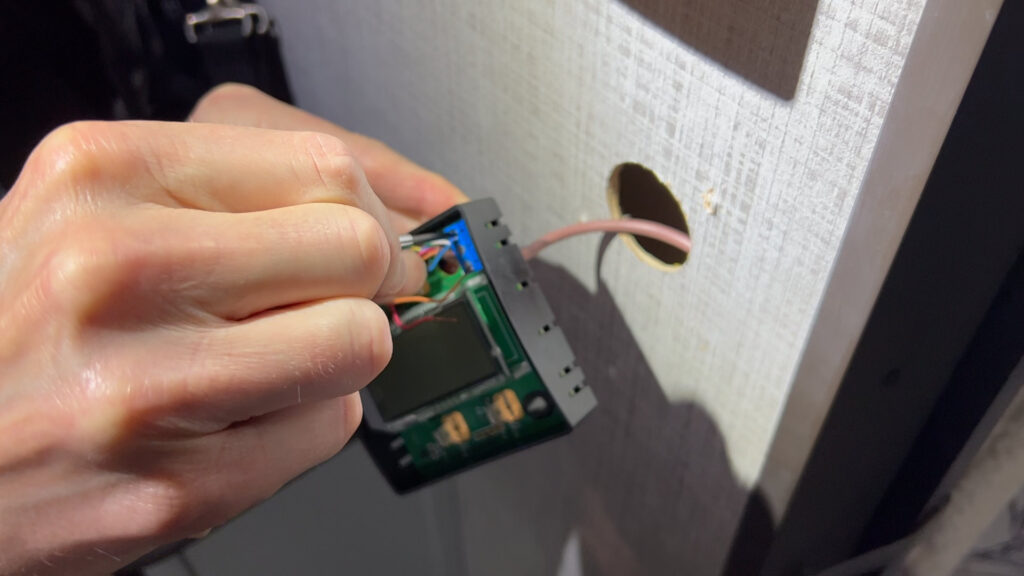
Next – Feed the wires into the new thermostat.
Carefully feed the wiring into the new thermostat housing through the hole in the rear of the unit.
Next – Arrange the colored wires.
Order the colored wires so that each wire lines up correctly with the thermostat’s wiring terminal. Use the picture of the connected wires, taken earlier, to confirm the proper order of the wires.
Next – Connect the wires.
Fully insert each colored wire into its correct position in the terminal and tighten the set screws. Do one wire at a time until all wires are secured to the terminal.
Next – Check that the wires are tight.
Test that each colored wire is seated tight into its terminal seat. Tug lightly on each wire to ensure the set screws are properly torqued and the wires can’t easily come out of their terminal seats.
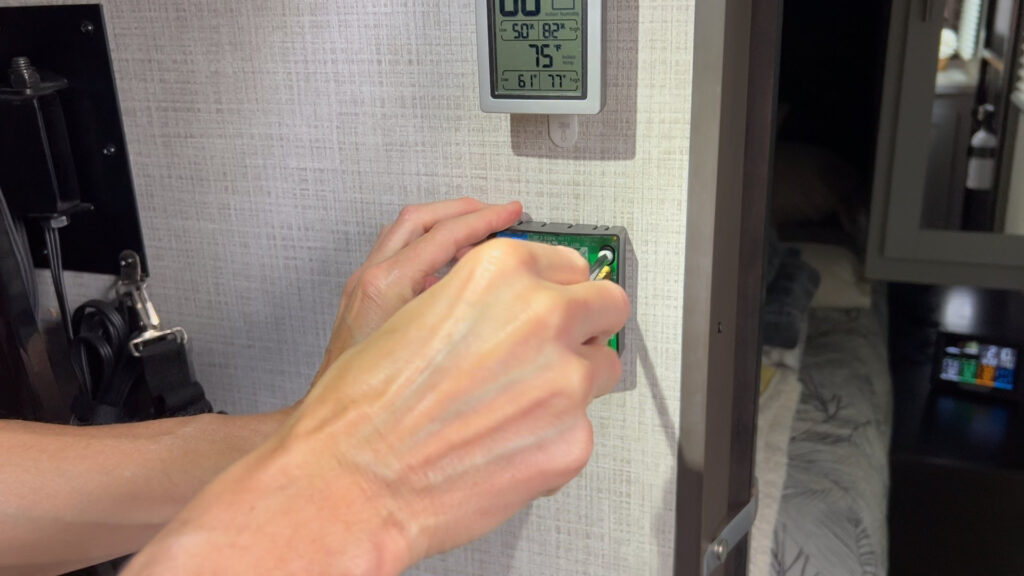
Next – Reattach the thermostat housing.
Using your Phillips screwdriver, reattach the thermostat’s housing to the wall using the original mounting screws. Ensure the thermostat’s housing is flush and secure against the wall.
Next – Reattach the thermostat’s faceplate.
Attach the thermostat’s faceplate by installing it at the bottom at a slight angle, then angling the top of the faceplate into the housing. It should snap into the housing without having to be forced.
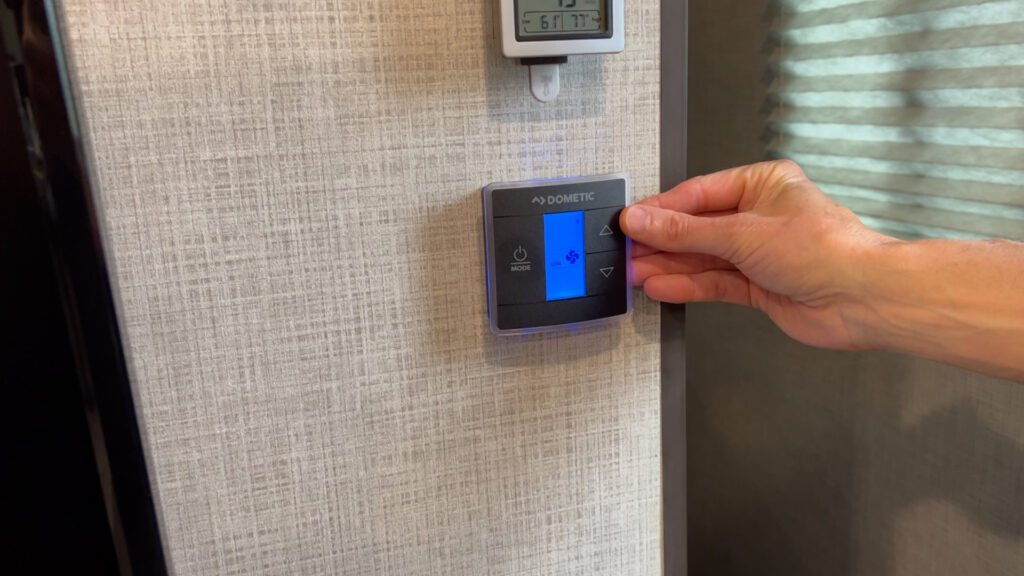
Next – Reinstall the fuse for the thermostat.
Using the needle nose pliers, reinsert the fuse for the thermostat into the electrical panel. You should immediately see the thermostat display light up when the fuse is installed.
Next – Test the thermostat for all functions.
With the power to the new thermostat, test every function, including all fan speeds, the air conditioning, and the furnace. Test all fan speeds with the A/C and then the furnace to ensure that each fan function works correctly in coordination with each appliance.
That’ll do it for the step-by-step process of replacing your Dometic CT Single Zone thermostat.
All the best in your camping endeavors!
As always, thanks to our fans who support our efforts by starting their shopping from our Amazon Storefront and by their generous financial support by using the THANKS feature located under each YouTube video ($ within the Heart icon). Your support is greatly appreciated!