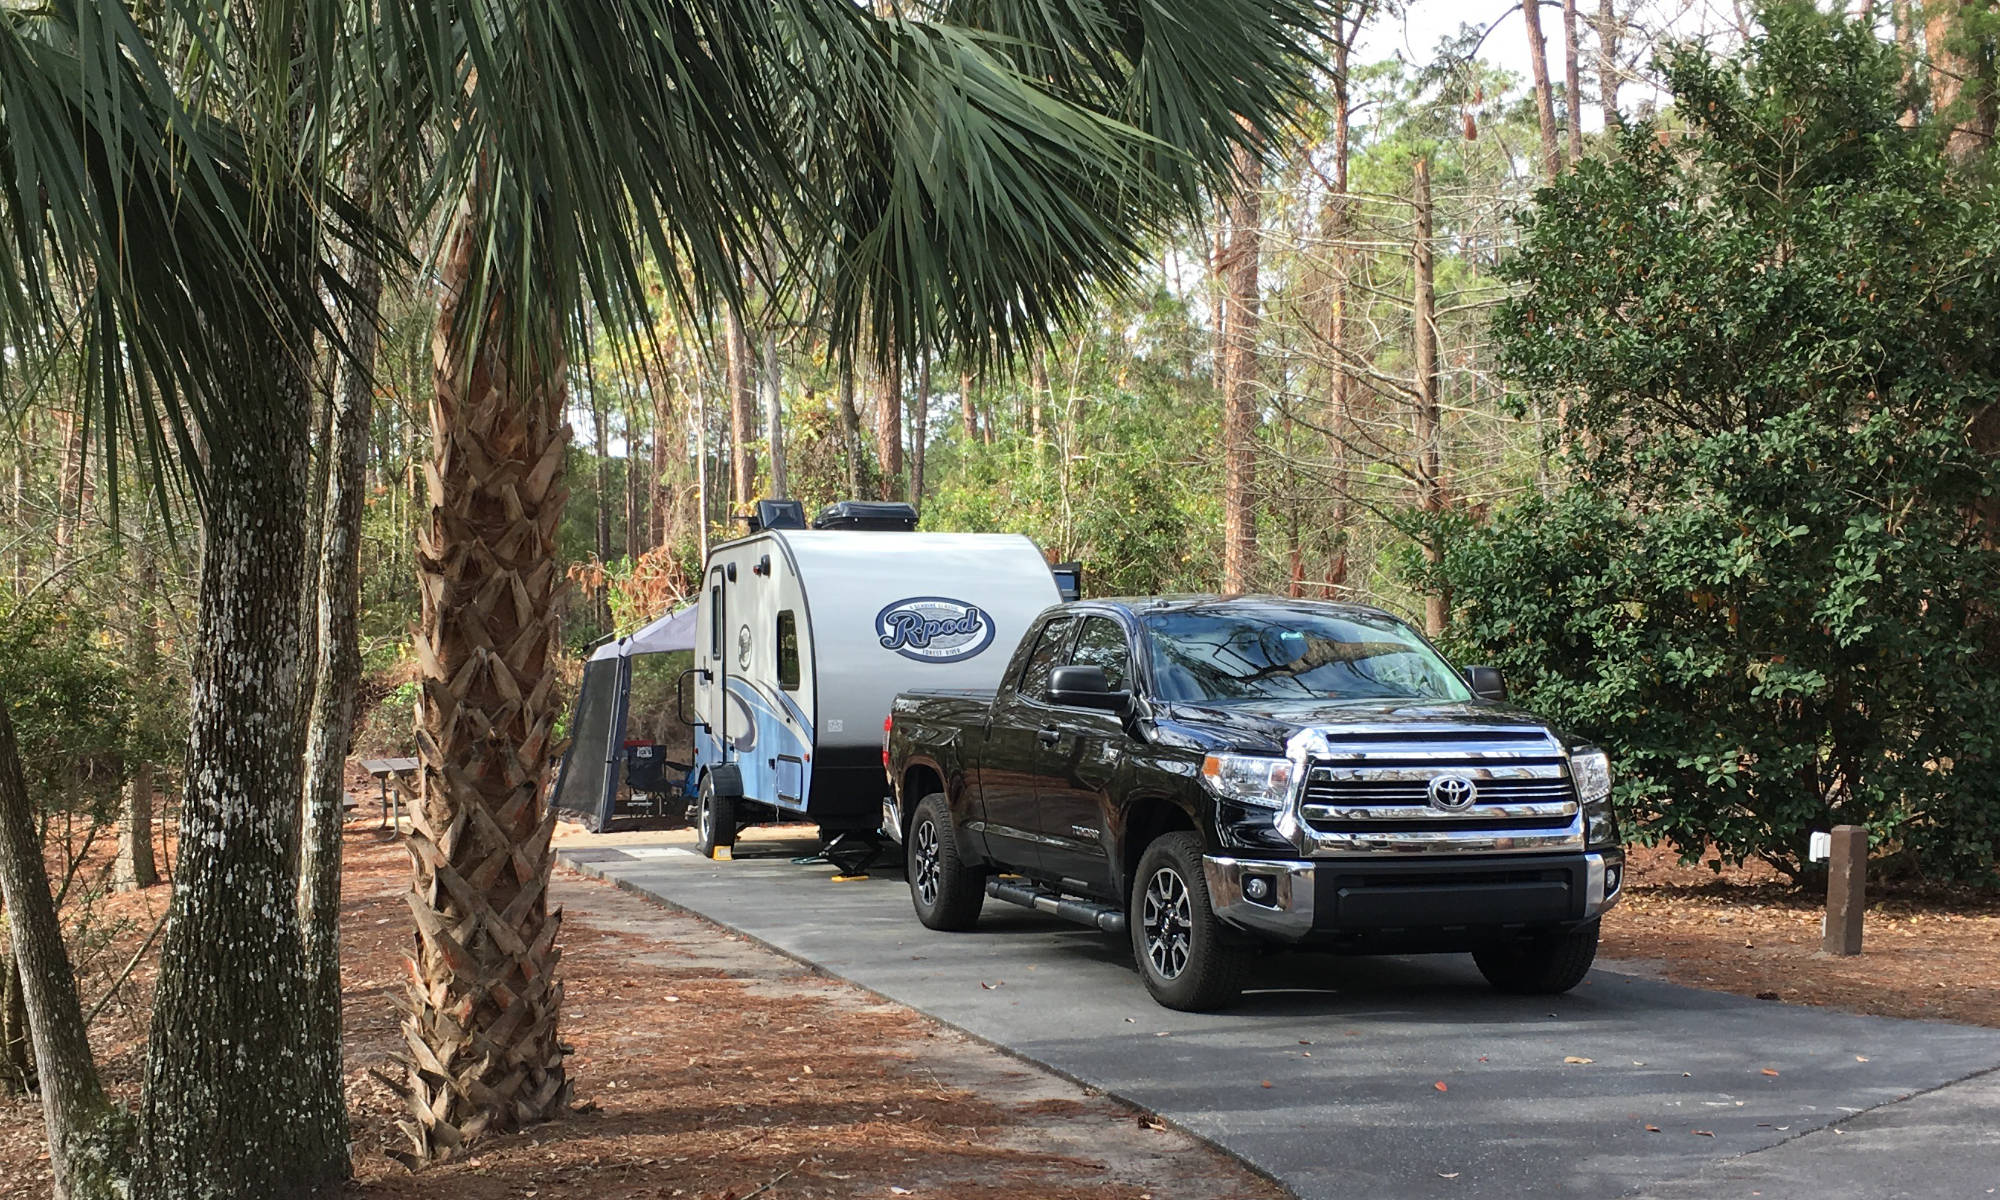
In this blog, we’ll go over managing water and maintaining an RV’s wastewater tanks at partial hookup and no-hookup campsites. I’ll share some best practices with water and waste management in these situations. Camping at a partial hookup or no hookup campsite requires different habits compared to full hookup campsites. To fully enjoy a longer time out you will need to carefully manage water and wastewater tank capacity or risk shortening your trip.
Partial Hookups
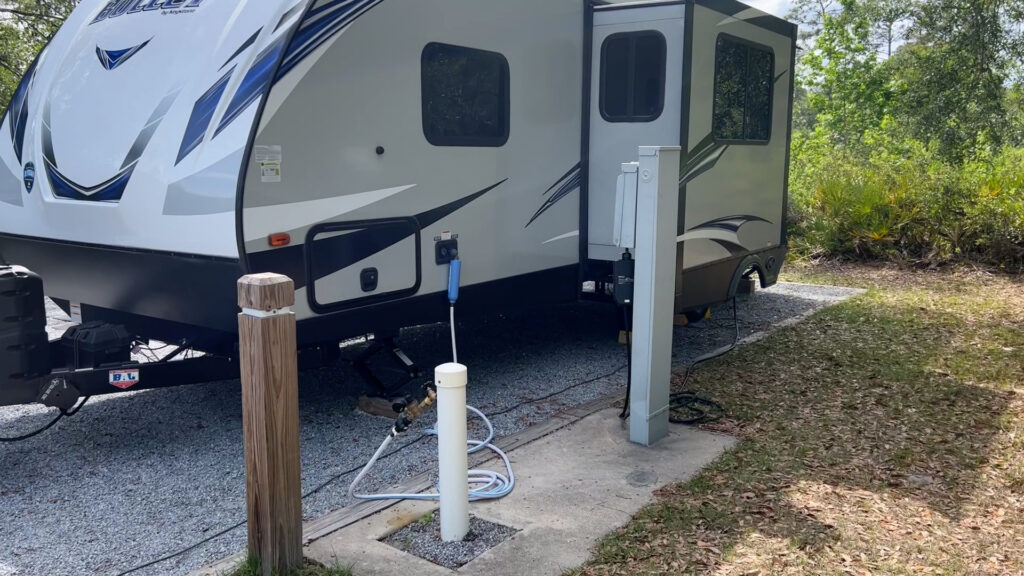
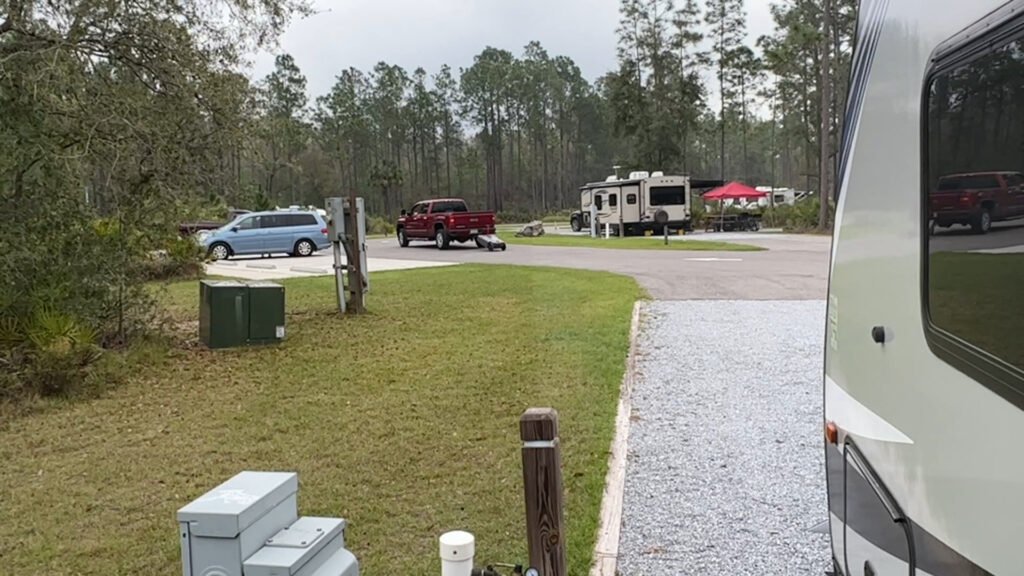
Partial hookup means you have access to at least electrical service, and sometimes electrical service and city water at the campsite but no sewer inlet at the campsite. This means you can plug your RV in for electrical service and use city water if available at the campsite but will have to use a public dump station to empty your wastewater tanks. Most state parks and campgrounds fall into the category of partial hookups.
No Hookups
With no hookup campsites, you have no electrical or water service as well as no sewer inlet at the campsite. If the campground is an organized campground, you may have defined campsites with some sort of toilet facility and maybe a public dump station. Many National Park campgrounds fit into this category. Unfortunately, this means you will have to use your RV for showers, will need to get water from the campground or bring it in, and may or may not be able to dump your tanks at the campground.

Let’s first look at freshwater and wastewater management at partial hookup campsites.
Water Management
Without a sewer connection at the campsite, water management becomes all important. Given limited gray and black wastewater tank capacities, to extend time at the campsite and away from the dump station, it usually means greatly curtailing the use of fresh water when camping.
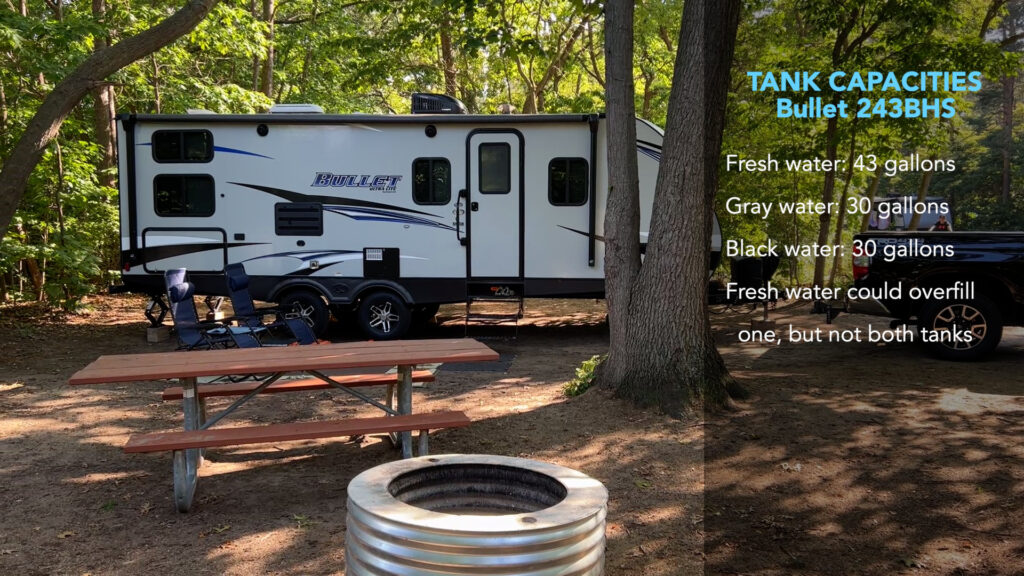
With partial hookups that have city water available, the big concern is the velocity of water used. By this, I mean that using city water allows the use of much more water than having a limited amount of freshwater in a tank in the RV. For example, I have up to 43 gallons of fresh water capacity in my 2020 Keystone Bullet 243BHS (including the hot water tank). My two wastewater tanks are 30 gallons each. The entire contents of my freshwater tank could overfill one but not both of my holding tanks.
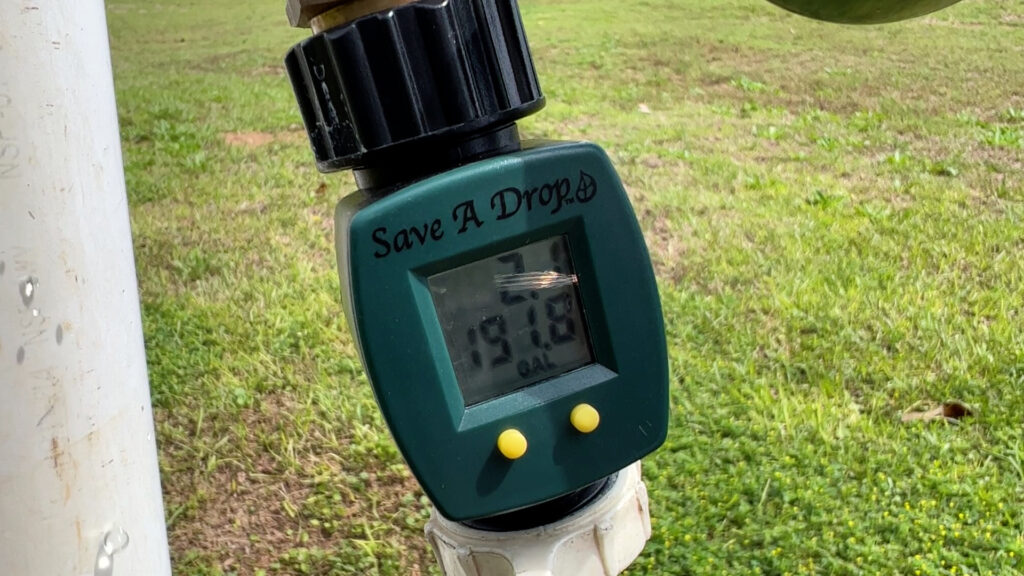
The problem with having city water but no sewer is the ability to easily use water at a very fast rate without realizing it. I found this out recently at a full hookup site using a water meter. In a week I used much more than 100 gallons of water via the city water line. I wasn’t paying attention and if I did not have a sewer connection at the site, it would have meant having to dump tanks after only a few days.
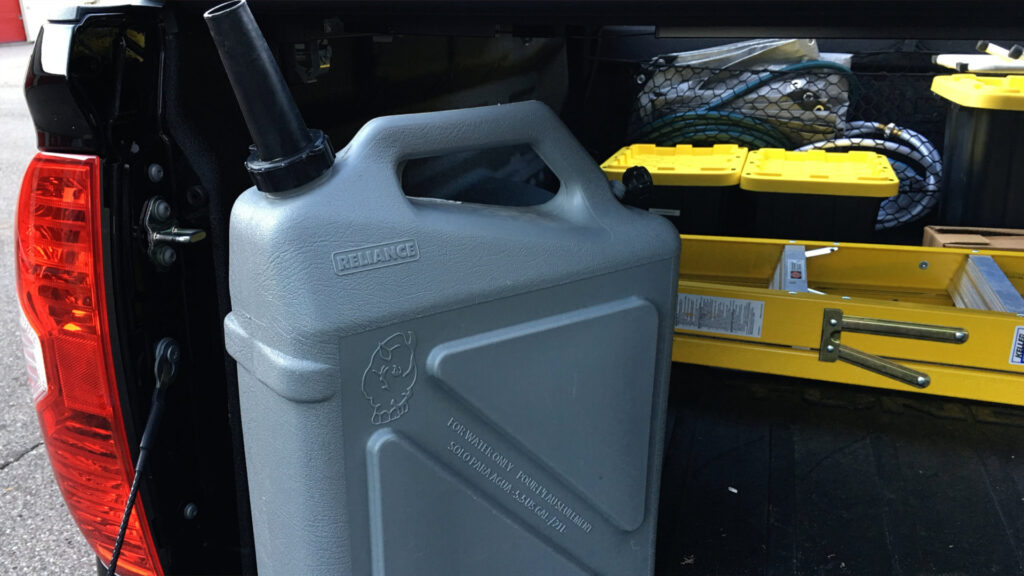
For partial hookup sites without city water at the campsite, I almost always carry two 5.5-gallon water containers for extra fresh water. This way when I run out of freshwater in the RV’s tank, I can use these containers to add extra water. This is a good investment if you plan to do much extended state or national park camping at one location.
Many people employ totes that can be filled from the RV’s wastewater tanks and be taken to the dump station. The advantage is that you don’t have to take your entire RV to the dump station mid-trip to empty tanks. I see many people, especially with larger fifth-wheel RVs using these totes. However, it is another large item to travel with and strap down when in transit. The main benefit is the time savings when having to dump tank contents for longer stays at partial hookup sites.
How do I manage water usage at a partial hookup site? First, there are three primary areas of water usage: showering, cleaning dishes, and flushing the toilet. Let’s look at each of these in order.
Showering
For showering, there are two issues to overcome in order to lower water usage. The first is getting hot water to the shower, and the second is using less water while showering. I had a shower miser on one of my recent RVs that worked well. If you have never heard of a shower miser, it allows the cold water to run back to the freshwater tank while the water is heating up.
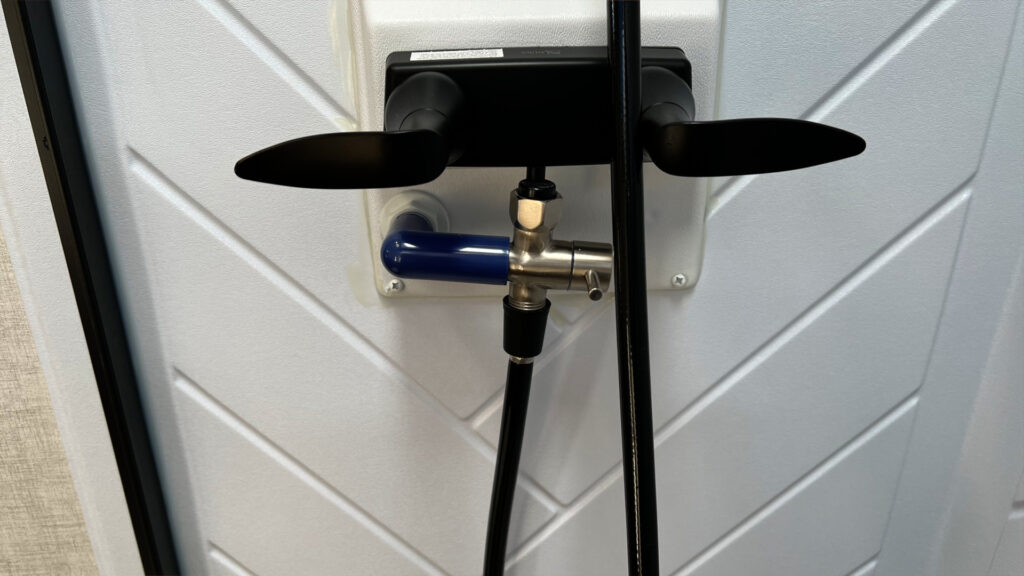
You may be surprised that up to a ½ gallon of cold water can get flushed into the gray tank just warming up the water for a shower. This can add up and use critical space in the gray tank. With the flip of a handle on the shower miser, you can turn on the water after it is heated and not waste any hot water down the drain.
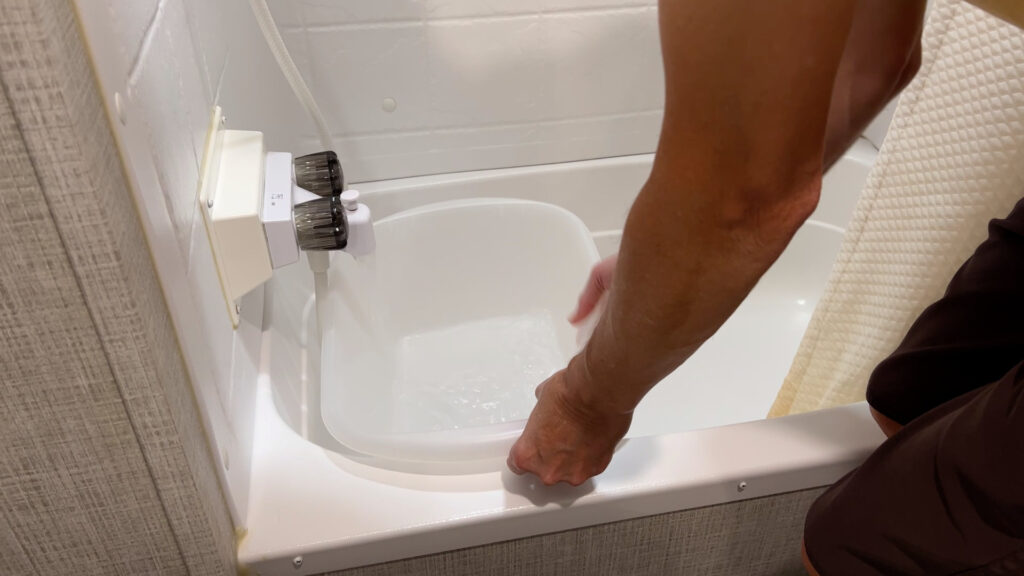
If you don’t have a shower miser in your RV, you can employ a simple plastic dishpan to catch the cold water until it warms up at the shower. Once the water is warm, remove the dishpan and start showering. Given the water is clean, I have no issues with using the ½ gallon of fresh cool water for various purposes. No reason to waste fresh water.
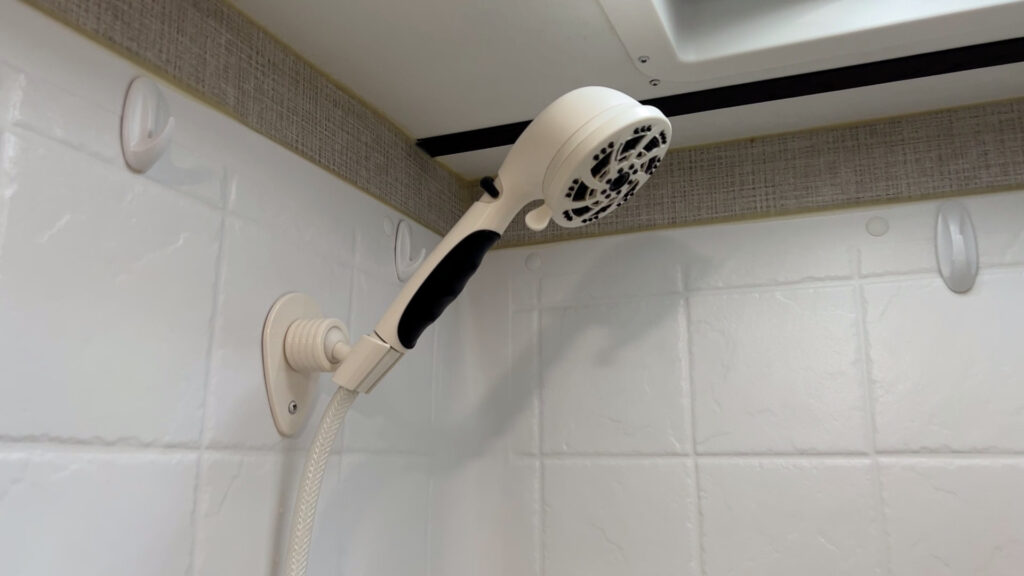
The second challenge is using less water when showering. My first advice is to invest in a showerhead that limits water flow. This can be a game-changer for water usage when at partial or no hookup campsites. I have an entire video detailing the Oxygenics Fury showerhead that I use. It shows how much water is used per minute at different settings, so I won’t go into detail here. All to say, this is an obvious investment if you plan to employ water-saving strategies. Watch the Oxygenics Showerhead water test video.
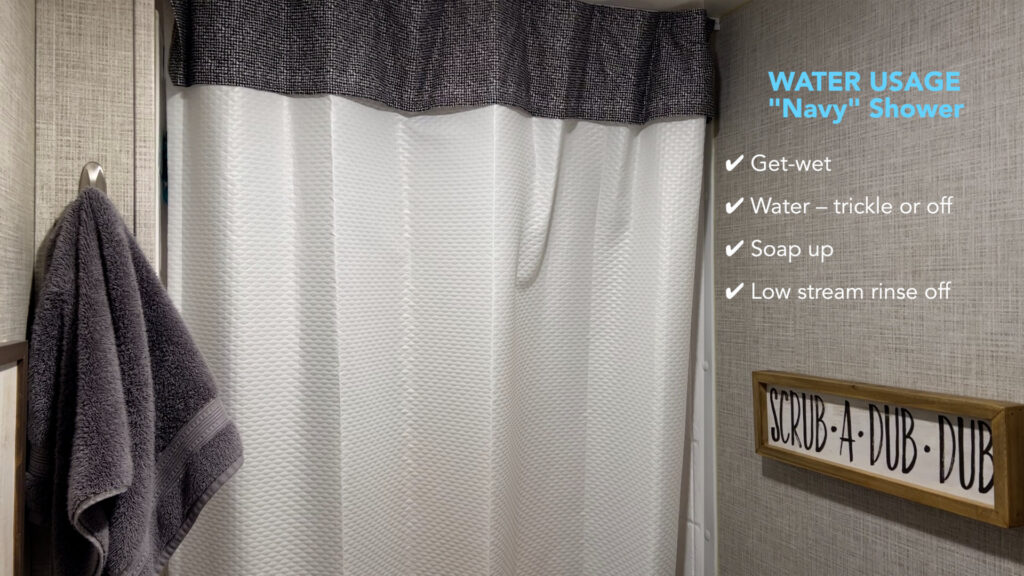
The other main tactic for saving water while showering is reducing the actual time the shower water is flowing. You may have heard of a “Navy” shower. This is where you do a quick get-wet rinse, turn the water to a trickle or off, soap up, then turn the water to a low stream to rinse off the soap. This is my normal type of shower when not at full hookup campsites. For me doing a Navy shower generally uses a gallon or less of water. This will vary greatly on how proficient you get using this method, how much hair you have, and the strength of the water stream used.
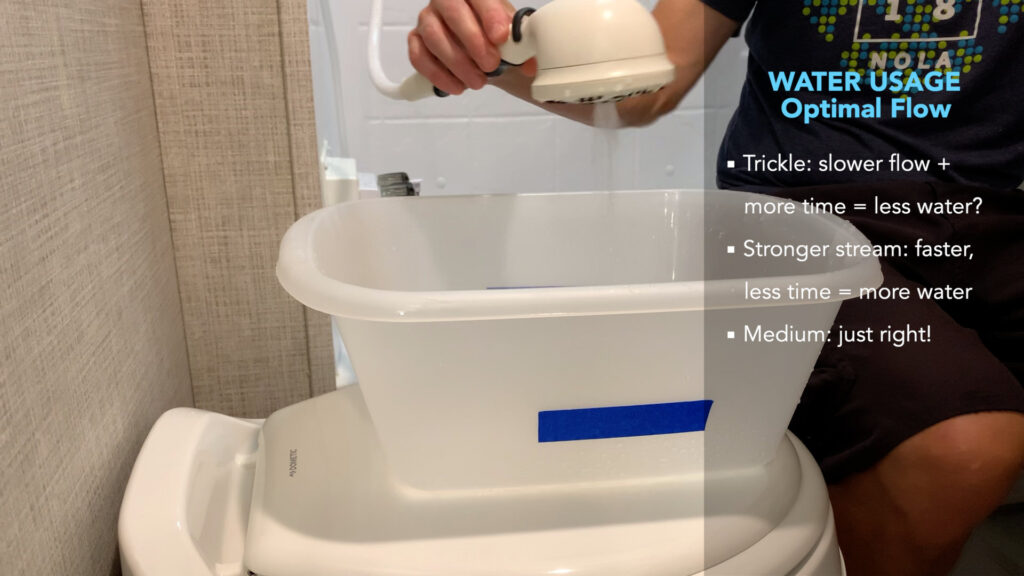
Interestingly, using only a trickle of water may seem like it saves water but it also means much more time rinsing soap off. A stronger water flow from the showerhead means a faster rinse-off but more water used. Over time, I’ve found a medium water stream dialed in with a showerhead like the Oxygenics Fury is optimal.
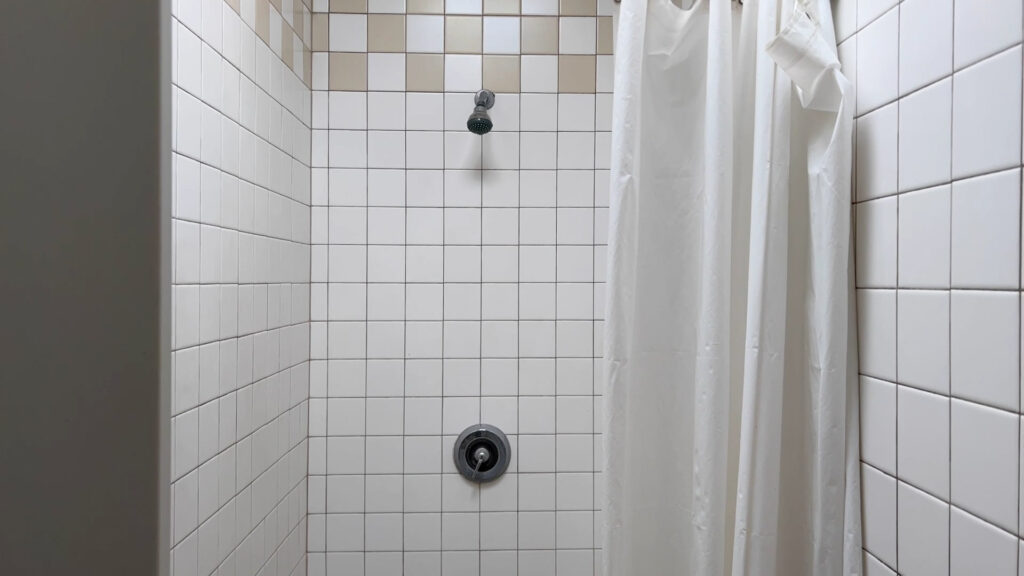
Finally, if you have access to a decent public shower at the campground, obviously you can use the campground bathhouse facilities to enjoy a longer shower without any impact to your gray tank. Many people opt for this to extend their time between trips to the dump station. However, many rustic campgrounds don’t have public showers, so be aware and plan accordingly before you book your next adventure.
Dishes
Doing dishes can use a lot of water. You can curtail this greatly by using biodegradable paper products for much of your eating. This works better in state parks where you have readily available trash dumpsters. Even with the employment of paper products, you will likely still have to do some dishes in the RV. The first tip is to use a dinner napkin or paper towel to remove as much food debris from anything being washed. This goes all the way back to my days of tent camping. This is a great idea anytime as it will save food from getting into the gray tank and causing odor issues.
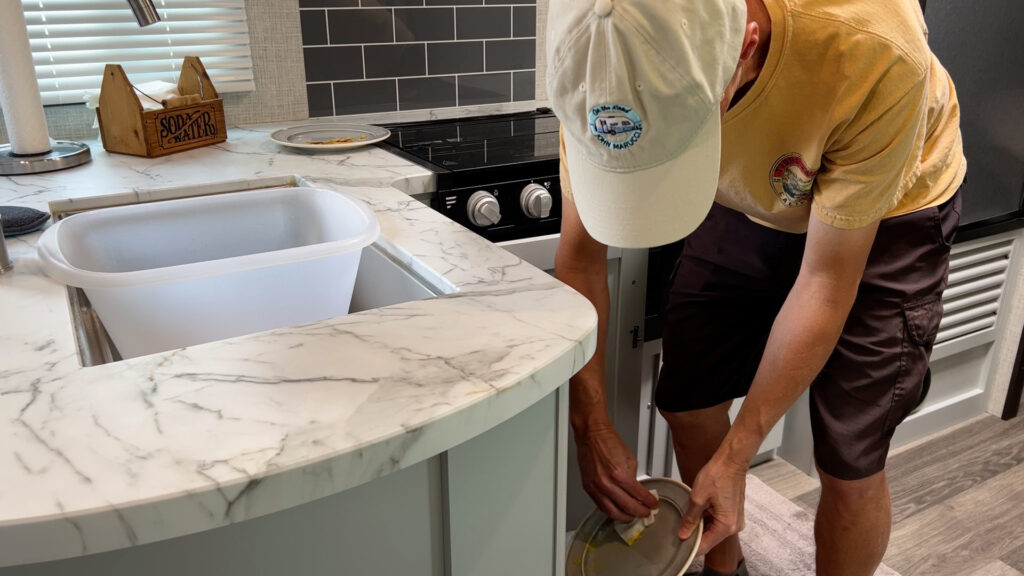
Next, I also use a plastic dishpan in the kitchen sink to catch water anytime I’m not at a full hookup. This is meant to catch all water being used while doing the dishes. This process may change your water habits since you become much more aware of how much water you are using while doing dishes. I try not to let any water go down the kitchen drain initially. This allows me to see how much water I am using and gives me the option of putting the dishwater into the gray tank via the kitchen drain or into the back tank via the toilet.
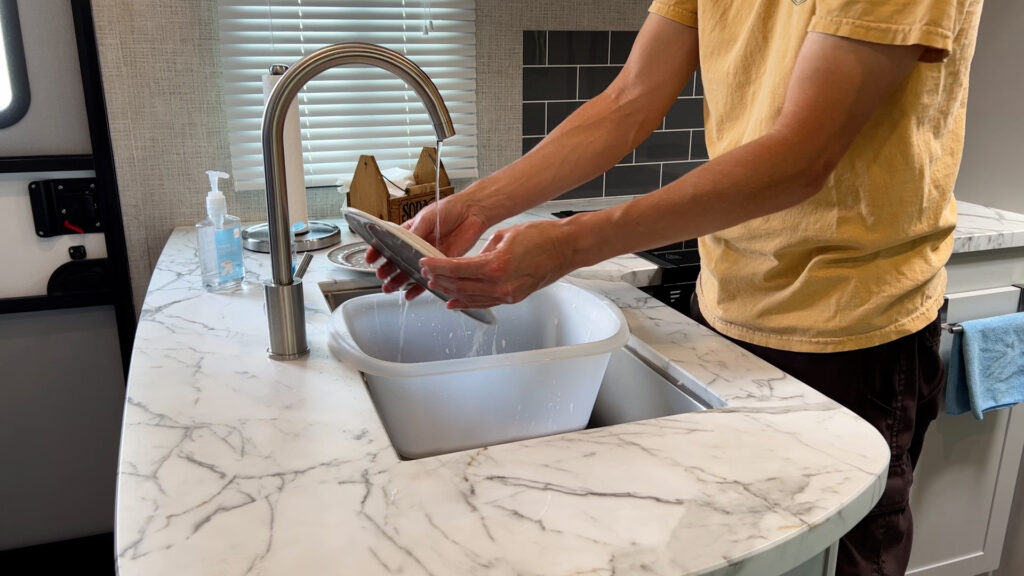
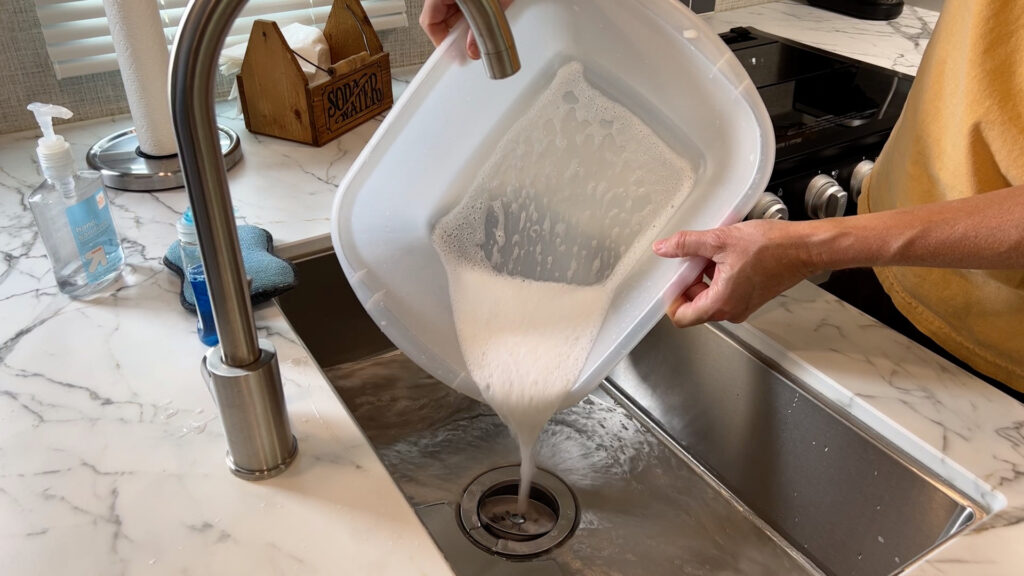
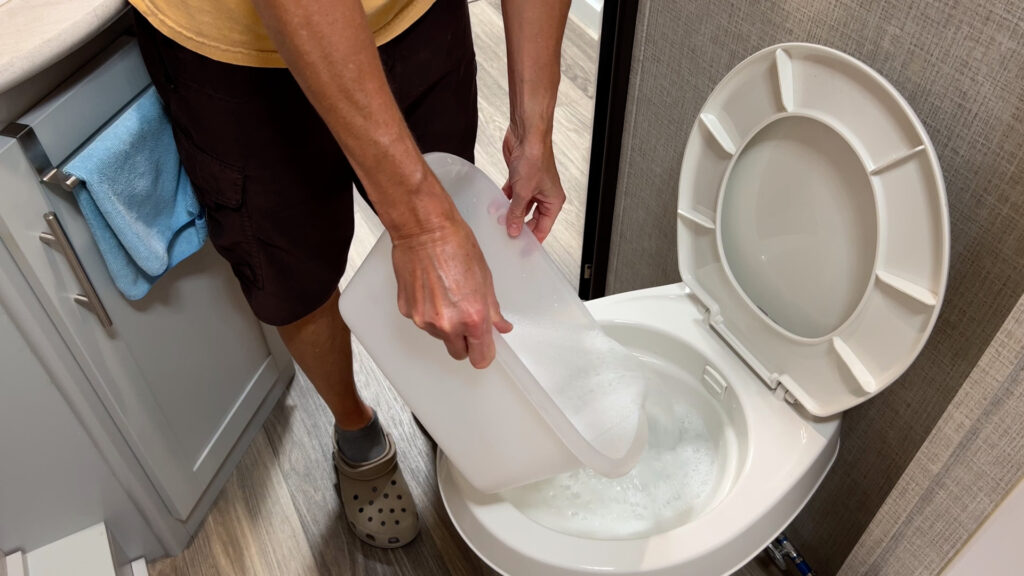
Why would I consider putting used dishwater into the black tank? The main reason is that most people will fill the gray tank up much quicker than the black tank when camping. You can more quickly put 30 gallons into the grey tank versus 30 gallons into the black tank through normal use of the toilet. Using the dishpan will allow you the choice to keep the tanks more balanced and extend the time between visiting the dump station.
Toilet
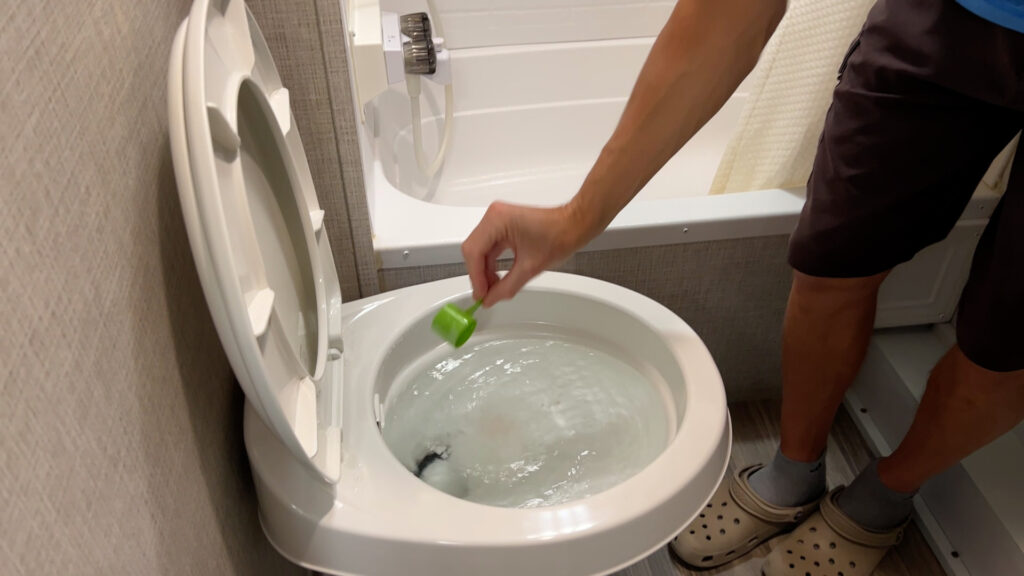
In my video on the subject of dealing with full hookup campsites, I talked in depth about black tank management. So, with partial or no hookups, how do I manage water going into the black tank via the toilet? First, I put slightly less water into the black tank initially. With full hookups, I generally put 5-7 gallons into the black tank with tank treatment before use. With partial and no hookups, I put 3 or so gallons in with tank treatment. Most flushing of the toilet is liquids versus solids, so the amount of liquid in the black tank will grow with use. Also, some people extend the time between dump station visits by using any available public bathroom facilities.
Other
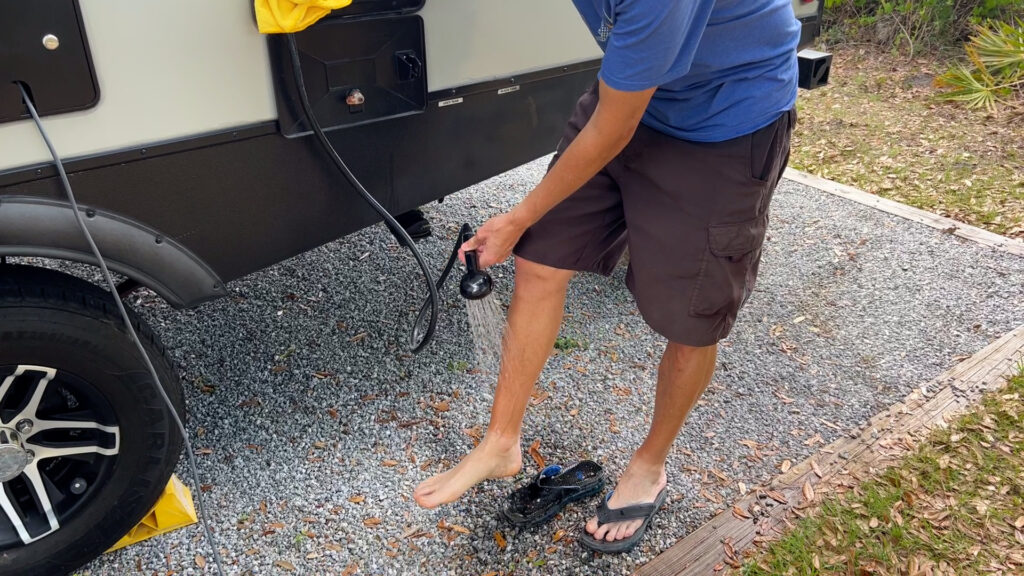
One other area to cover for water usage is after hiking or time at the beach. While some are in the habit of coming into the RV to use the shower or bathtub to rinse off dirt or sand, the better solution is to use the outdoor shower to do this. Also, using baby wipes is a good way to stay clean between showers.
Wastewater Management
My default at partial hookup and no hookup campsites is to watch my water usage closely and dump my tanks at the public dump station after the trip is over. Usually, this means limiting my time at a campground to a week or so. I have two videos on using a public dump station if you want to learn more about the specifics of dumping tanks at a public dump station.
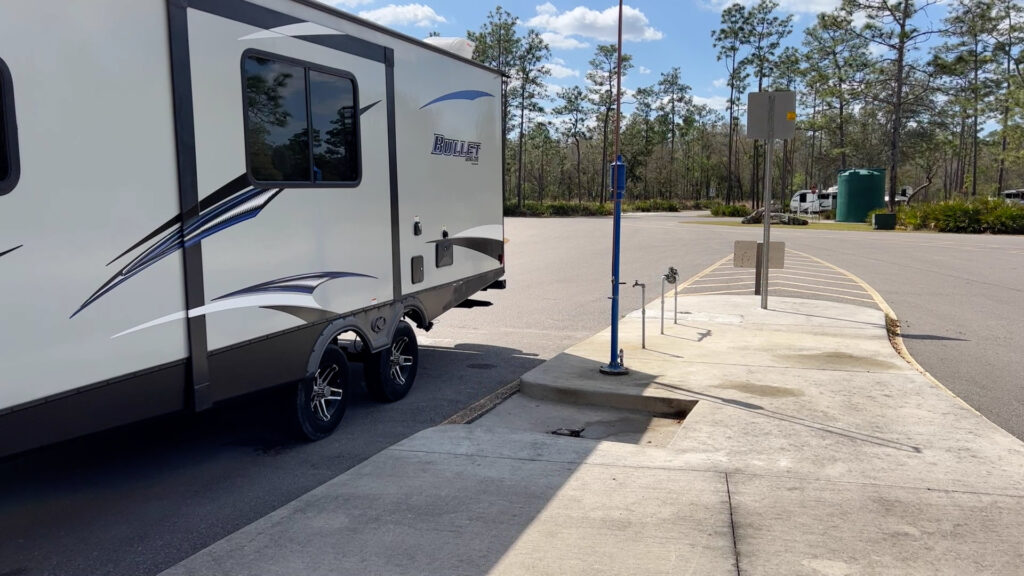
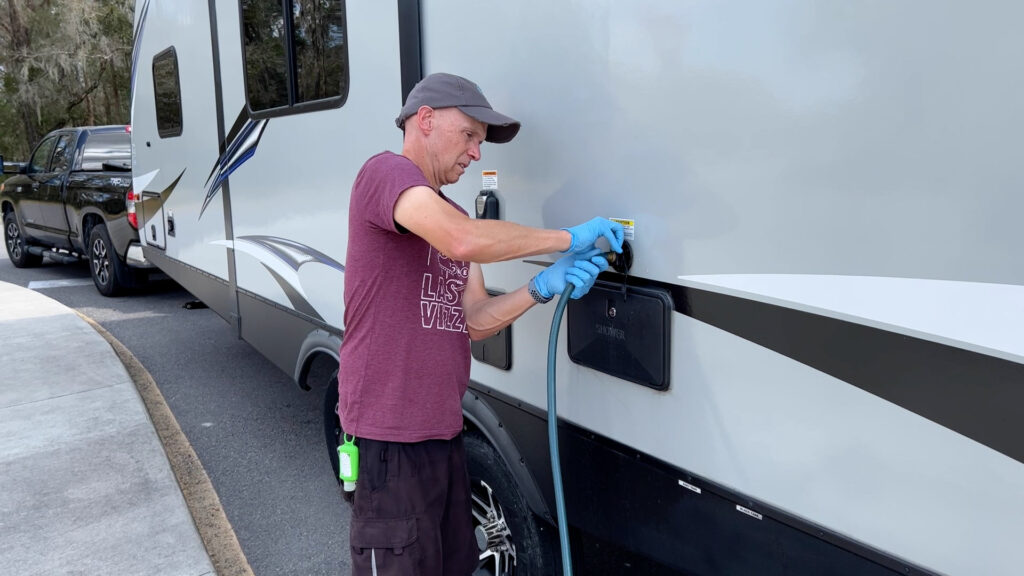
For cleaning out wastewater tanks, in all likelihood, you won’t have time to flush your black tank thoroughly if people are waiting behind you at a public dump station. I do flush my black tank using the external black tank flush if I have no one waiting in line behind me at a public dump station. If you do this, remember to leave the tank’s valve open when using the black tank flush. All to say, you won’t get the black tank as clean as possible in this scenario.
No Hookups
Let’s now look at how some of these strategies are changed when you have no hookups at the campsite (dry camping) or are camping fully off-grid.
Water management is somewhat unchanged from what we mentioned before. You need to continue to employ an ultra-low water usage plan. Besides using water from your freshwater tank and needing to fill it before arriving at the campsite, you will also have to plan out how and where you will empty your wastewater tanks. This can get tricky if the campground doesn’t have a dump station or you are fully off-grid.
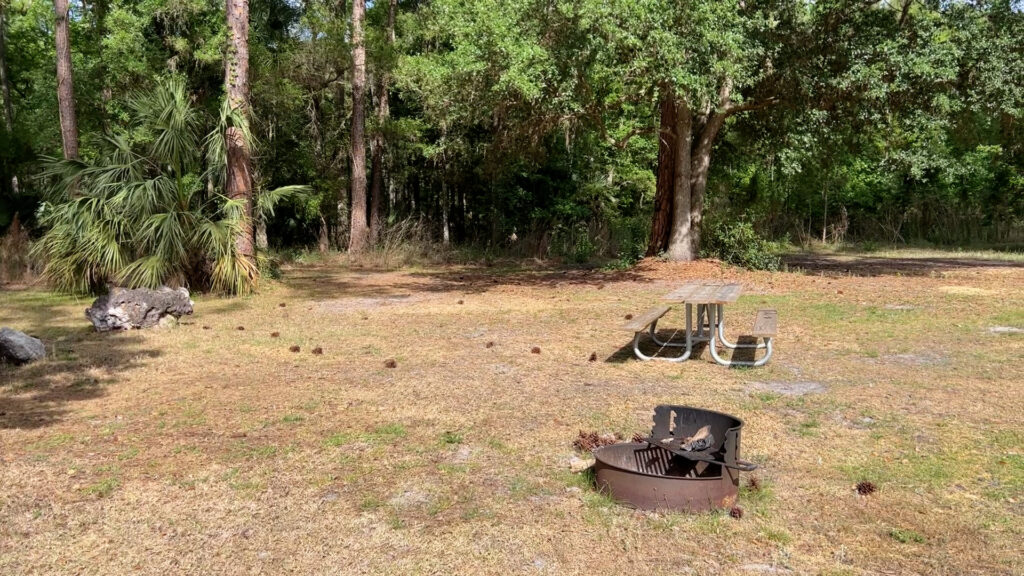
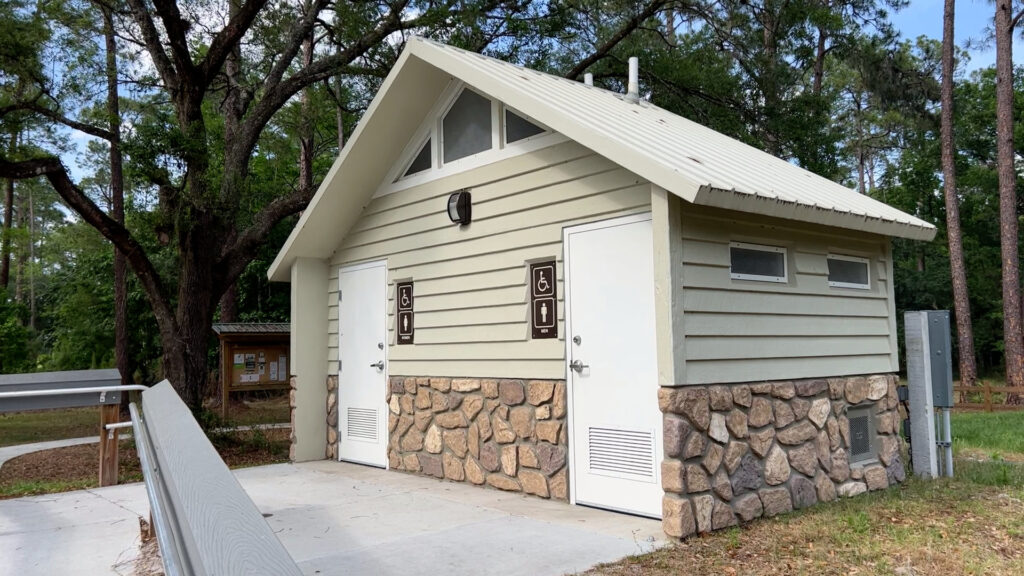
No hookup campgrounds, also known as rustic or organized campgrounds, likely will have some sort of toilet to use but likely no showers. There is no guarantee that any bathroom or shower facilities will be near as nice as using your own RV’s bathroom, yet it is an option if you want to curtail filling your wastewater tanks prematurely.
Next, usually, you will have to fill up with water at the rustic campground when you arrive or tote freshwater in your RV’s tank some distance if you are camping off-grid. I don’t like traveling with a full tank of freshwater given the large addition to tongue weight when towing (remember 1 gallon of water equals 8.33 lbs.). If at all possible, I will fill the freshwater tank when arriving at the campground or closer to the destination. To do this, you first will need to ensure the campground has potable freshwater available. Otherwise, you will need to fill your freshwater tank prior to arriving at the campground. I always filter any water going into my freshwater tank. This also means it is a great idea to ensure that your wastewater tanks are as close to empty as possible when starting at a partial or no hookup campsite.
That should do it. All the best in your camping adventures!
As always, thanks to our fans who support our efforts by starting their shopping from our Amazon Storefront and their generous financial support by using the THANKS feature located under each YouTube video ($ within the Heart icon). Your support is greatly appreciated!
