In this blog, we’ll walk through the process of replacing the strings in a large RV window shade. This blog corresponds to the video – RV Large Window Shade Repair. Please reference this video for more detail.
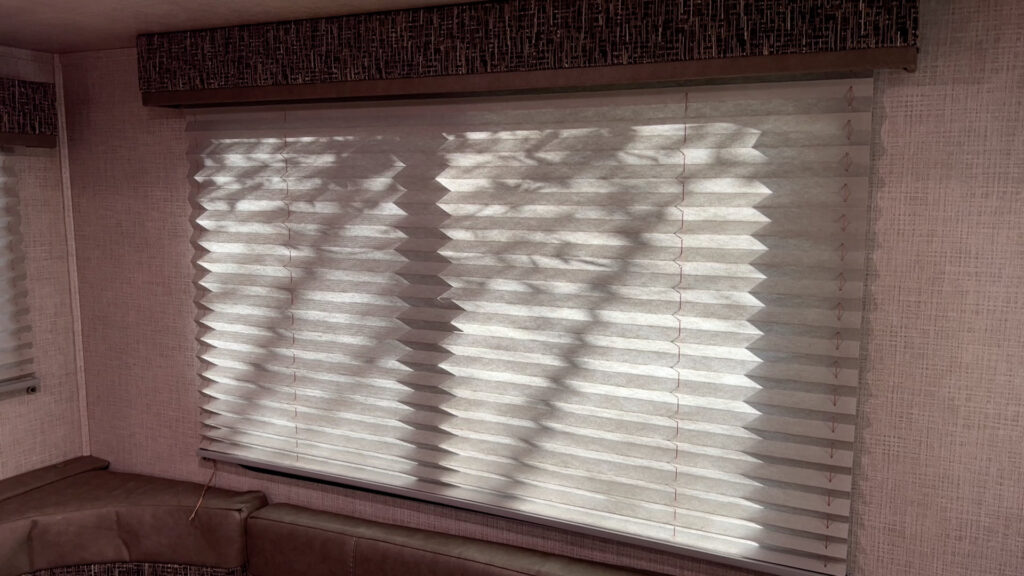
Each of the RVs I’ve owned has had pleated compression window shades with spring-loaded tension strings. Over time these strings fray and end up breaking with use. This can be incredibly frustrating if you are on a long trip away from home and would like to close or open the shade without worrying that the strings on the shade will break. This happened recently while on a trip with my larger window next to the dinette.
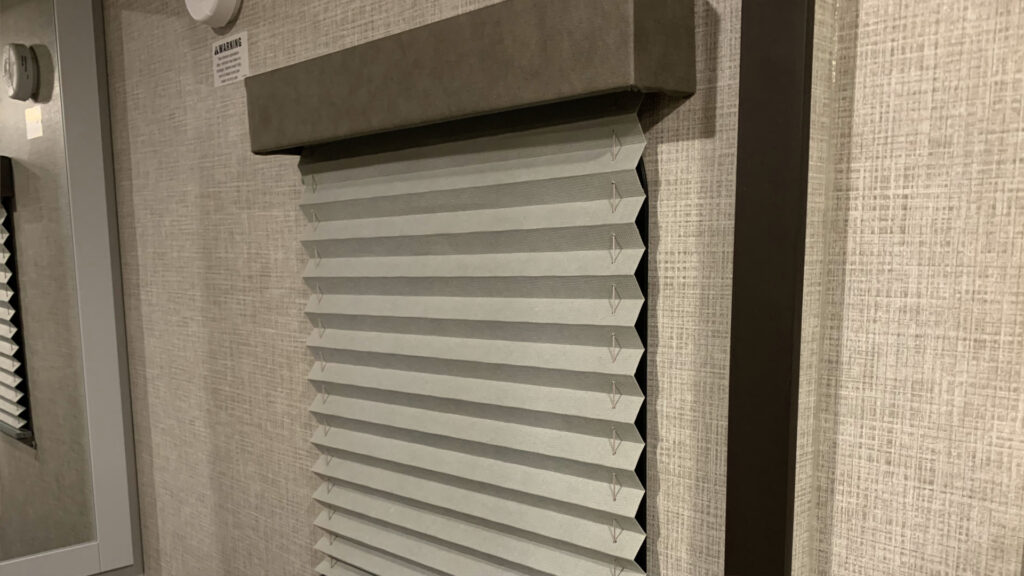
This large window has four strings that keep the tension versus the typical two strings for a smaller RV window shade. Restringing the larger window shade would prove more difficult to deal with, given the four strings and the sheer size of the shade. Let’s walk through the process of replacing the strings on the larger window shade.
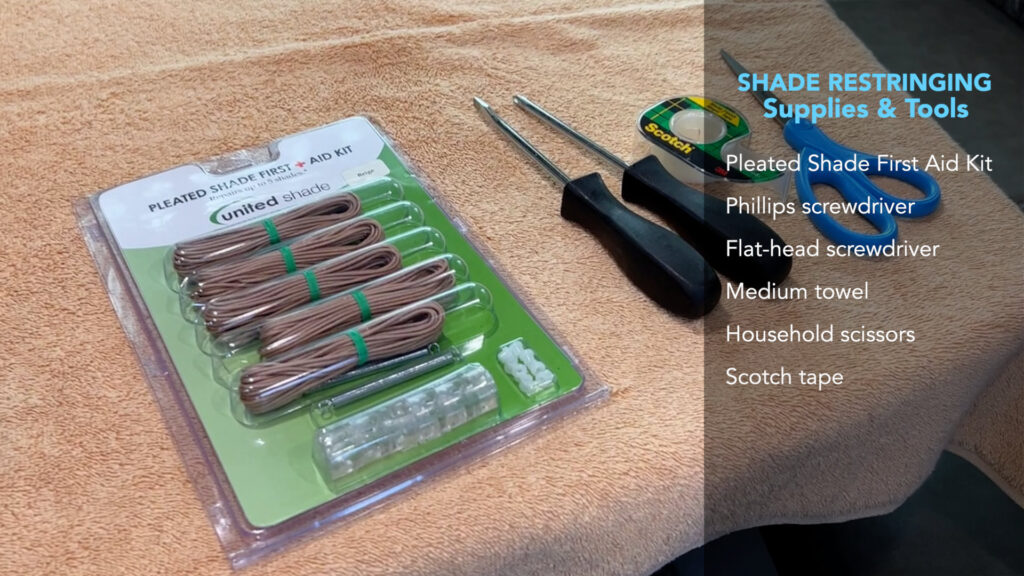
Before we get going, here are the tools and supplies you will need to complete the task successfully:
Properly Colored Pleated Shade First Aid Kit*
Philips Screwdriver
Flat-Head Screwdriver
Medium Towel
Household scissors
Scotch Tape
Part 1 – Remove the broken window shade.
First, Identify the screws that secure the shade to the shade valance or wall. These may be different for different window shades within the RV.
Next, using your Philips screwdriver, remove the screws that attach the shade to the valance or wall. Depending on the position of the screws, you may first have to remove the window valance.
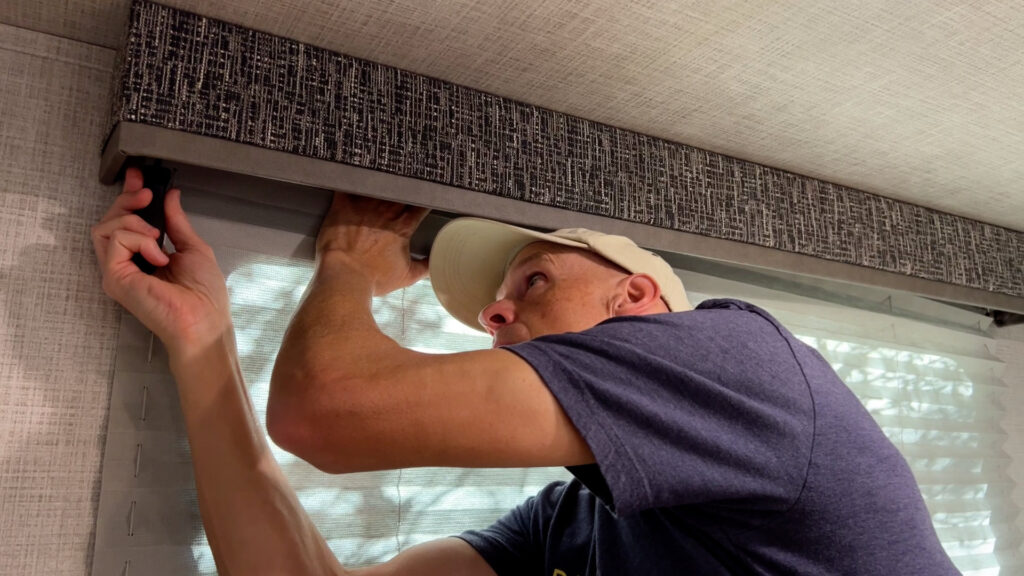
Next, remove the cord retainer screws from the wall at both sides at the bottom of the shade. In my case, the strings were frayed near the bottom of the retainers.
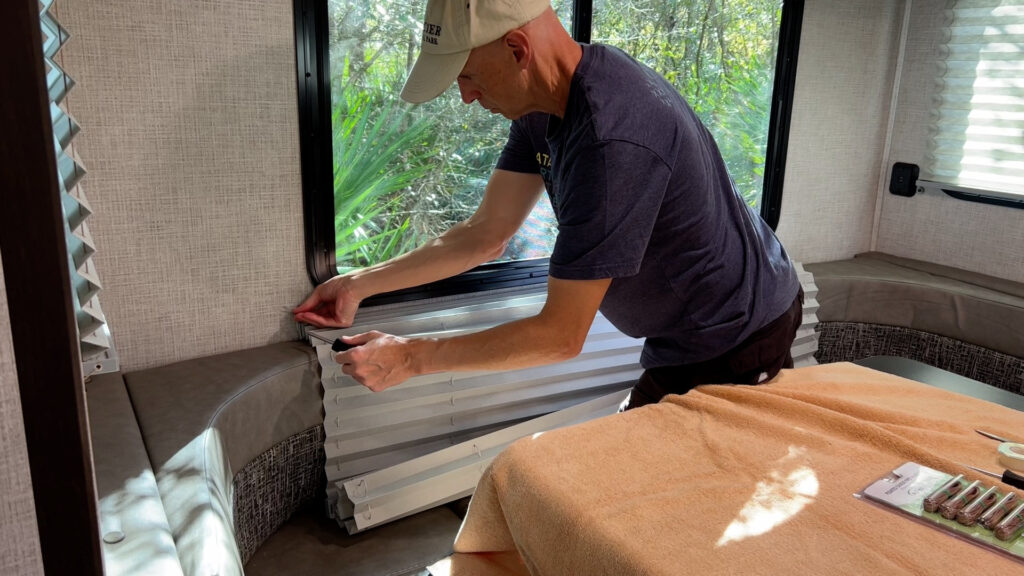
Part 2 – Restring the window shade.
Lay the shade on a flat surface on a medium-sized towel and further remove the mounting screws. Be aware that depending on the shade size, it may be difficult to maneuver without hitting the walls of your RV.
Next, using a flat-head screwdriver, pry off the header rail end caps from the frames of the window shade. Be aware that these are plastic and can be broken. Try to pry the caps off gently. Sometimes more pressure may be required. Some end caps may be tight, and you may need a smaller screwdriver to pry them loose.
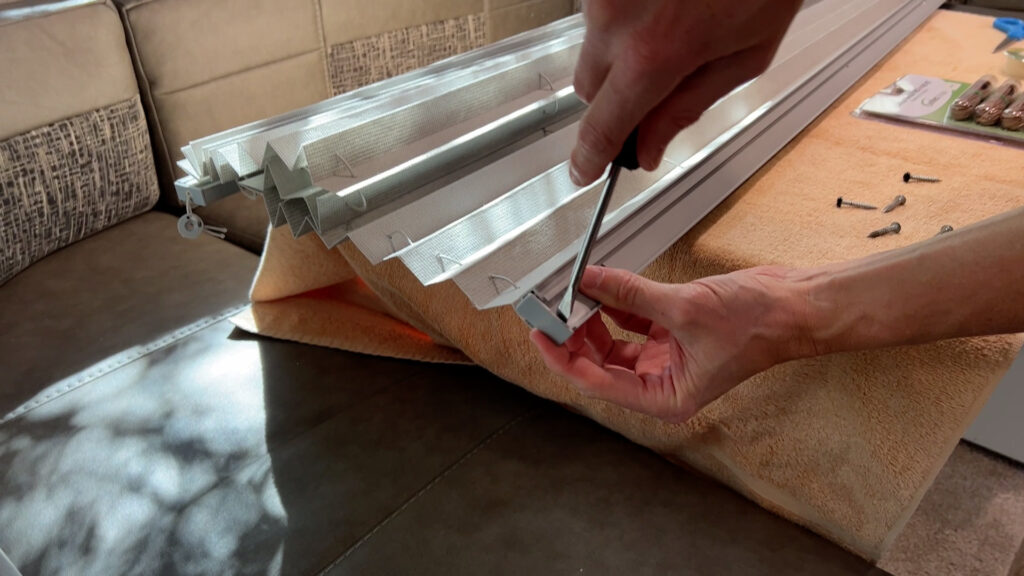
Next, slide off the top head rail. Hold firmly to the metal part of the shade while pulling the plastic head rail off. This can be a bit challenging. This headrail is long, and you will need plenty of room to remove it without hitting a wall or items in your RV, so be careful.
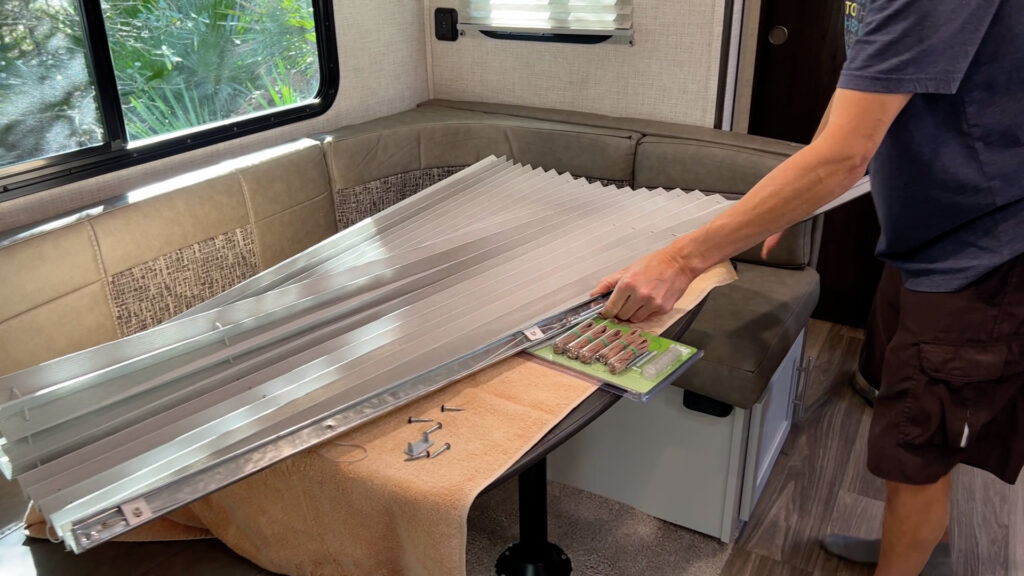
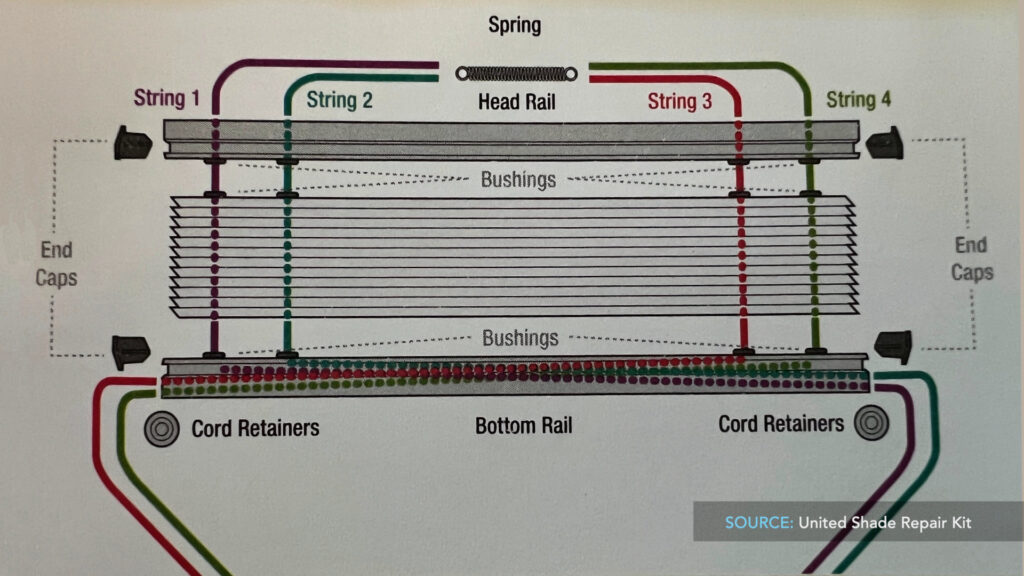
Next, take a picture of the two springs with the existing strings attached. It is essential that you know which strings attach to which spring. On my shade, the shorter spring is attached to the outer cords, and the longer spring is attached to the two inner cords. Review the stringing diagram for the proper order.
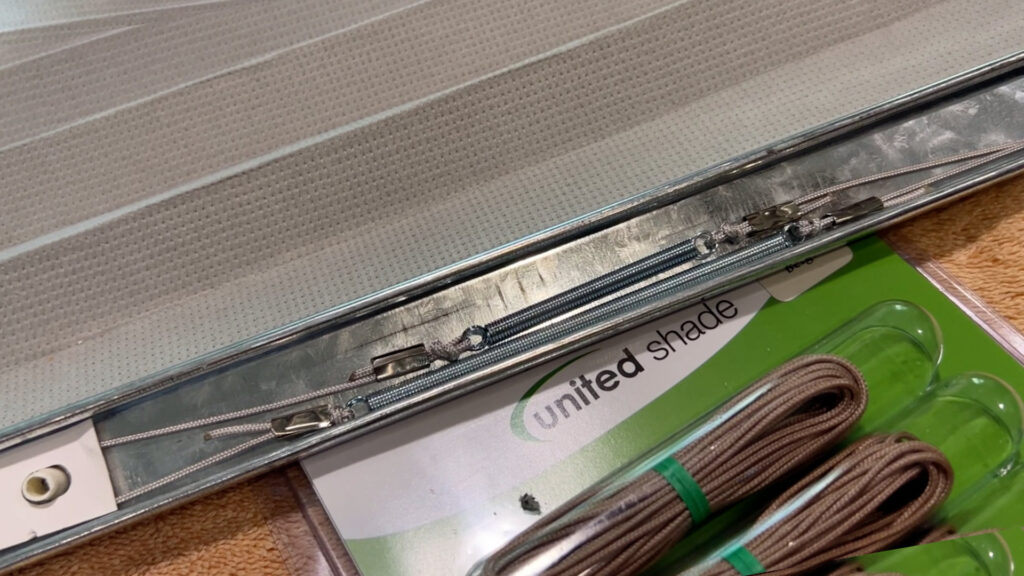
Next, cut the strings where the two springs and crimps come together. Remove the strings from both springs and crimps.
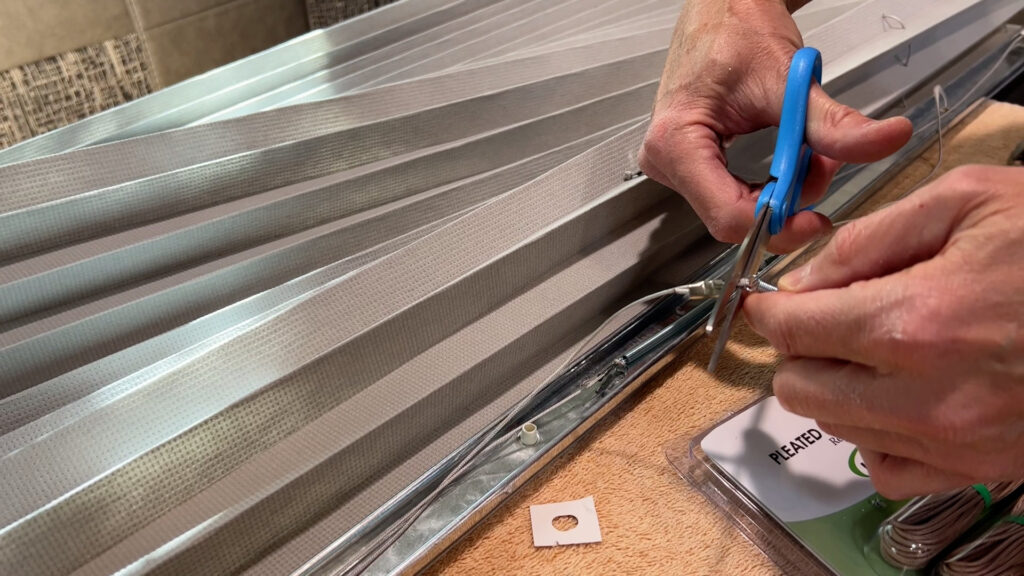
Next, use your scissors to cut the strings near the bottom retainers. This will allow you to pull the old strings out of the retainers.
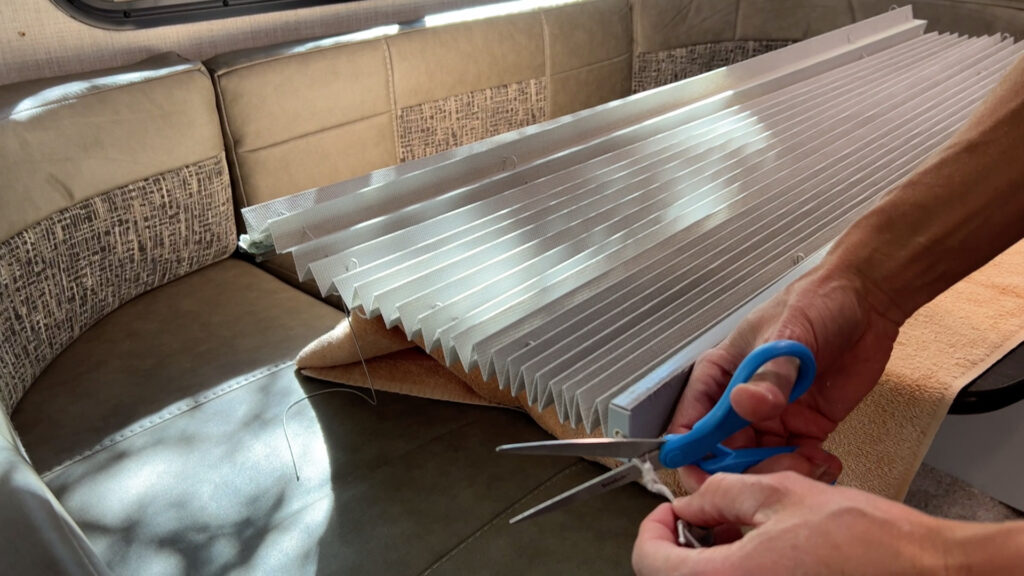
Next, remove the end caps from the bottom rail cover using your flat-head screwdriver.
Next, slide off the bottom rail cover, being careful not to hit anything in your RV with it.
Next, go to the header rail and remove the old strings from the shade. As I do this, you can see how the old strings had deteriorated with use over time. You may need to cut the unraveled string so it will pull through.
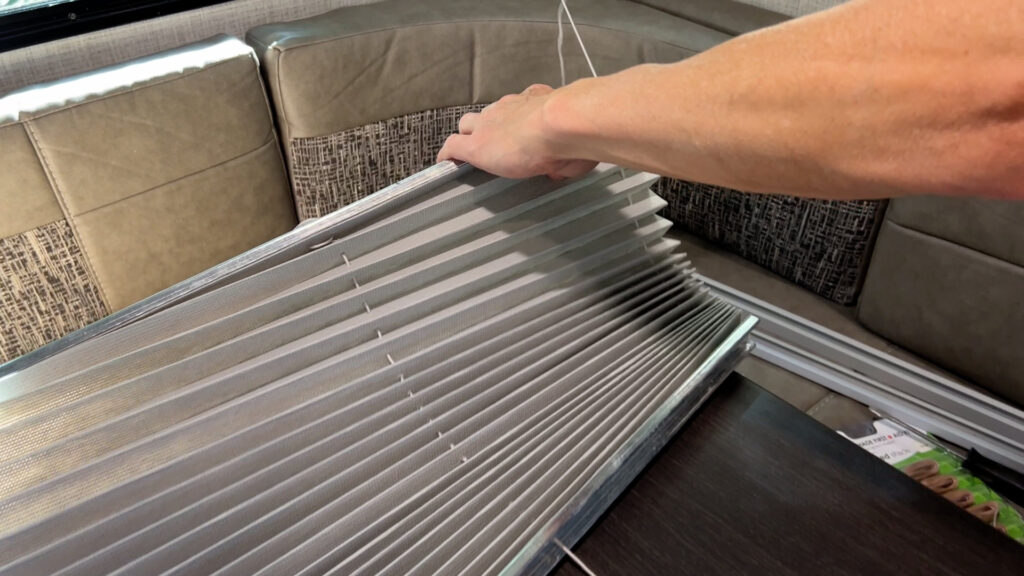
Next, position the shade with the header rail toward you and remove four new replacement strings from the Pleated Shade First Aid Kit. Given the required length, you likely will need a full spool of string for each string being replaced.
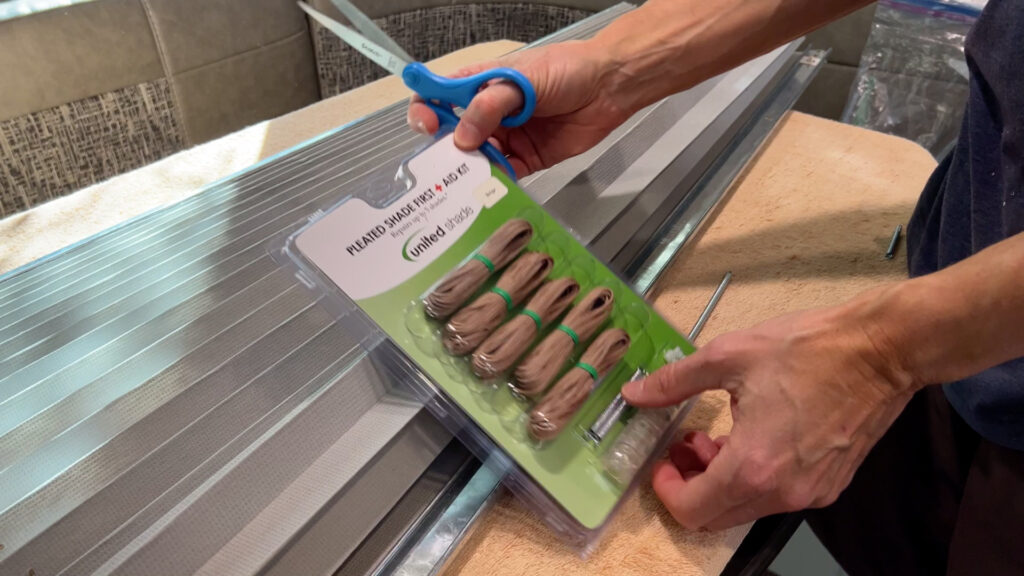
Next, attach the new strings to the head rail springs according to the proper stringing pattern. Double knot the strings to the appropriate spring and use scotch tape to adhere the loose strings from the knots.
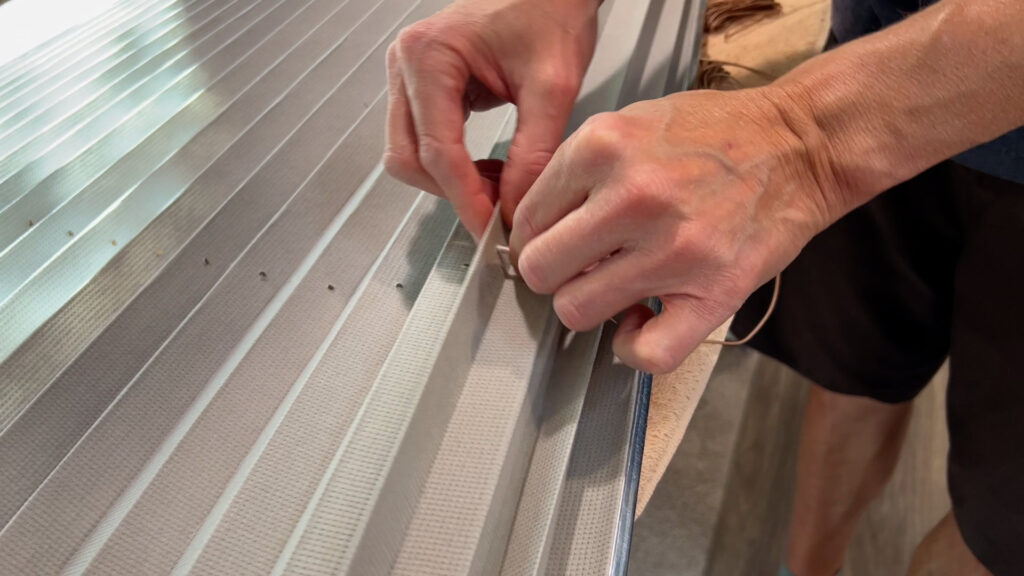
Next, use a small piece of scotch tape and wrap the ends of the new strings before feeding them through the shade holes according to the stringing pattern. This is to help thread the strings easier.
Next, feed the strings by compressing the shade and pushing the new strings through the holes. You may be able to feed the individual strings through two or three folds at a time. Repeat on each of the strings. This will take some time doing both springs and all four strings.
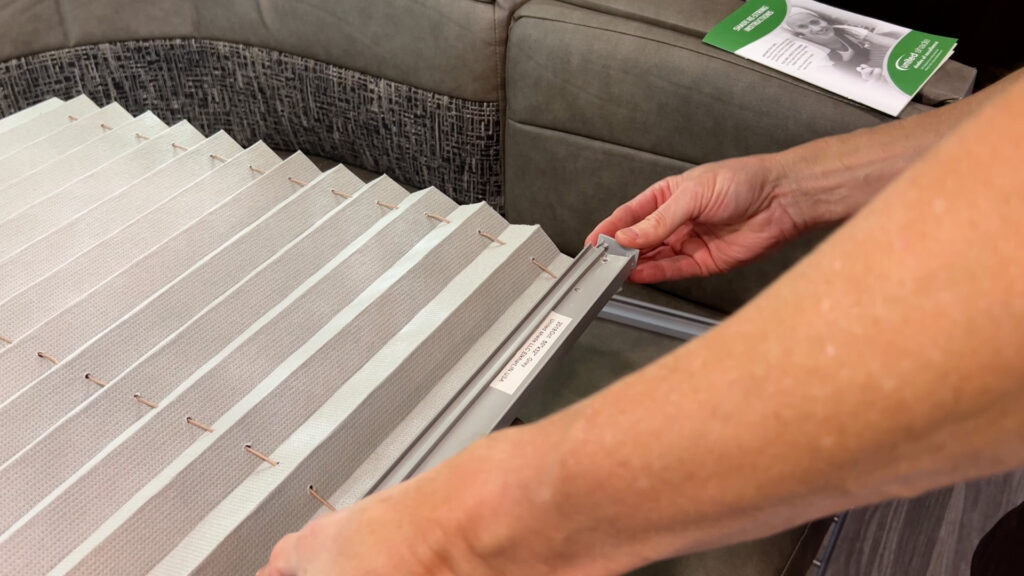
Next, slide the top head rail cover back on carefully so the new strings remain entirely inside the cover. Ensure the new strings do not stick out of the cover, and put the end caps back on the headrail. Given the length of the headrail cover, it can be a bit difficult to do, and my headrail cover happened to be cracked in places adding to the difficulty.
Next, reattach the head rail end caps.
Next, crisscross the strings at the bottom rail, according to the stringing diagram, so the excess hangs out of the rails on the opposite side of where you fed the string through the shade.
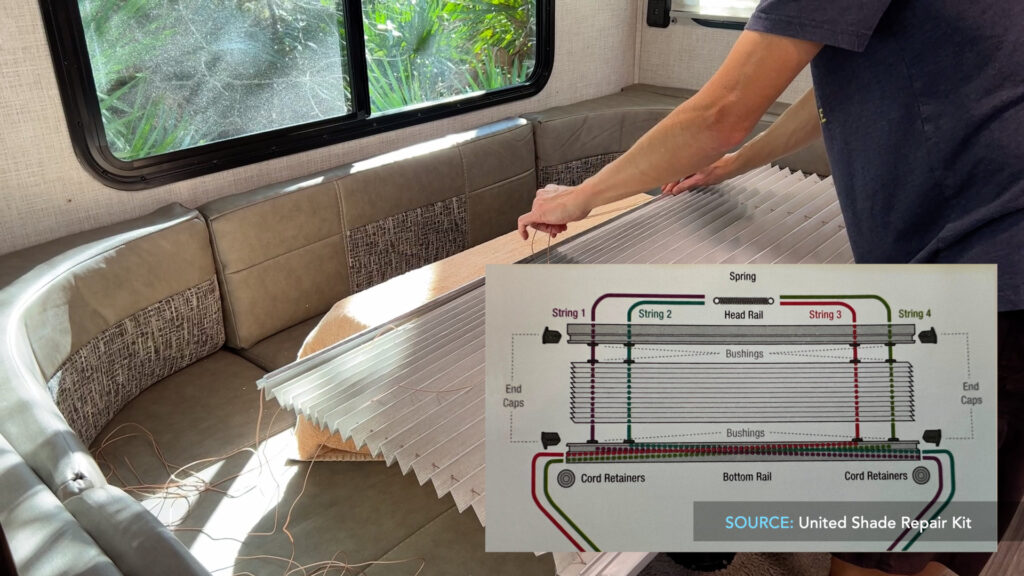
Next, slide the bottom rail cover back on the frame, being careful not to bind the crisscrossed strings. Ensure the strings are coming out only on the sides of the frame. Be careful not to hit anything in the cabin, given the length of the bottom rail.
Next, feed the strings through the end cap holes on both sides of the bottom rail. Secure the end caps to the frame.
Next, thread the strings through the retainers at the bottom of the shade—two strings on each side.
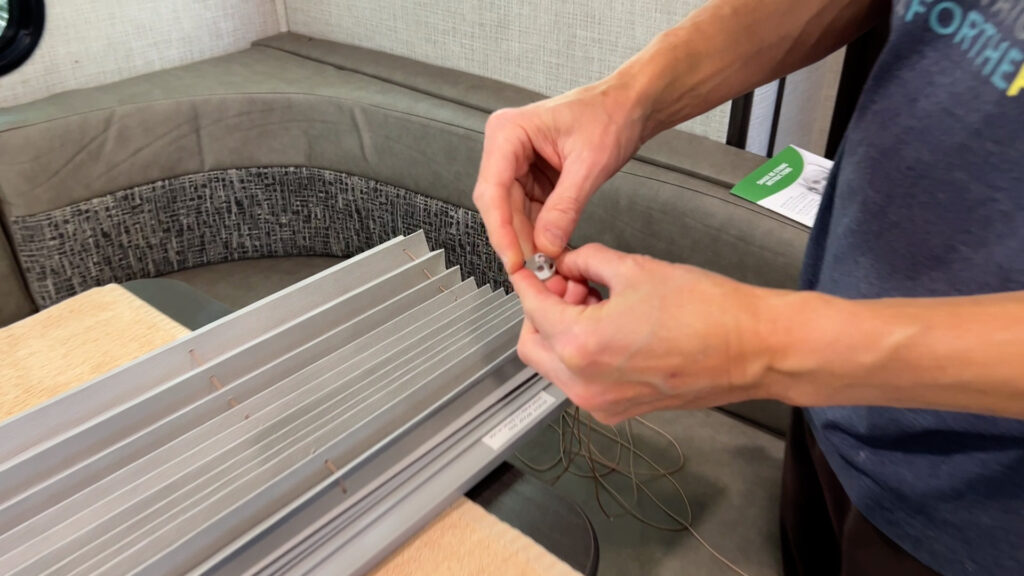
Part 3 – Reattach the fixed window shade.
Pre-fit the mounting screws into the head rail and reattach the window shade frame to the wall or valance using the Philips screwdriver. Given the size of the shade, it may be helpful to have another person help with holding the large shade in place while you reattach the shade to the wall or valance.
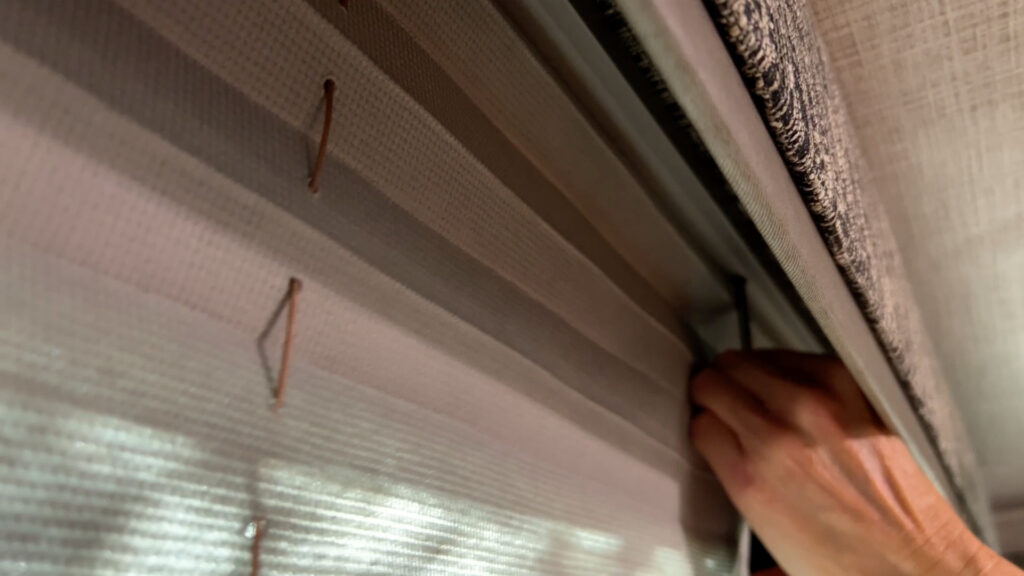
Next, find the original mounting location of one of the two retainers, trim the string, and tie a knot on both strings near the location where the retainer mounts to the wall.
Next, attach this first cord retainer to the wall at the exact location from where you removed it. Before doing so, ensure the opposite side retainer has plenty of loose string.
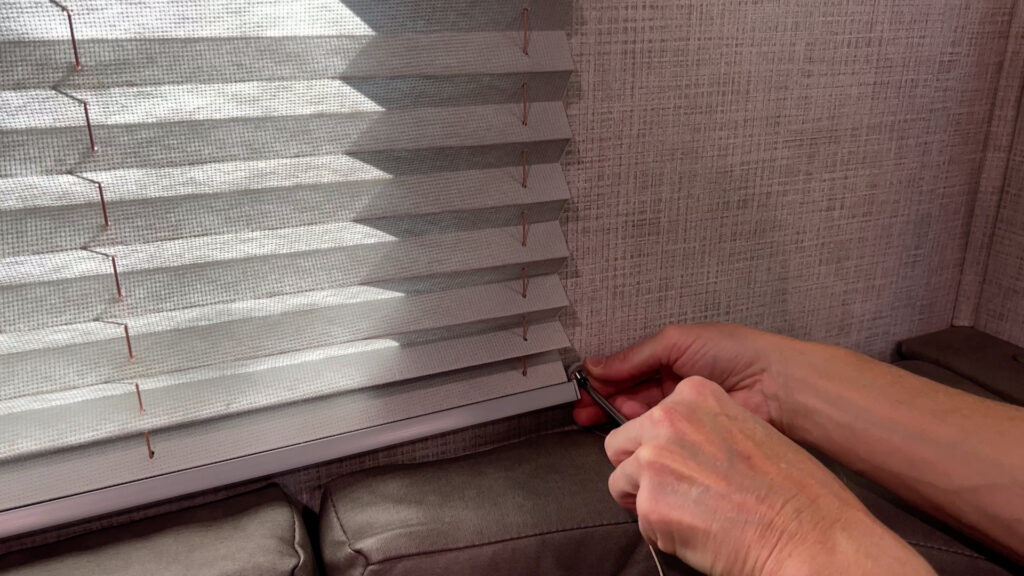
Next, pull the loose string through the opposite retainer while placing the retainer back in the location from where you removed it. Pull more string through to tighten the tension. You may have to move the shade up and down while holding the string taunt to get the proper tension. Given the size of the shade, having someone to help adjust the shade is advised. Once you have the appropriate tension, tie a knot in the strings below the retainer so the strings can’t fall back through the retainer.
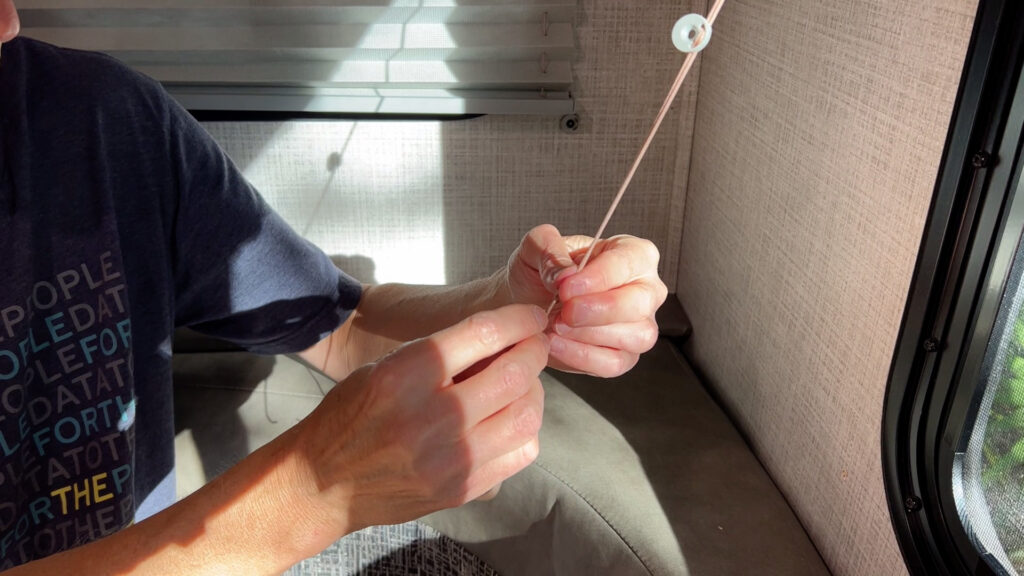
Next, reattach the cord retainer to the wall at the exact location. If the tension is correct, the window shade should be able to stop mid-way up the window without falling back down. Too much tension, and it will be difficult to move the shade. Also, if you have too much tension, it will cause the string to fray more quickly, and you’ll have to do this process again, likely much sooner than planned!
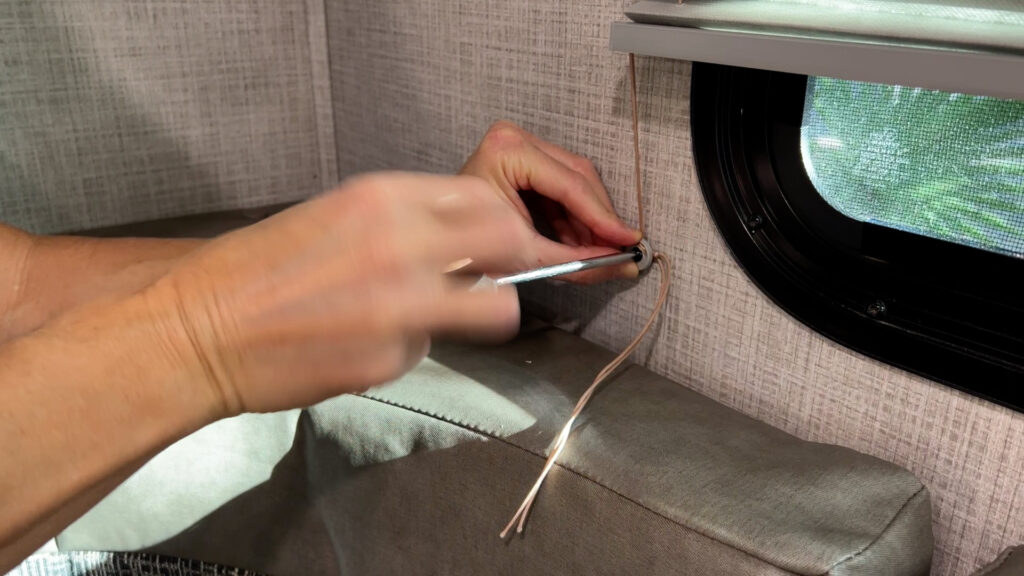
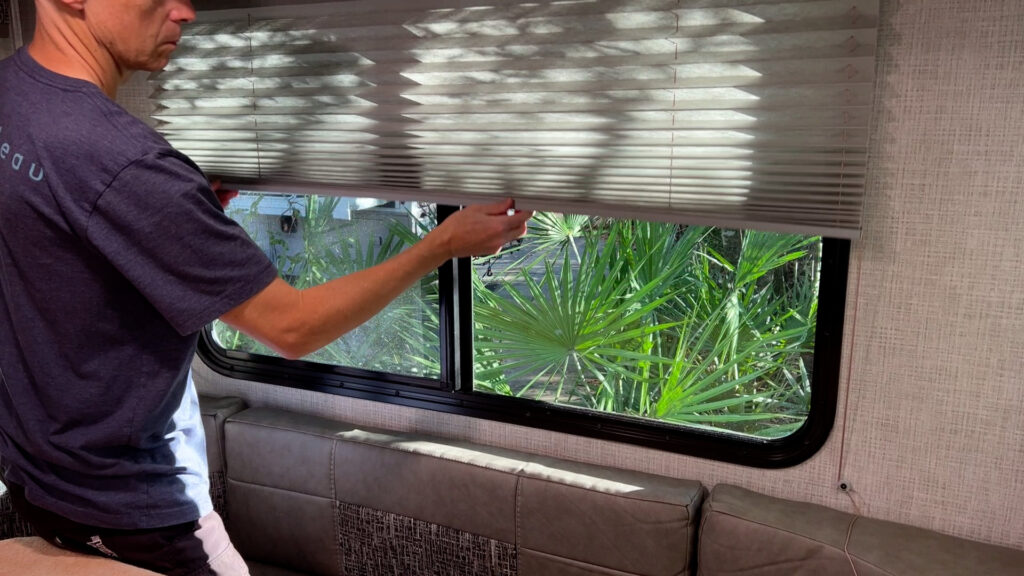
Next, wrap the excess string around the retainer to neaten the installation and trim the strings as needed.
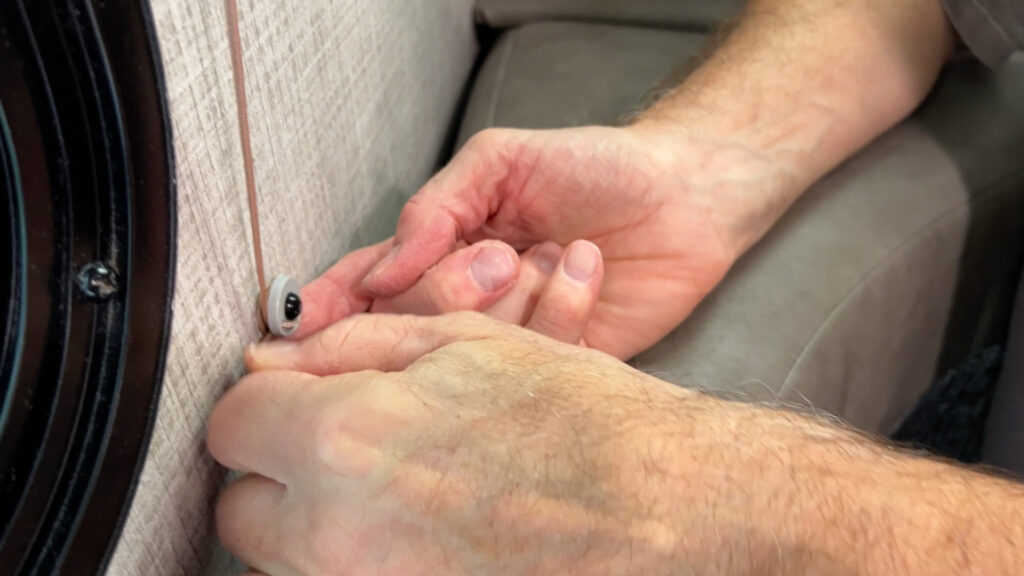
Finally, if you had to detach the window valance, reattach it at this point, and the project should be complete!
That will do it! For a downloadable version of these steps, visit the Resources page on johnmarucci.com.
All the best in your camping endeavors!
As always, thanks to our fans who support our efforts by starting their shopping from our Amazon Storefront and by their generous financial support by using the THANKS feature located under each YouTube video ($ within the Heart icon). Your support is greatly appreciated!
*As an Amazon Associate, I earn from qualifying purchases.

